DIY Pumpkin Centerpiece with Fresh Flowers
I’m definitely thinking about fall and all of the beautiful ways to decorate our home in this season. I’m also thinking ahead to fall table settings and even Thanksgiving, so I thought I would share this super easy pumpkin centerpiece with fresh flowers that I made the other day.
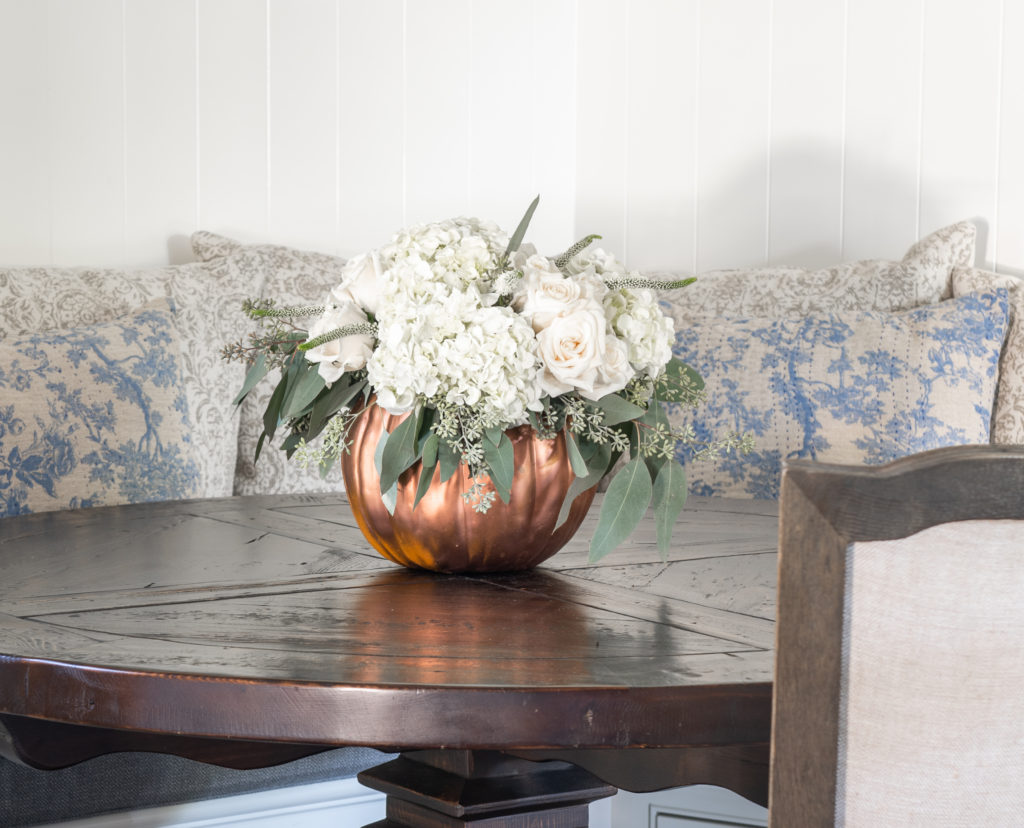
I was looking for a way to reuse some of the copper painted pumpkins I made last year and also thinking about pretty pumpkin centerpieces I have seen recently when it occurred to me that I might be able to combine the two elements and make one super pretty fall centerpiece!
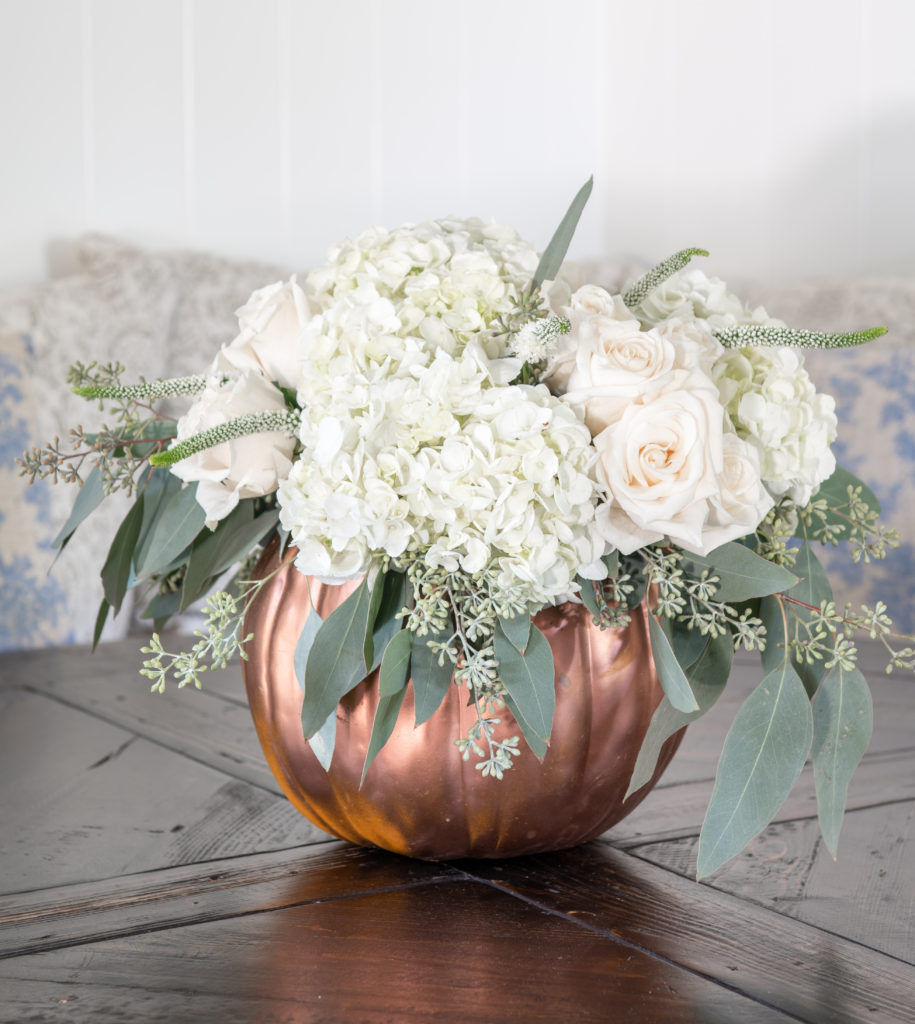
I was also just a bit curious to see what was inside those styrofoam pumpkins (it turns out…nothing, which was really convenient and way less messy than a real pumpkin) and if they were watertight (yep!). So I not only satisfied my curiosity, but I also created a reusable vessel for my pumpkin centerpiece.
This centerpiece only took me 10 minutes to make and I took pictures and videotaped the whole process for you guys!
You can watch the video below, or scroll down for step by step instructions!
HERE’S WHAT YOU WILL NEED
- 1 Styrofoam pumpkin in any color that works with your palette
- A ball of chicken wire that fits inside your pumpkin
- 1 large bunch of seeded eucalyptus
- 4-5 large white hydrangea
- 1 dozen rose
- 1 bunch of filler flowers
STEP 1
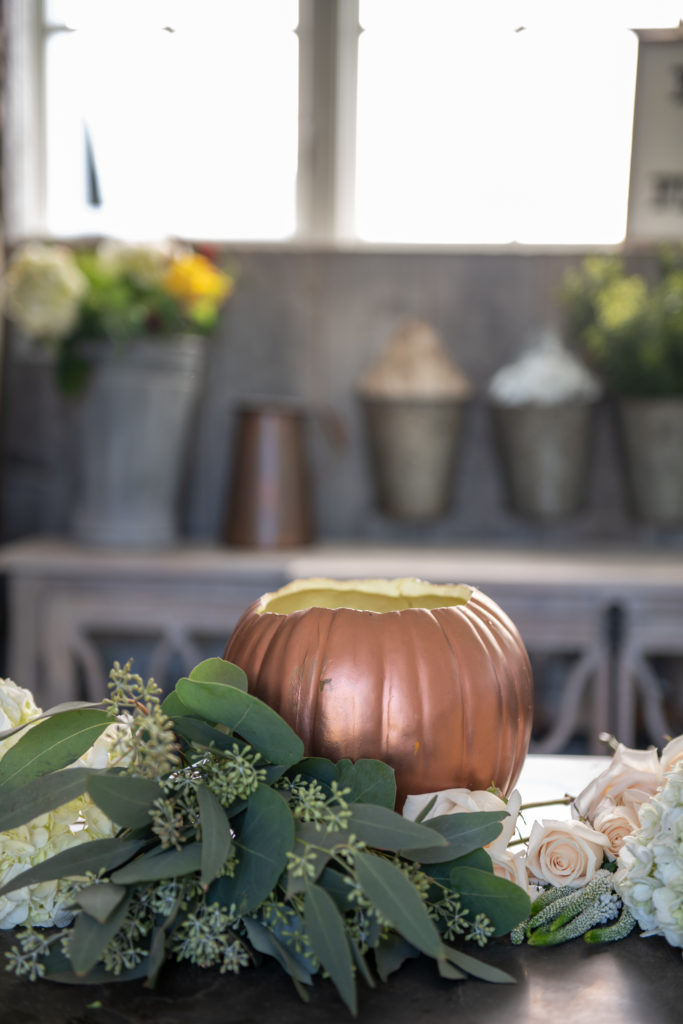
Cut a LARGE hole in the top of your pumpkin, using a sharp knife. Please be very careful when cutting. Make sure the hole is fairly wide so that you can fit all of the flowers in and have the greenery spill over the sides.
STEP 2
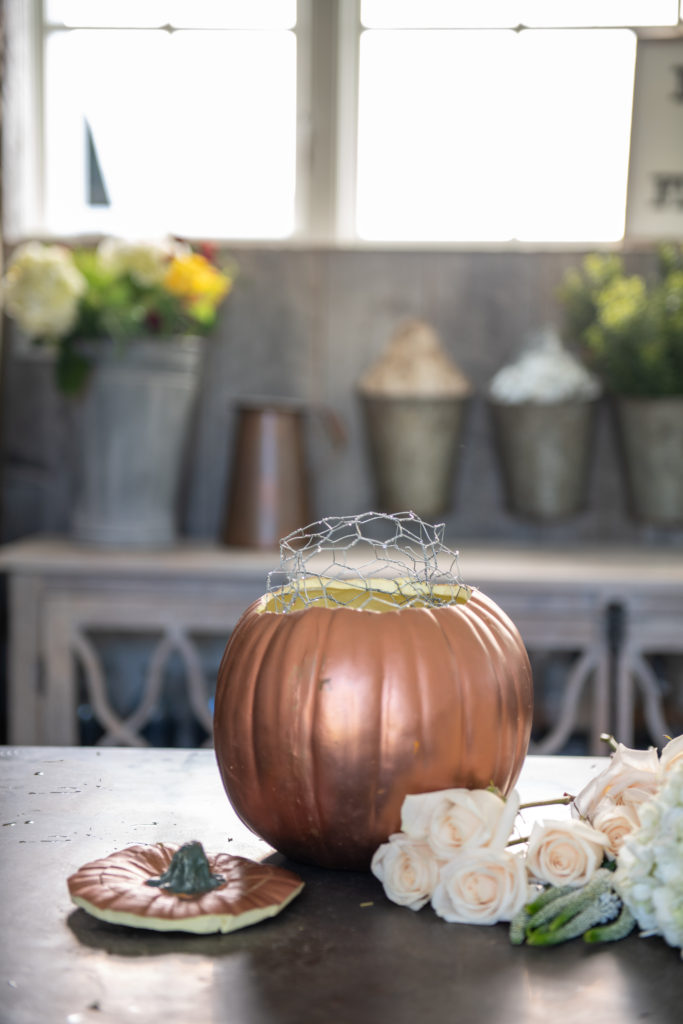
Place the ball of chicken wire inside the hollow pumpkin. Make sure it is large enough to sit inside securely and not roll around. I usually spread it out a bit once it’s inside the pumpkin.
Add water to about 2 ” below the top of the pumpkin.
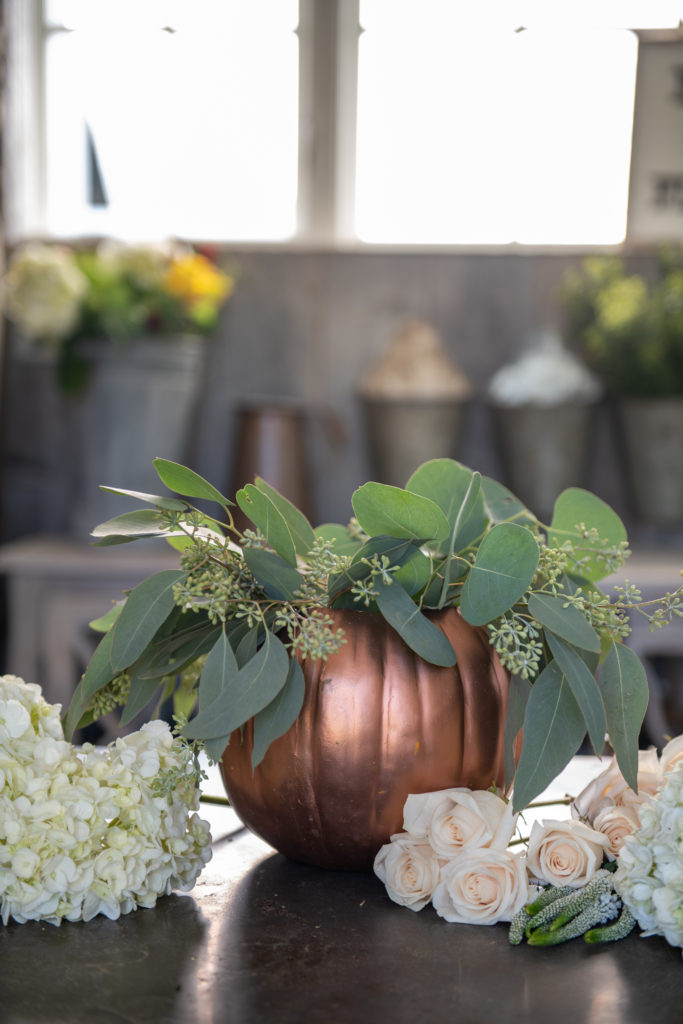
STEP 3
Add eucalyptus, or greenery of your choice, to fill in around the edges and center of the arrangement. Make sure the greenery spills over the edges of the pumpkin.
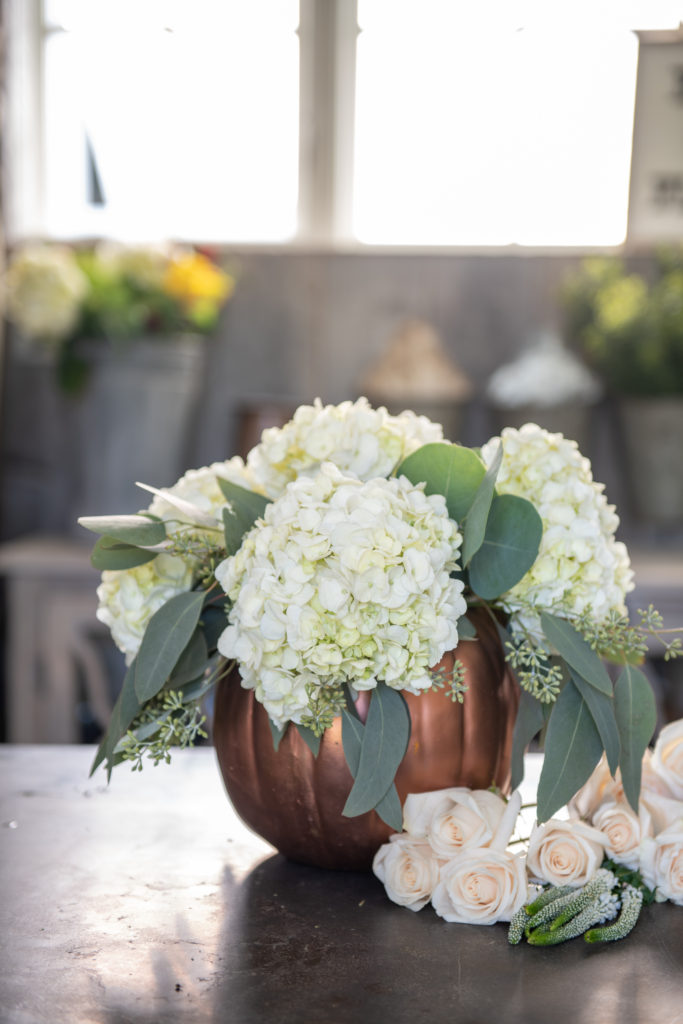
STEP 4
Place the hydrangea into the pumpkin varying the angles and letting them hang over the edge of the pumpkin. Make sure to give your stems a fresh cut before putting them in the water.
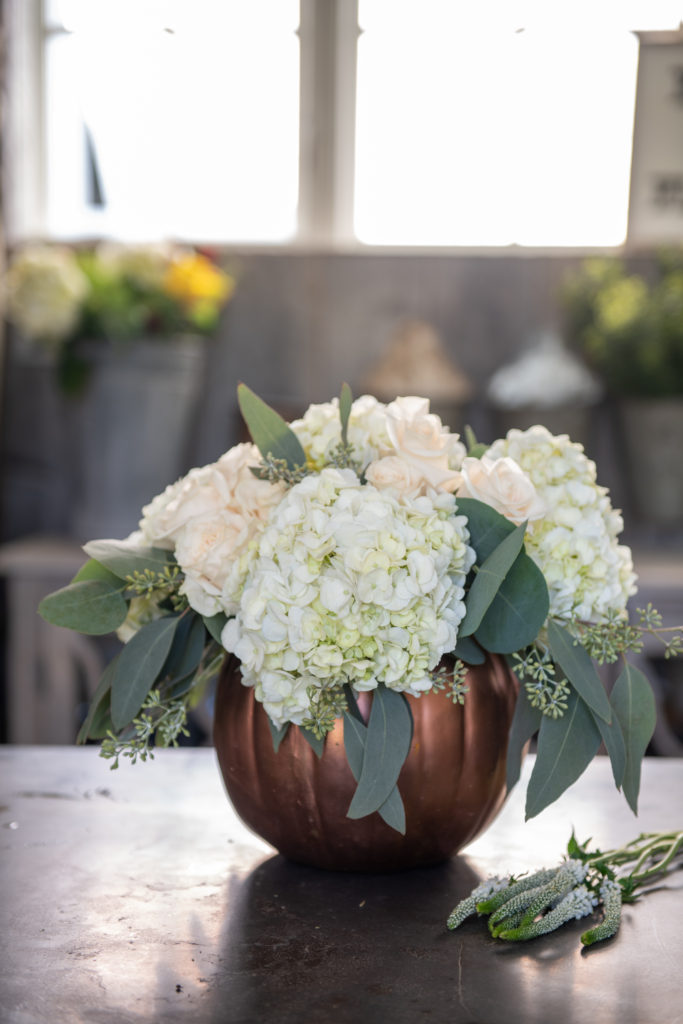
STEP 5
Fill in any empty spaces with clusters of roses. Make sure to give the stems a fresh cut before putting them in the water.
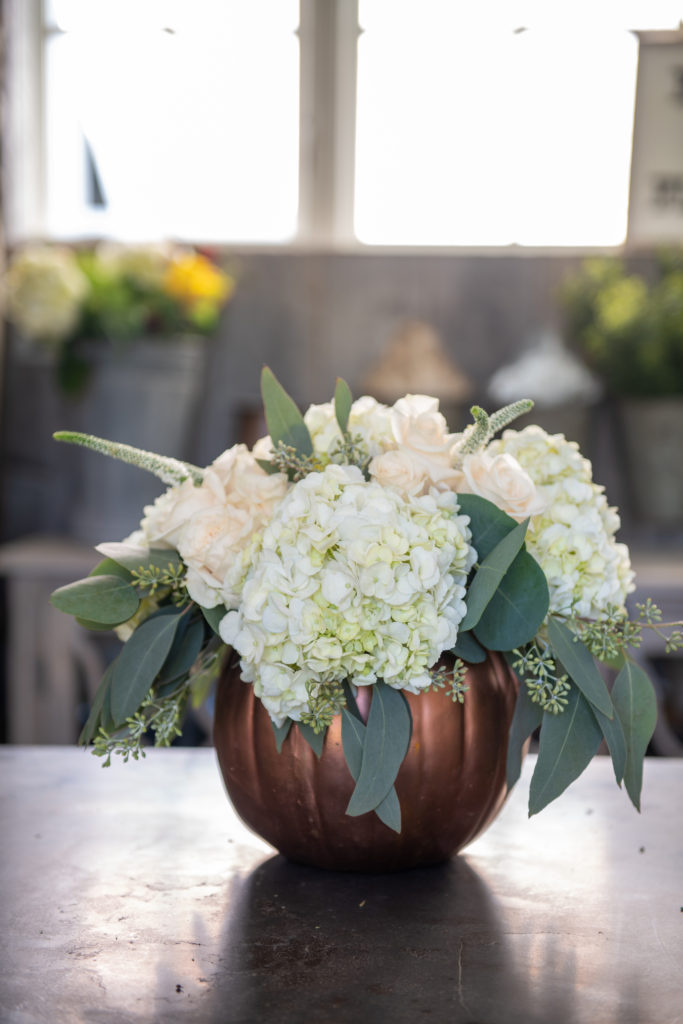
STEP 6
Add the filler flowers cutting the stems just a bit longer, so that they create a natural look.
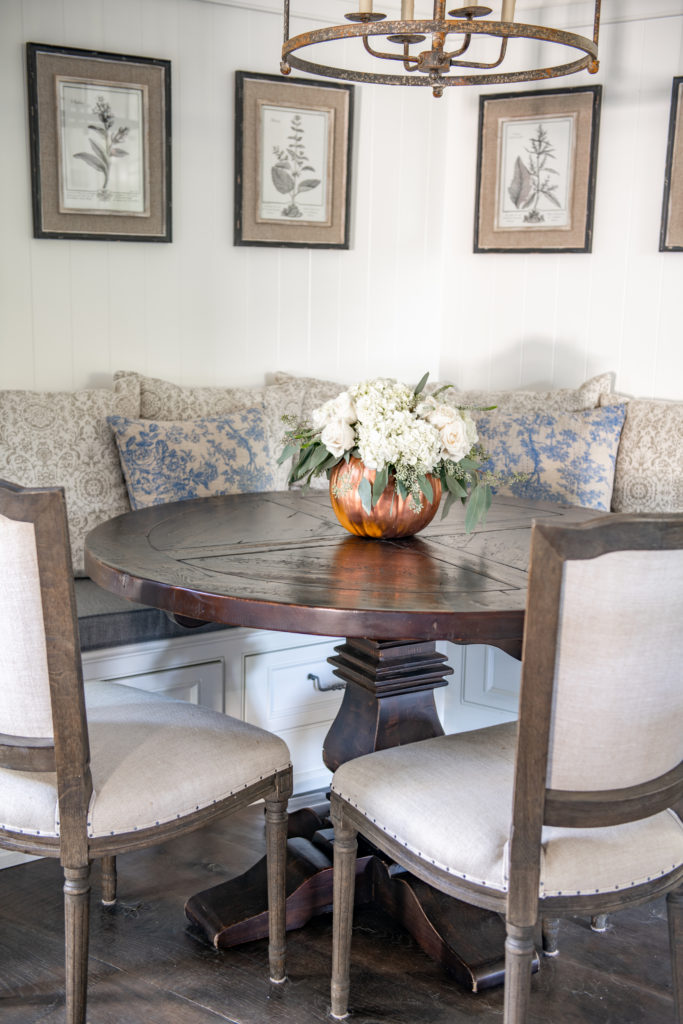
This was a fun and easy DIY centerpiece that I think would look great on a fall tablescape or Thanksgiving table. If you use a copper pumpkin, you could pair it with copper chargers or candlesticks to create a cohesive look.
I hope this gives you some inspiration to create your own fresh flower arrangement in a faux pumpkin this season. If you do, send me a picture. I would love to see what you create!!


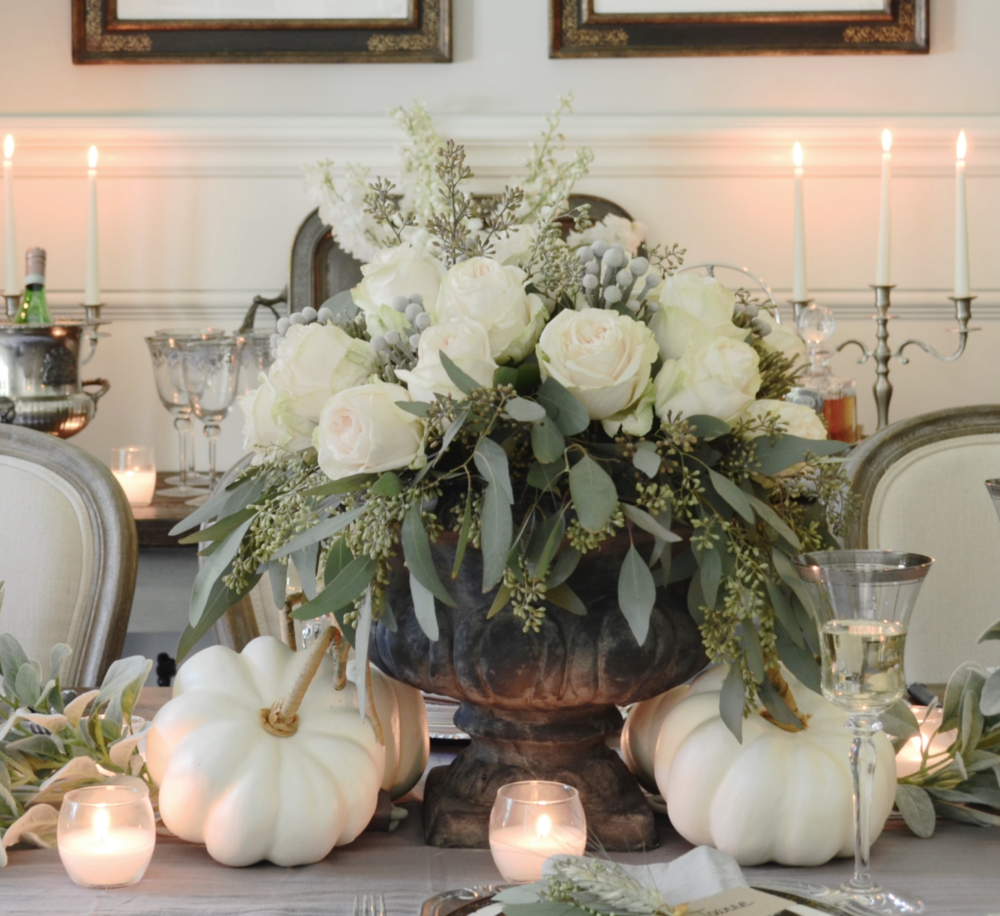
A Neutral Thanksgiving Table
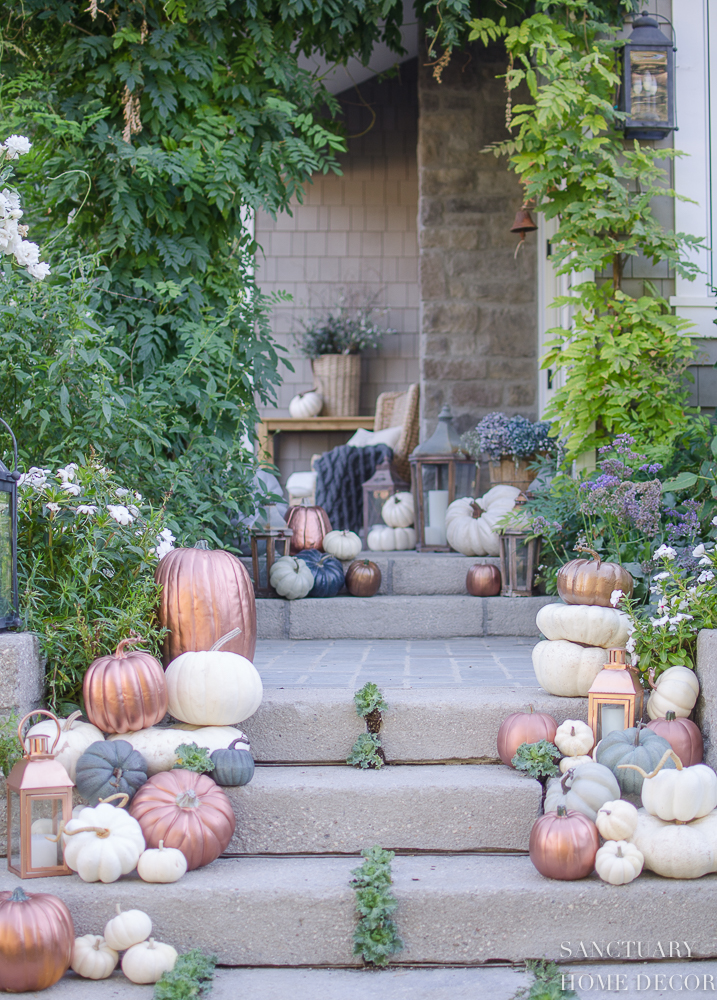
3 Tips for Outdoor Fall Decorating
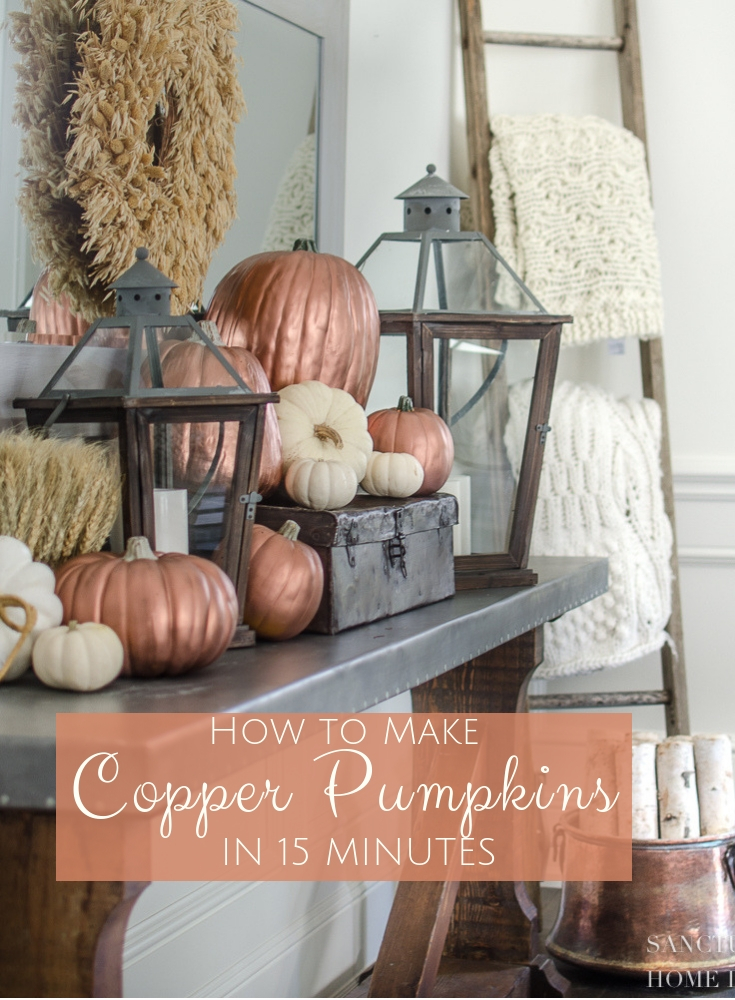
How To Make Copper Pumpkins in 15 Minutes

This is such a beautiful centerpiece Bre! I’ve never seen a copper pumpkin like that before, but I seriously love it! And the white and cream flowers are so gorgeous! I’m so going to try this with a faux pumpkin – it’ll last much longer than the arrangement I made with a real one. 🙂 Thanks for the great tutorial!
So glad you like it, Barbara! Let me know how yours turns out!
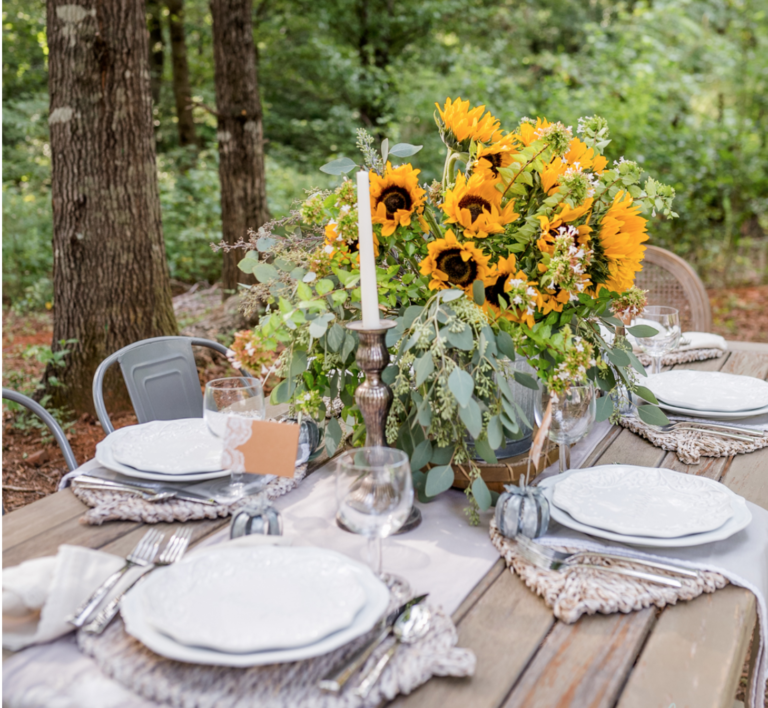
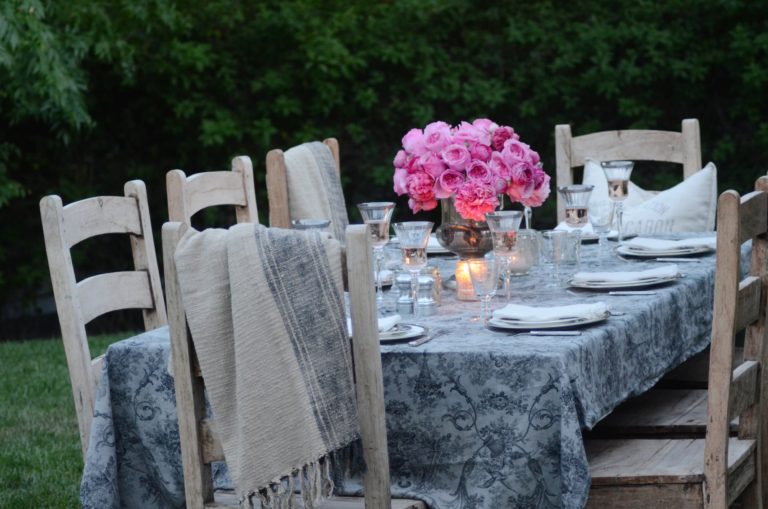
What is the name of the pattern of the plates that are in the photo of setting that you talk of them filming the movie.
The whole place setting is beautiful. If you can break down the whole setting, that would be great
Hi Barb-Those plates are from my friend Leslie at My 100 Year Old Home. You can find her on Instagram and I’m sure she would be happy to answer that question!