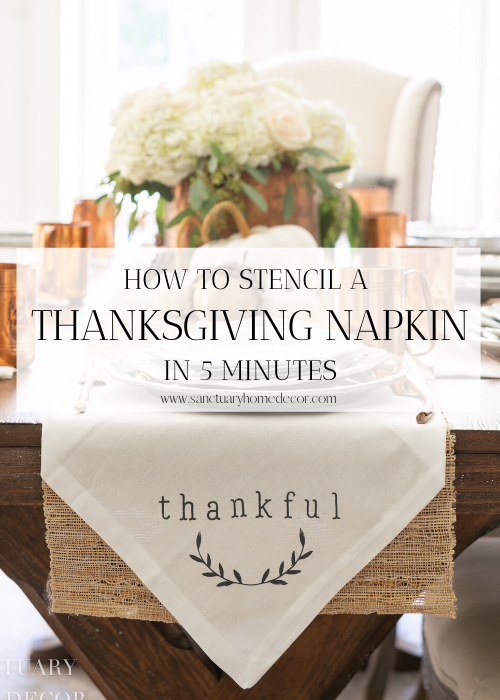
How To Stencil A Thanksgiving Napkin in 5 Minutes
A simple-to-make stenciled Thanksgiving napkin becomes the centerpiece for this table setting. Scroll down to see how to stencil a Thanksgiving napkin in 5 minutes and create a memorable tablescape for the coming holiday.
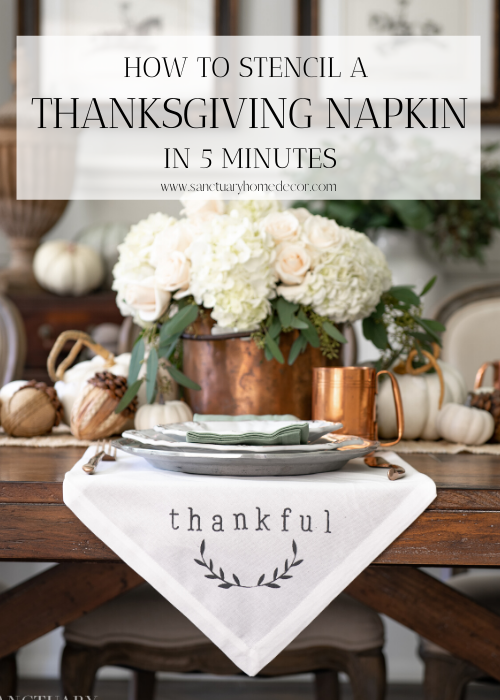
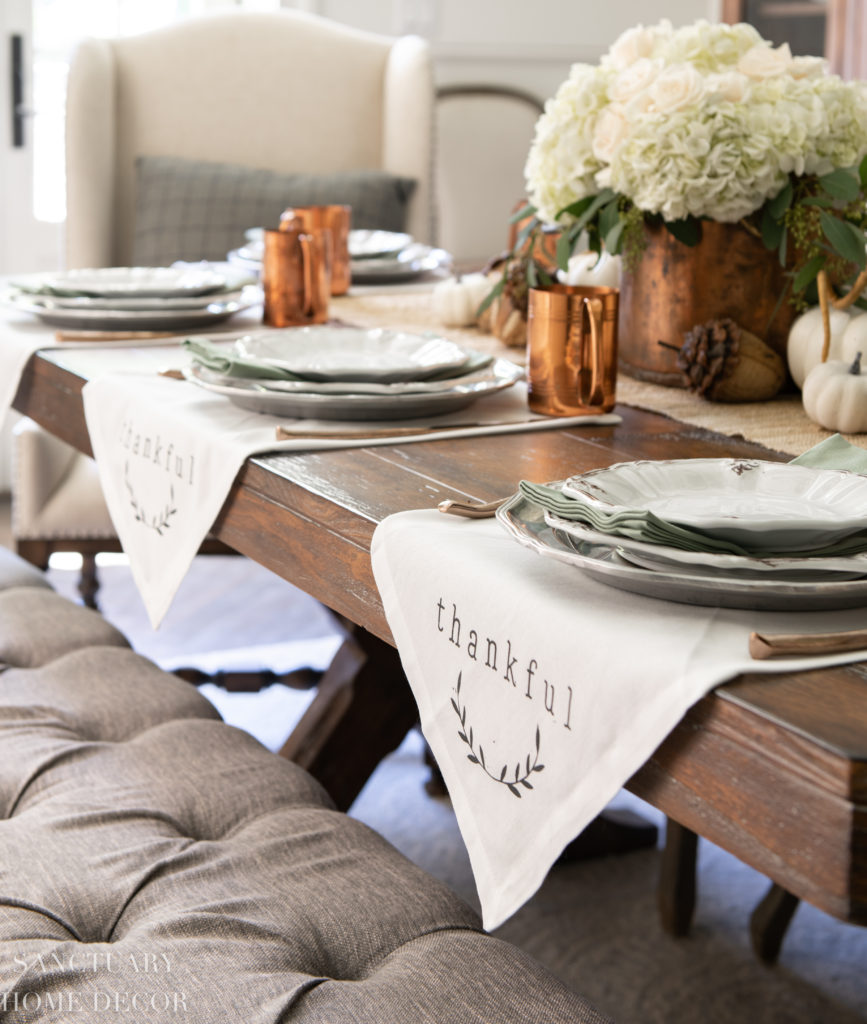
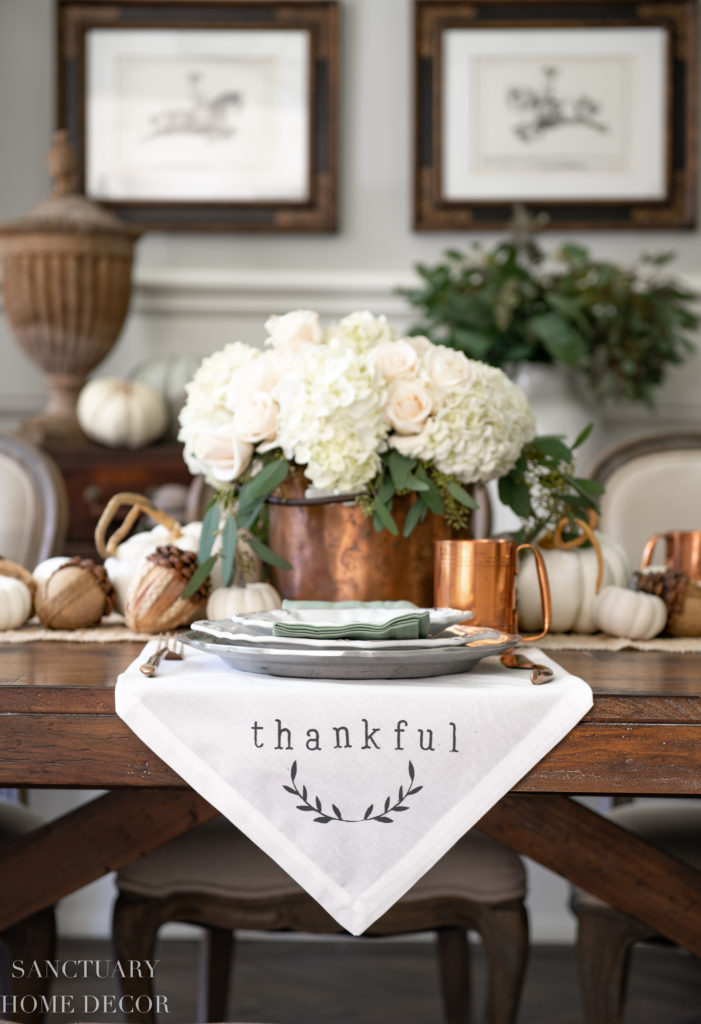
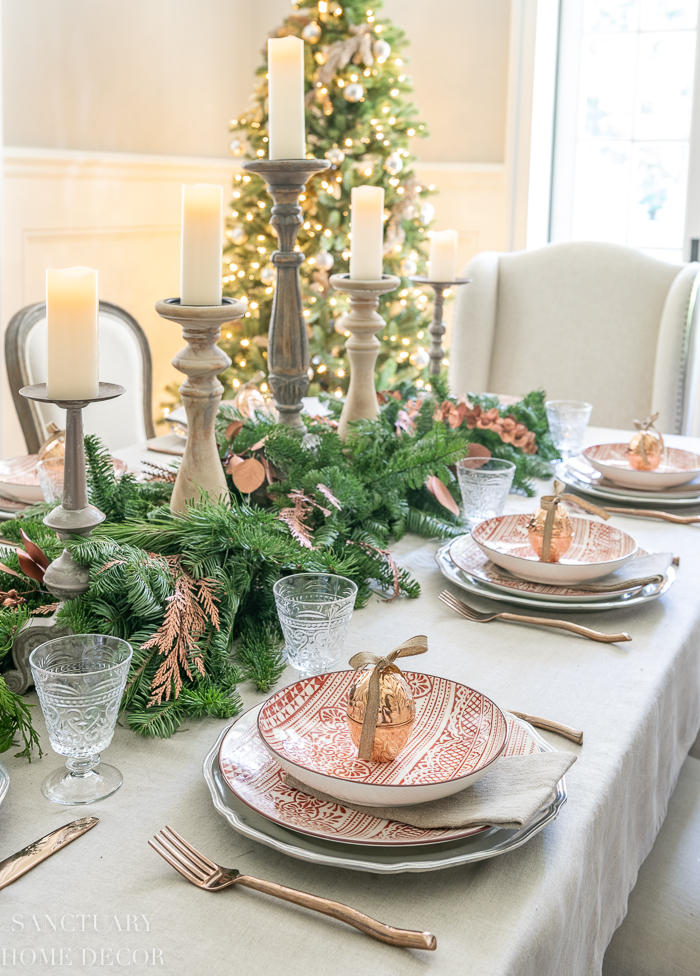
Earlier this week I shared a new Thanksgiving table setting that incorporates every element I love during this season. With a mixture of crisp white linens, copper accents, and a few rustic elements, this cozy tablescape is simultaneously casual and traditional.
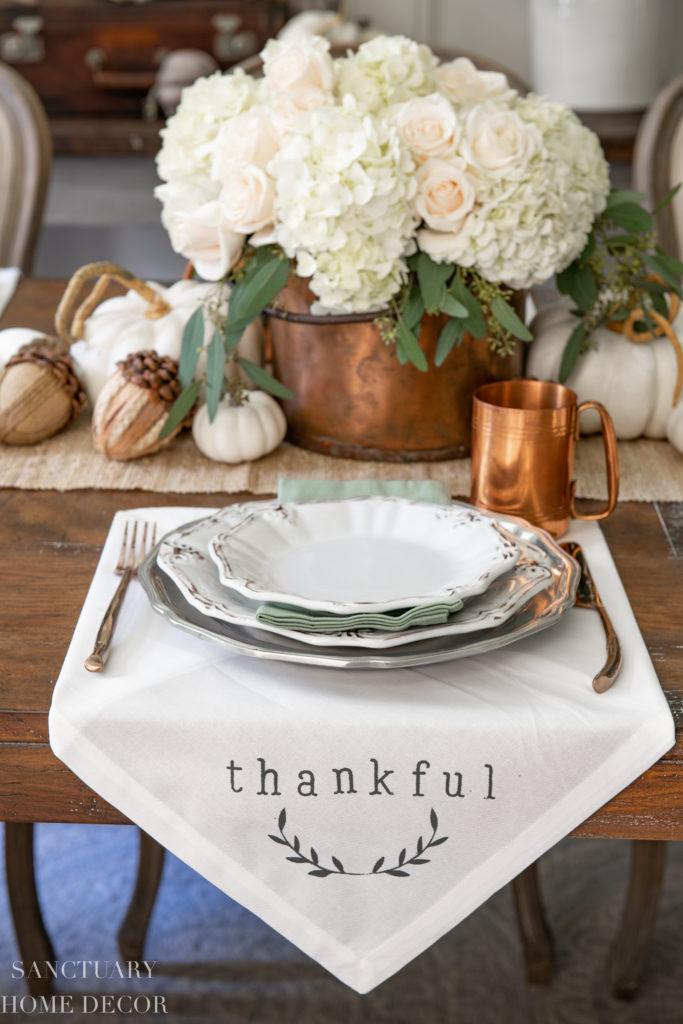
The focal point of this holiday table is the stenciled napkins that I created in just minutes using stencils and gel paint from A Maker’s Studio. I was introduced to A Maker’s Studio and their line of amazing mesh stencils, last summer and loved everything they offer, so I finally placed an order and was so excited to make these napkins for my Thanksgiving table.
See all of the details of this table by clicking HERE.
Once I got started, these napkins only took 5 minutes to make and could not have been easier. I learned a few tips and shortcuts along the way, so I wanted to share the exact process I used and how you can make these at home.
THIS IS WHAT YOU WILL NEED:
Tap the blue affiliate links below to shop
- Napkins of your choice (I used THESE that are under $2.00 each)
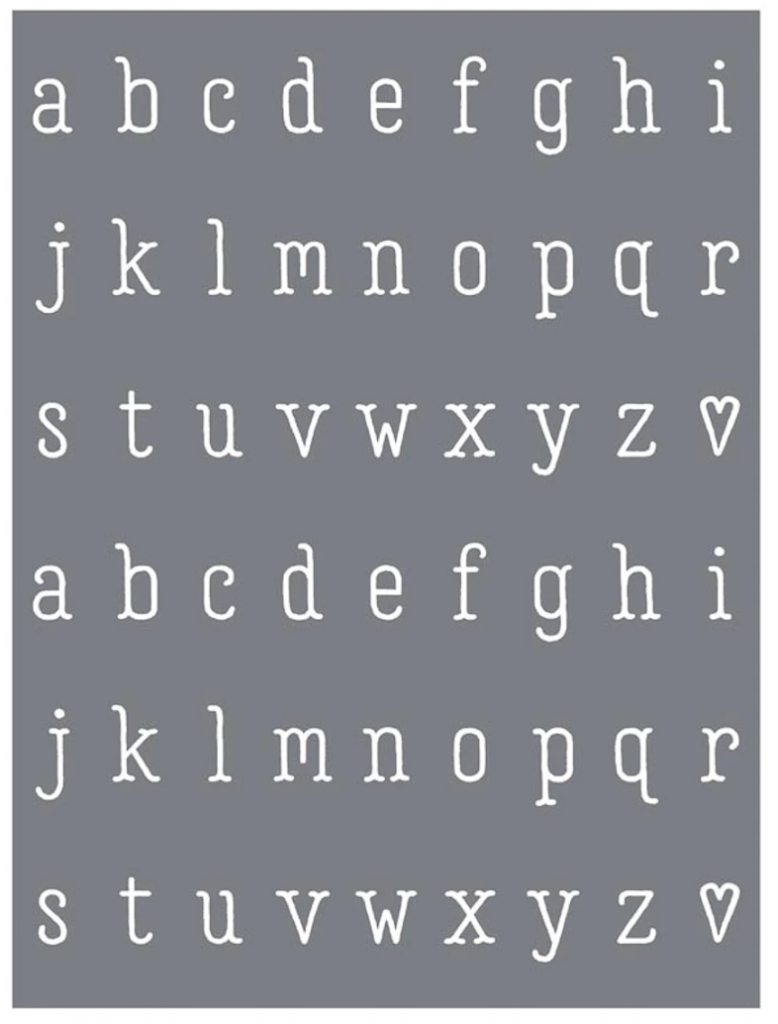
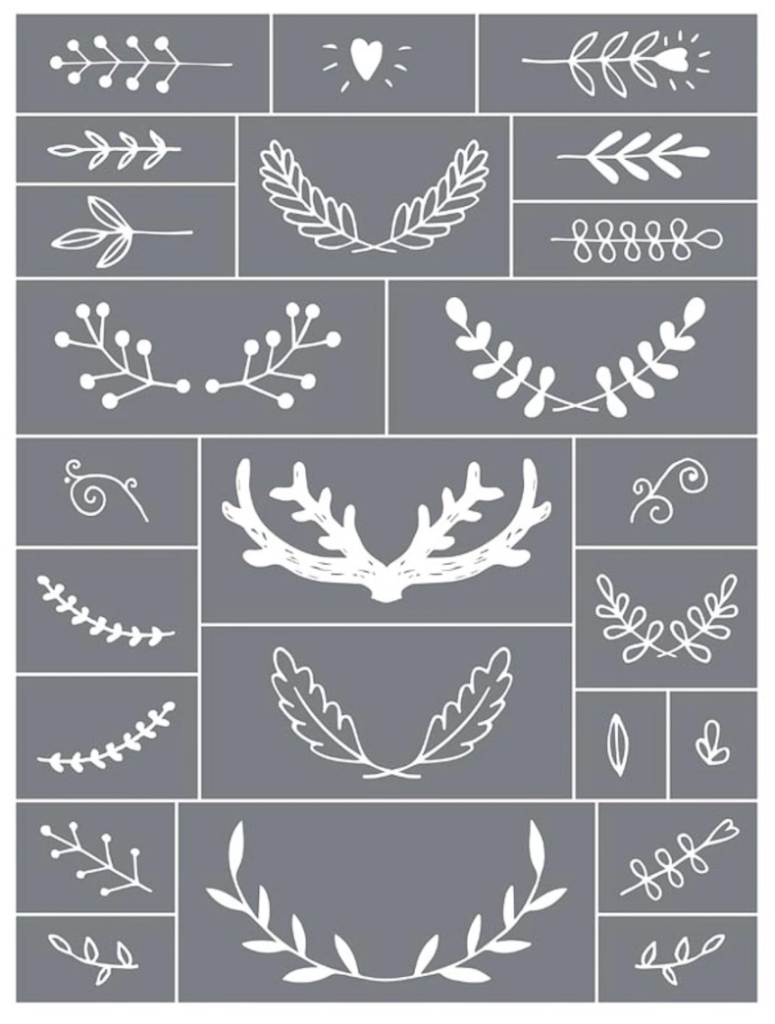
- A Maker’s Studio – Mesh Stencil “Alphabet 4”
- A Makers Studio – Mesh Stencil ” Details”
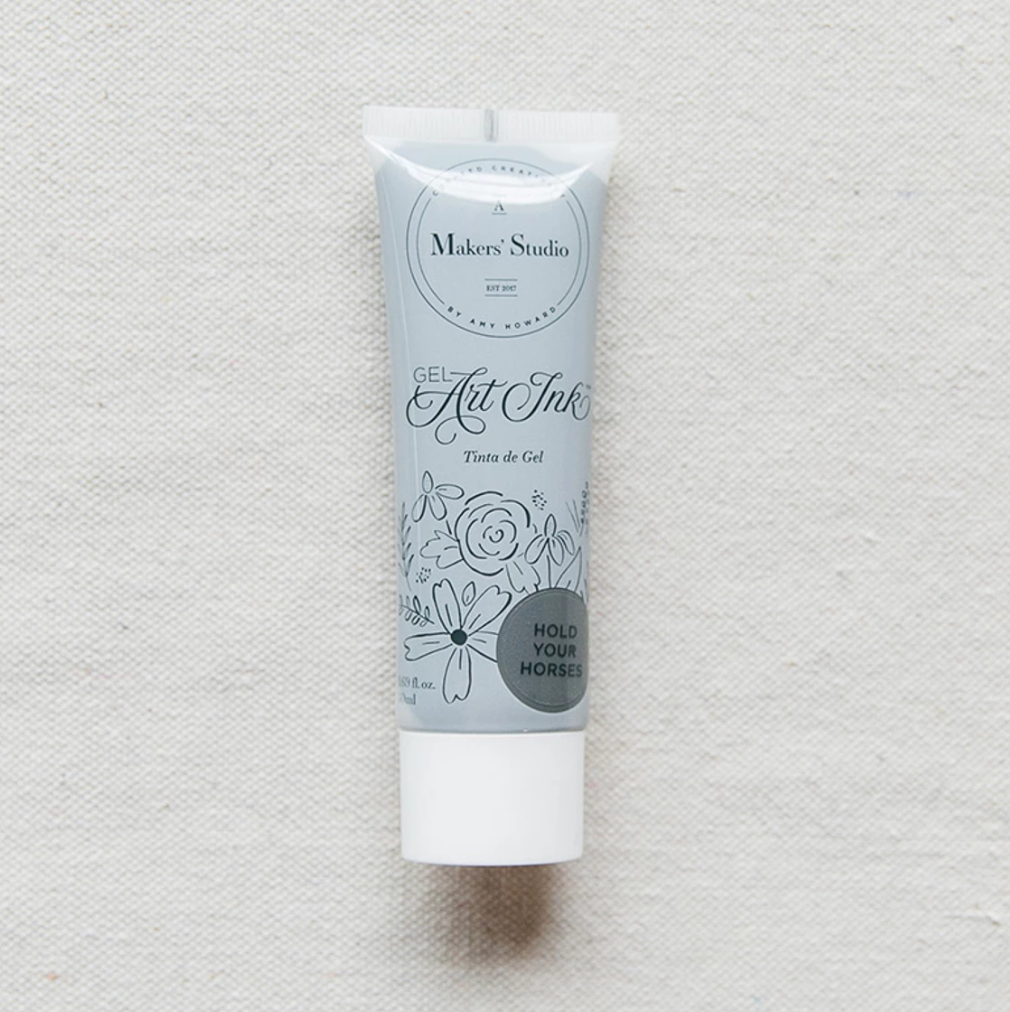
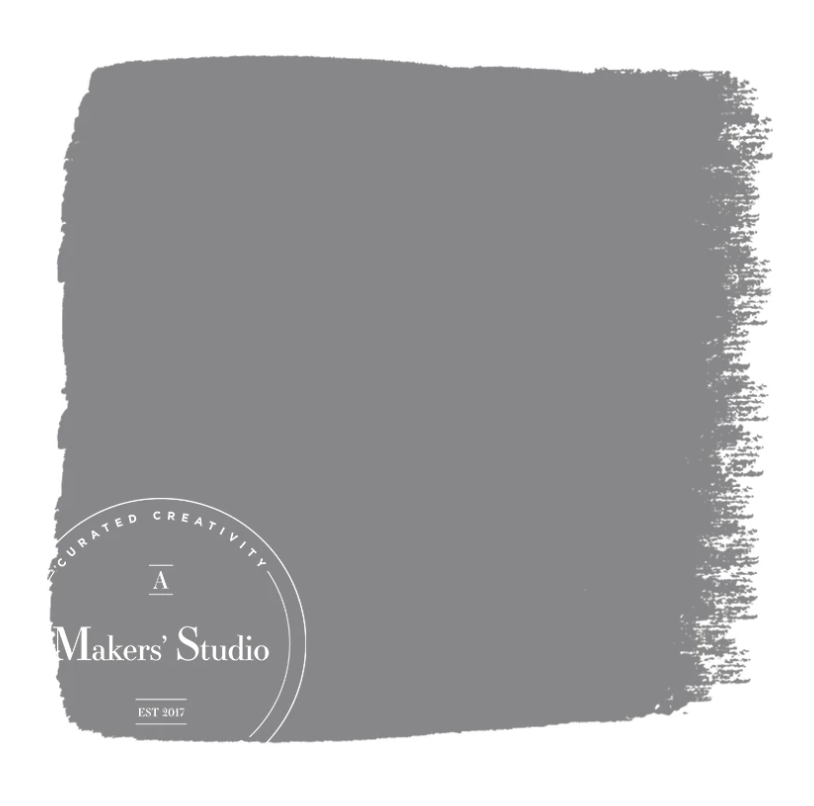
- A Maker’s Studio – Gel Art Ink in color of your choice. (I used “Hold Your Horses”)
- A Maker’s Studio – Chalk Art Spreader
- Painter’s tape (Optional)
STEP 1
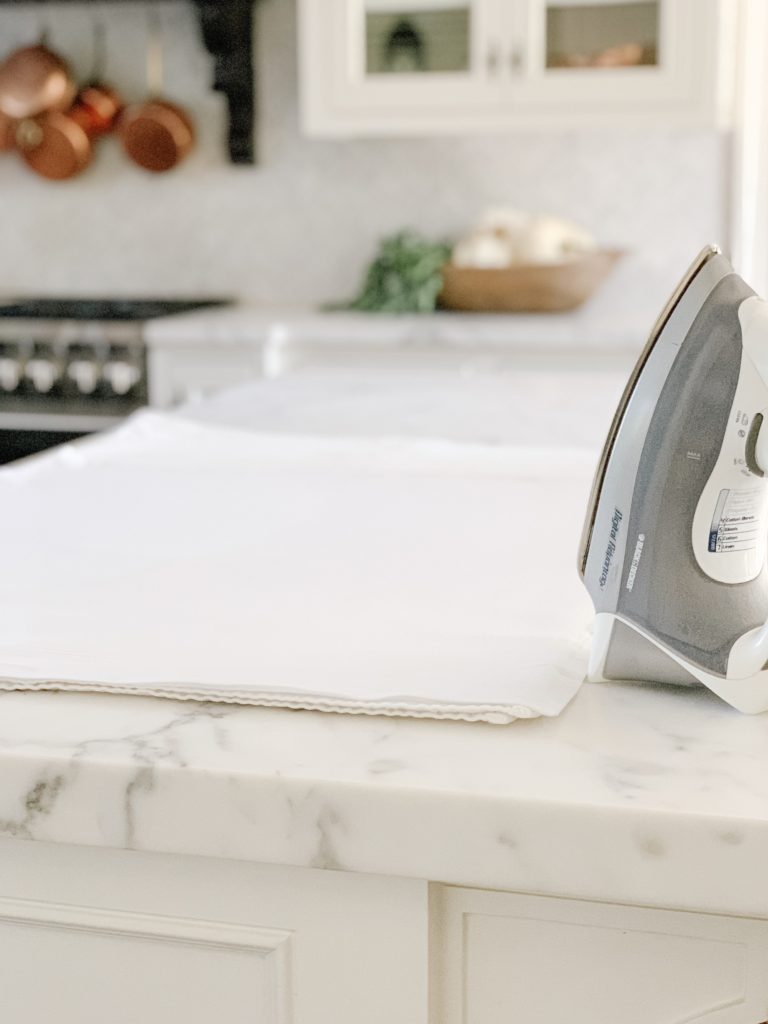
Iron any creases or wrinkles out of your napkins, especially in the area where you will be stenciling.
STEP 2
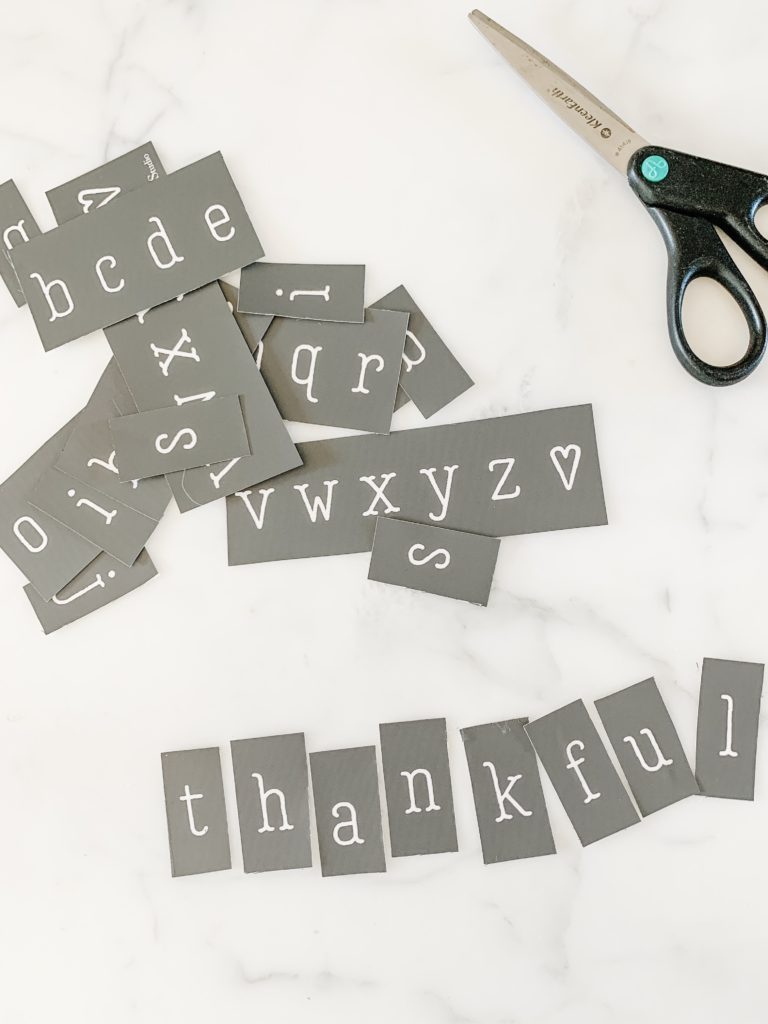
Cut out the letters and designs you will be using. The stencils are self-adhesive, which is awesome and makes them so easy to use. They have a removable back and can be cleaned and reused multiple times.
STEP 3
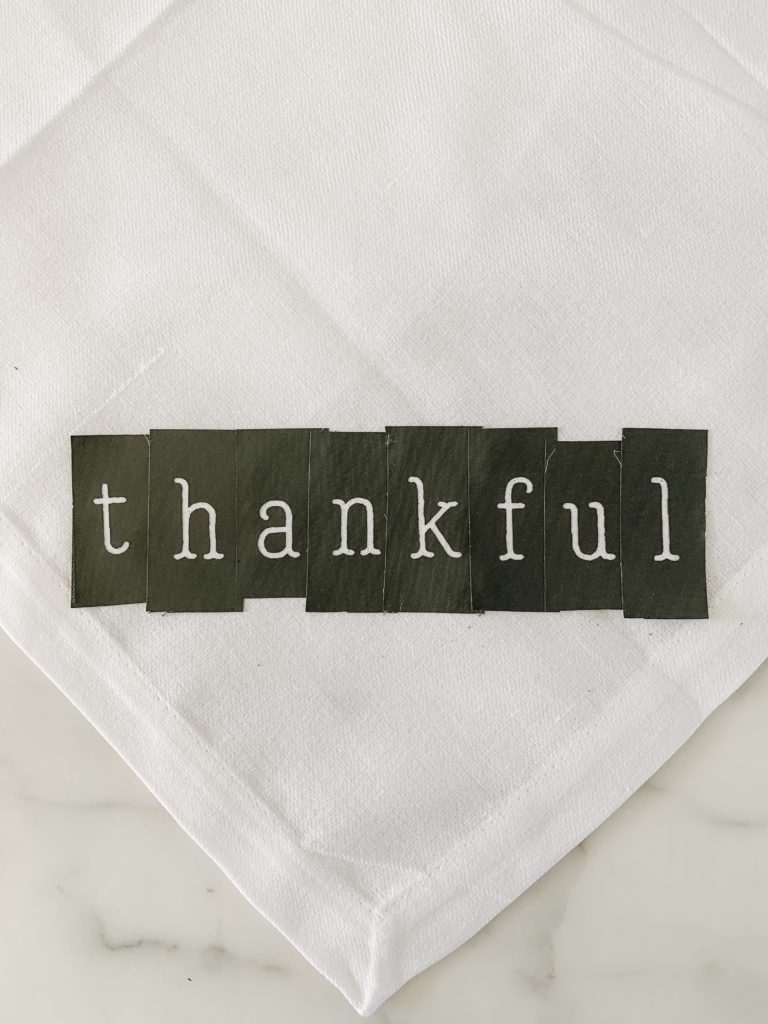
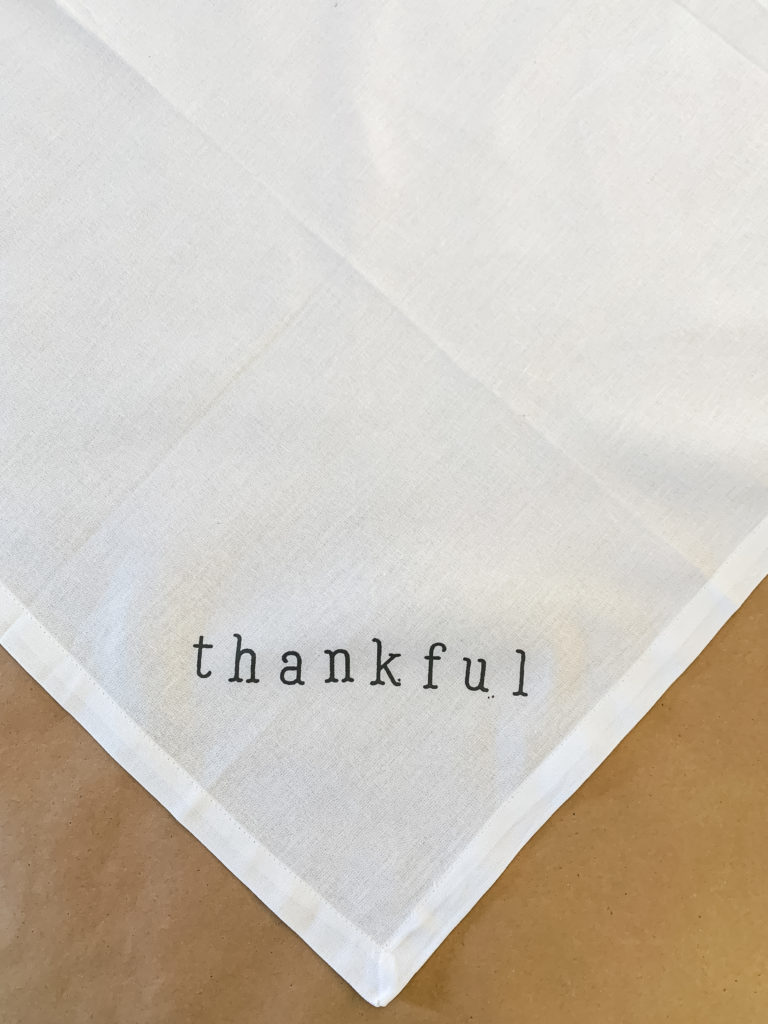
Stick the letters on to the napkin where you want the stencil. I placed mine in the corner, so I could use it as a placemat. If you want to make a folded napkin, place the stencil in the middle of a straight edge.
I don’t mind a more free form look for my napkin, but you could use a ruler to get exact spacing if you like.
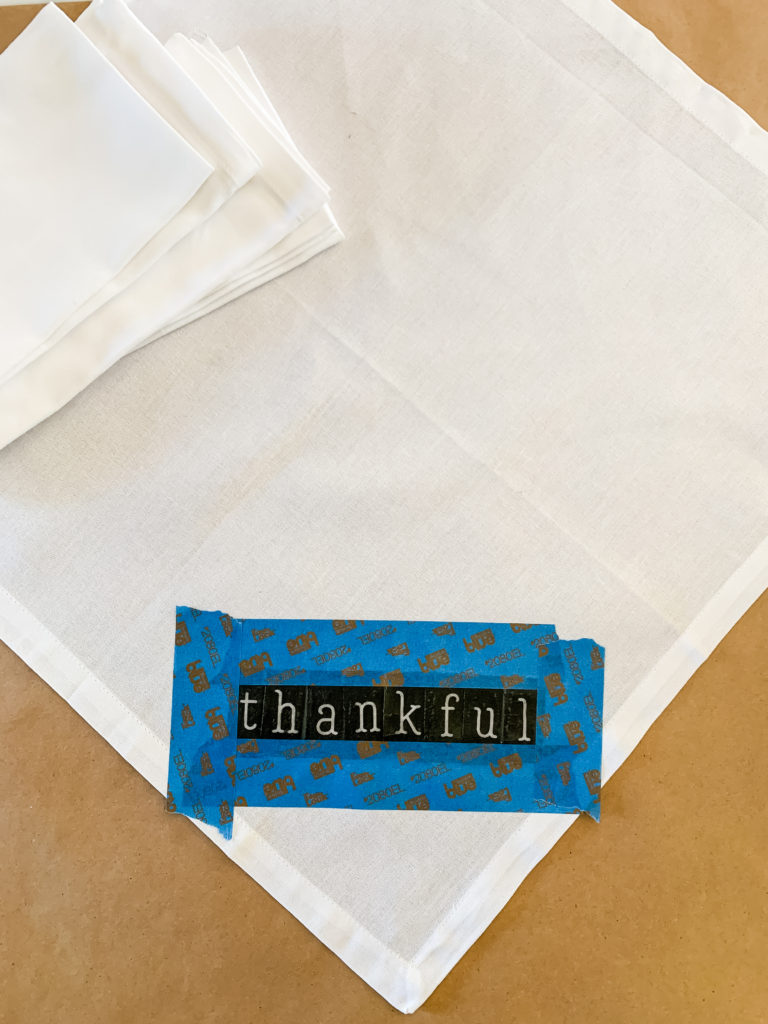
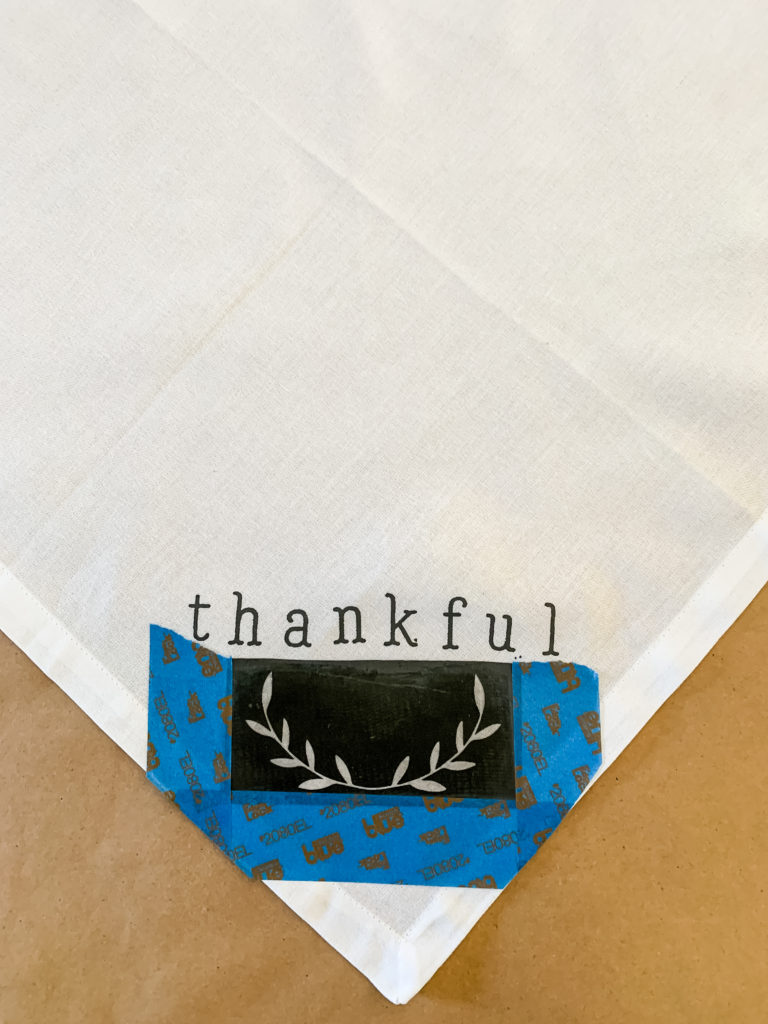
OPTIONAL – Use painters tape on each side of the letters to give yourself a bit more room to paint. This step is not necessary, but I’m sort of messy, so I wanted to give myself extra room to make a mistake!
STEP 3
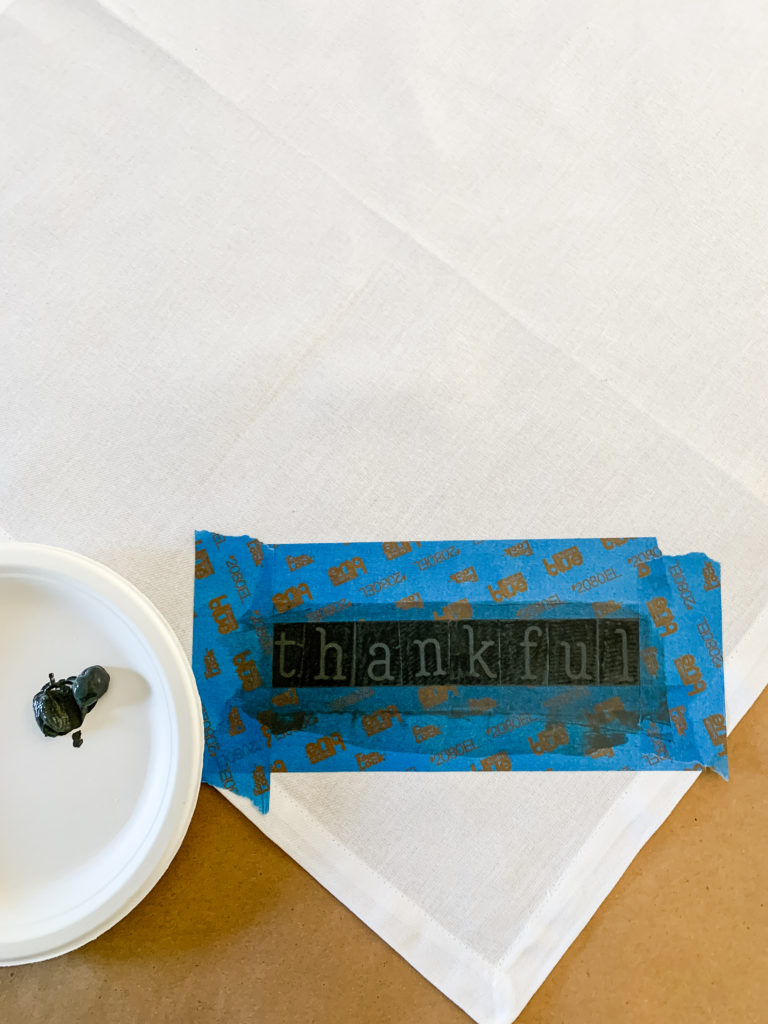
Make sure to protect the surface under the napkin as the ink might bleed through.
Add paint to the spreader and spread the paint evenly over the stencil.
Below is a video from A Maker’s studio, showing how to apply the Gel Art Ink.
STEP 4
Peel the stencil off of the napkin and allow the paint to dry for a few minutes.
STEP 5
Repeat the process with the olive branch detail or any other stencil you choose.
Allow the ink to dry for a minimum of two hours and then iron the stencil with a 250-degree iron to set the ink.
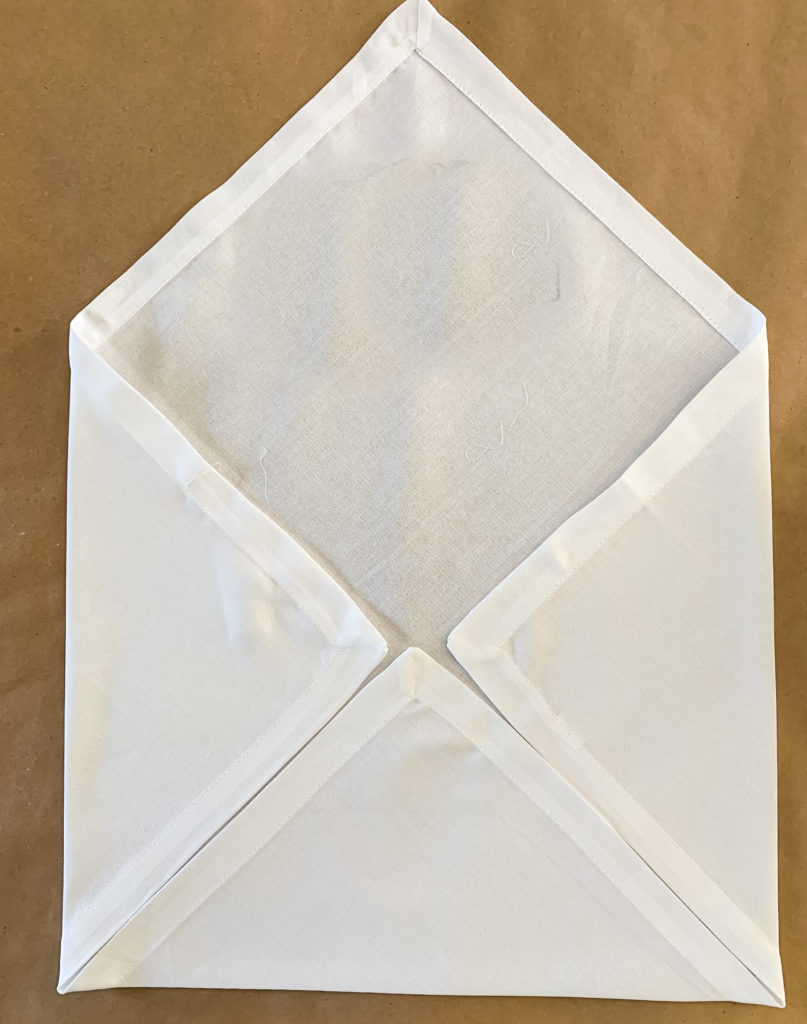
To use the Thanksgiving napkin as a placemat, turn it upside down and fold in the three blank corners, like an envelope.
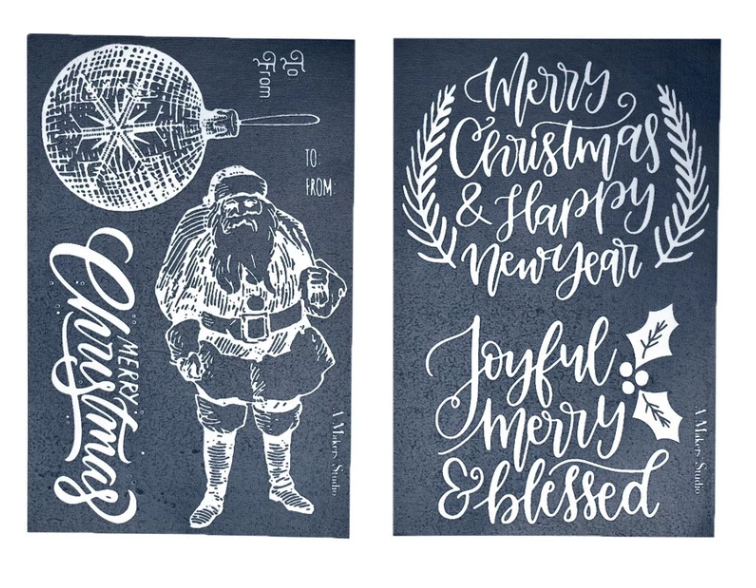
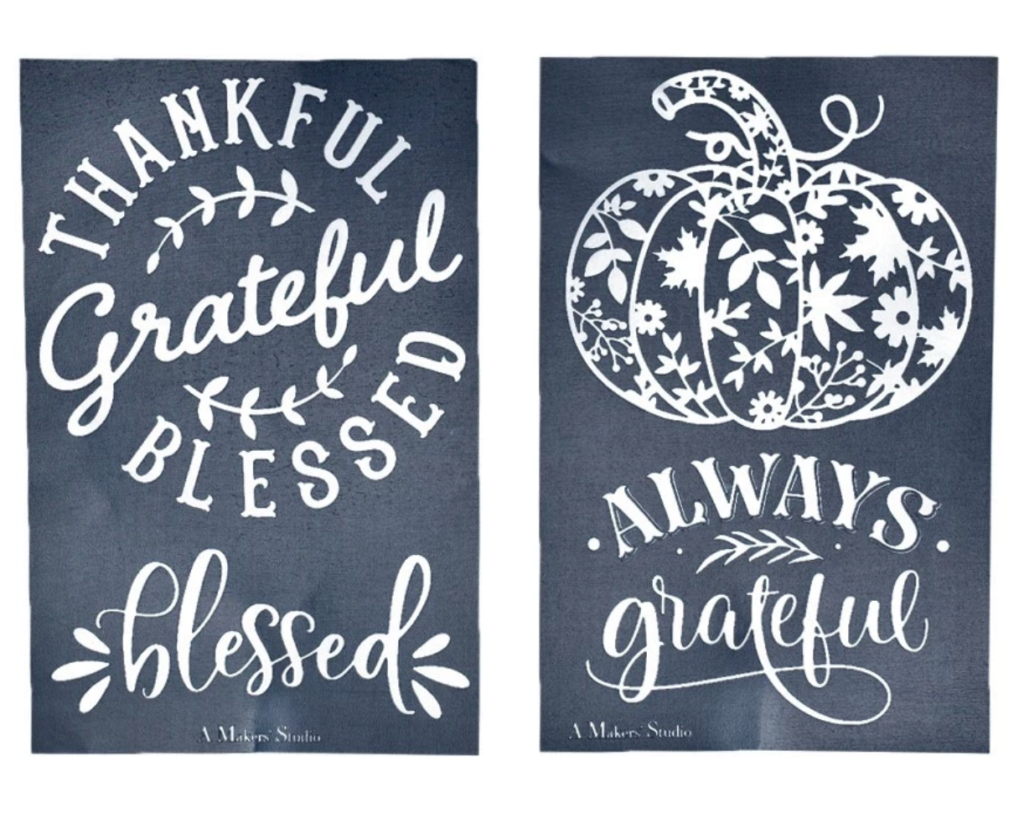
And that’s it! So simple and easy and yet so pretty, right!? I’m envisioning all kinds of amazing things I can do with A Maker’s Studio! They have some great holiday stencils available right now and a YouTube channel with tutorials on how to make dozens of beautiful items.
Be creative and have fun…these stencils are amazing to work with! If you have any questions about this process, feel free to leave a comment below. Have fun creating a beautiful Thanksgiving table!


Thank you soo much for explaining…
I was wondering
Now I know!
You’re very welcome Jean!
Love it! ❤️ Is the ink permanent after all those steps so they are washable?
Thanks!
Hey Denise! Yes it is permanent…remember to iron 2 hours after you apply!
How many times do you think the stencils could be used? I have about 12 napkins to do for a large gathering! Thank you!
They are reusable dozens of times! I made more than a dozen and they are still in great shape!