How to Make This Fall Centerpiece in 3 Easy Steps
Hi my friends! It feels like the holidays are quickly approaching and with that comes all of the preparations for entertaining and celebrating with friends and family. If you’re like me, I don’t want to feel overwhelmed by my holiday to do list, so I take every shortcut I can take to maximize my time. Which brings me to this centerpiece. This is one of the easiest centerpieces I have ever made and I have gotten so many questions and comments about it, so today I wanted to share how to make this fall centerpiece in 3 easy steps.
I timed myself as I was making this centerpiece and it took me 20 minutes from start to finish!
Here’s What You Will Need:
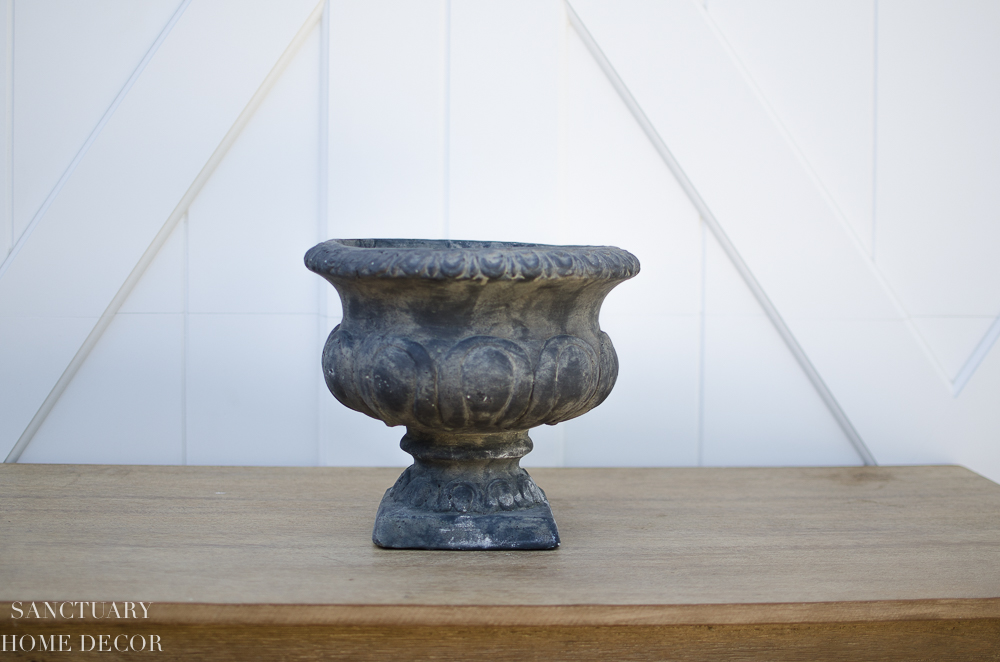
A black resin urn about 12 inches in diameter
I used a container that I have had for several years, but you could honestly use any round or even square container that is opaque, so you can’t see the floral foam
3 blocks of floral foam
You can find this at your local craft store or online. I have linked a source for you below.
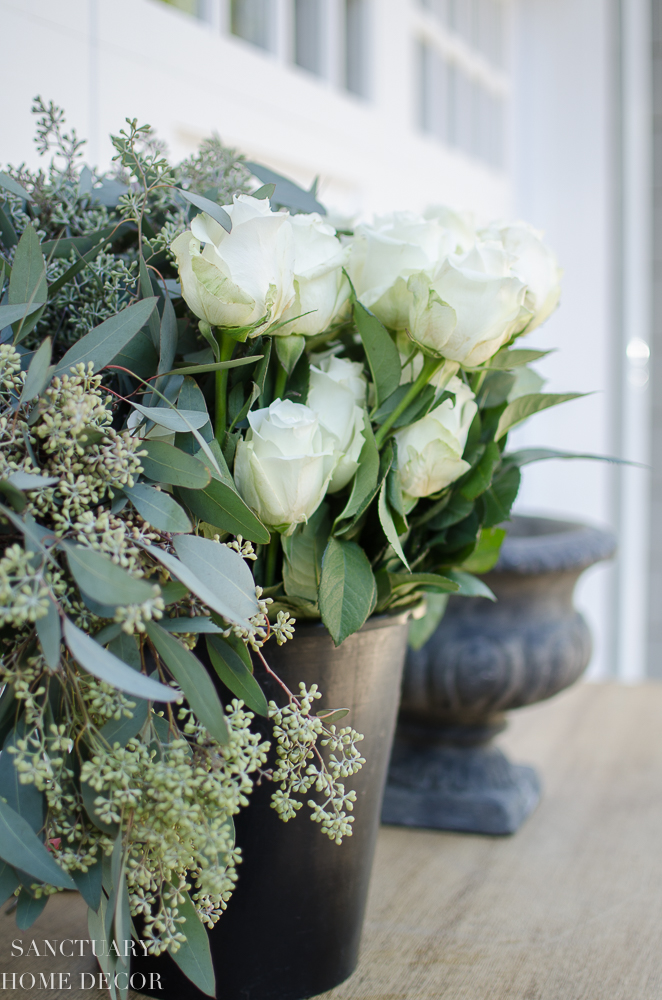
15 Stems of seeded eucalyptus
This is often available at your local grocery store. If you can’t find seeded eucalyptus, the larger silver dollar eucalyptus would be a good substitute.
12-24 stems of white roses
Readily available at most grocery stores. You could use any color, but I love the versatility of white.
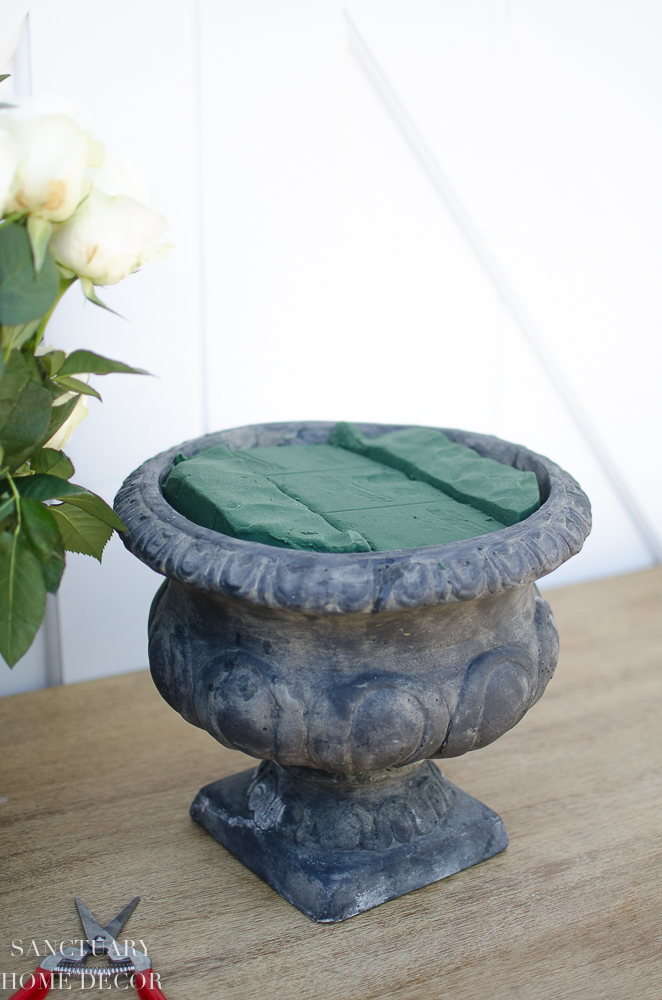
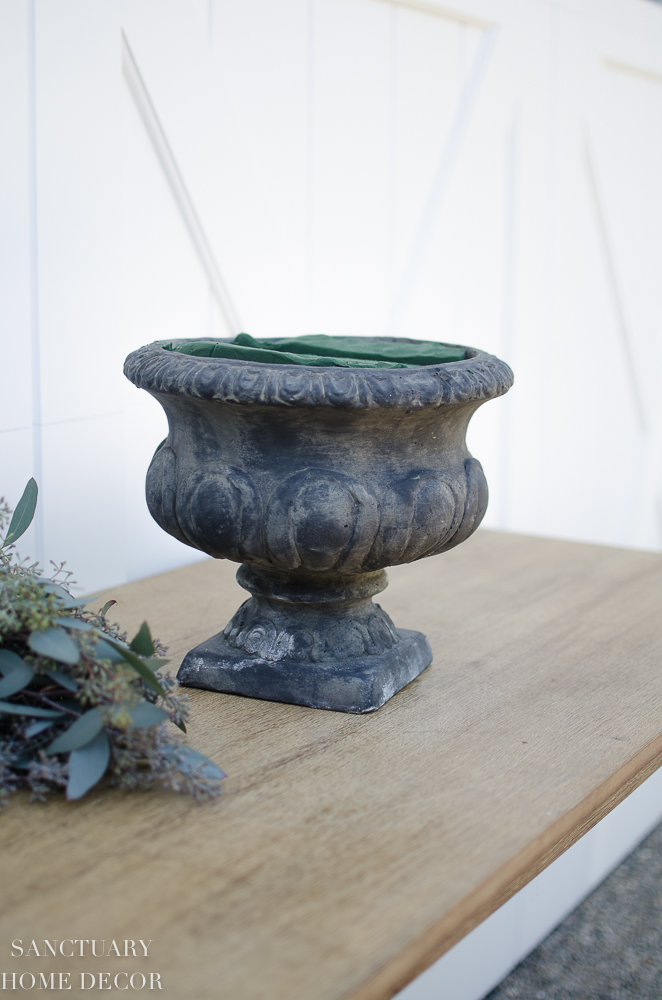
STEP 1:
Add soaked floral foam to your container.
If you have never used floral foam, please don’t be intimidated! It is honestly so easy and will be a game changer when it comes to your floral arranging!
I have shared how to use floral foam in the past and you can see all of the details by clicking on the link below:
Make This Floral Arrangement in 3 Easy Steps!
After I soaked this foam in water, I cut it into pieces to fit snuggly inside the container. This does not have to be a perfect fit. As long as the foam fills the container and is a fairly even surface about 1/4 – 1/2 from the top, you’re good to go.
STEP 2:
Fill The Container With Greenery
This centerpiece relies on a heavy amount of greenery. I always start along the edges and add my greenery at an angle so it falls over the sides of my container.
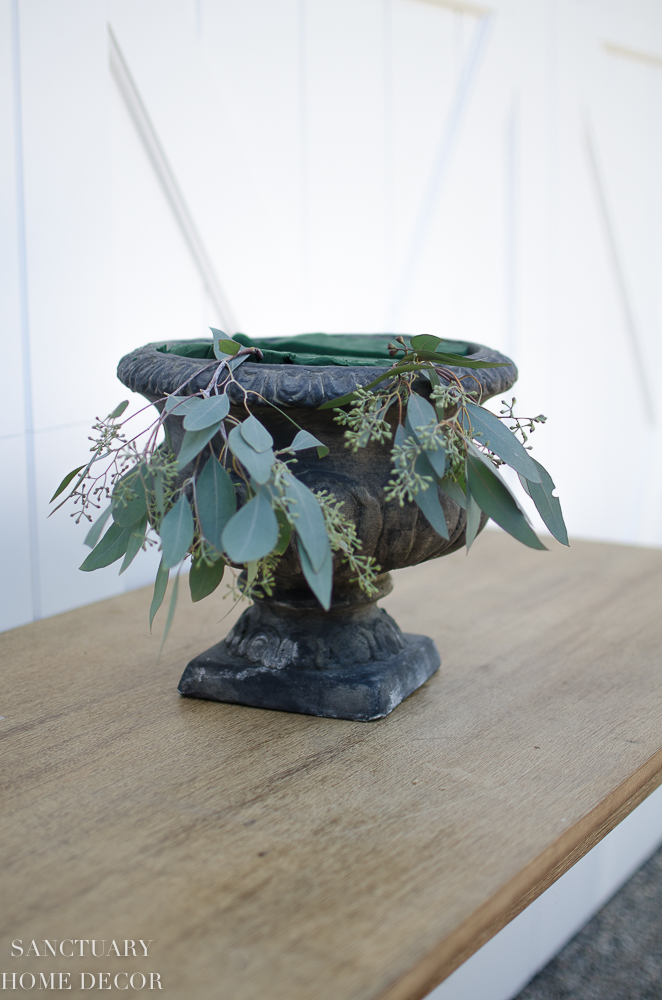
In this case, I cut the stems about 2” long and stripped off any lower leaves.
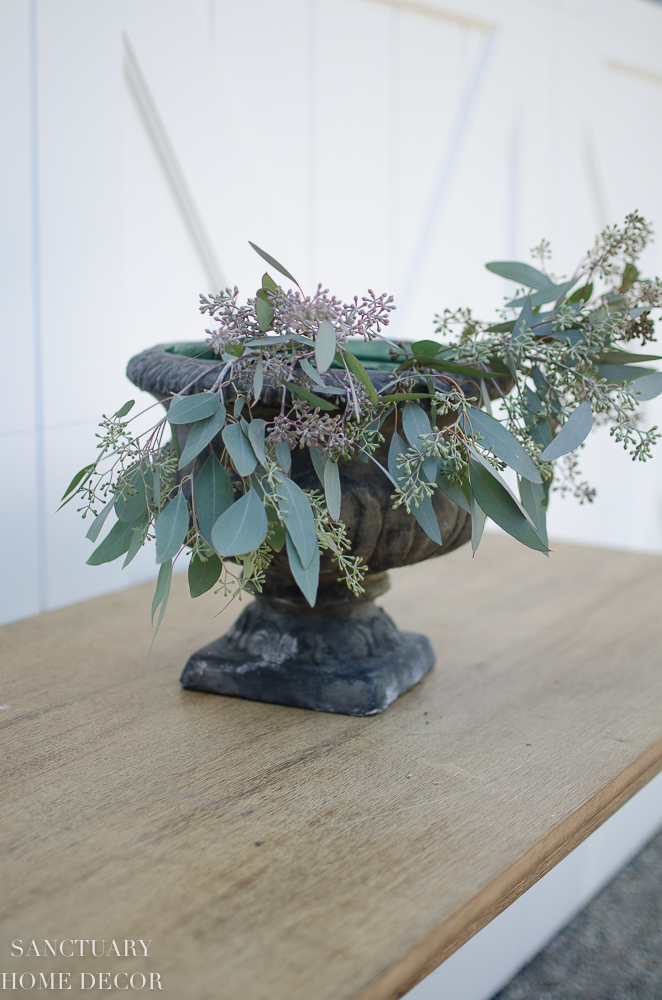
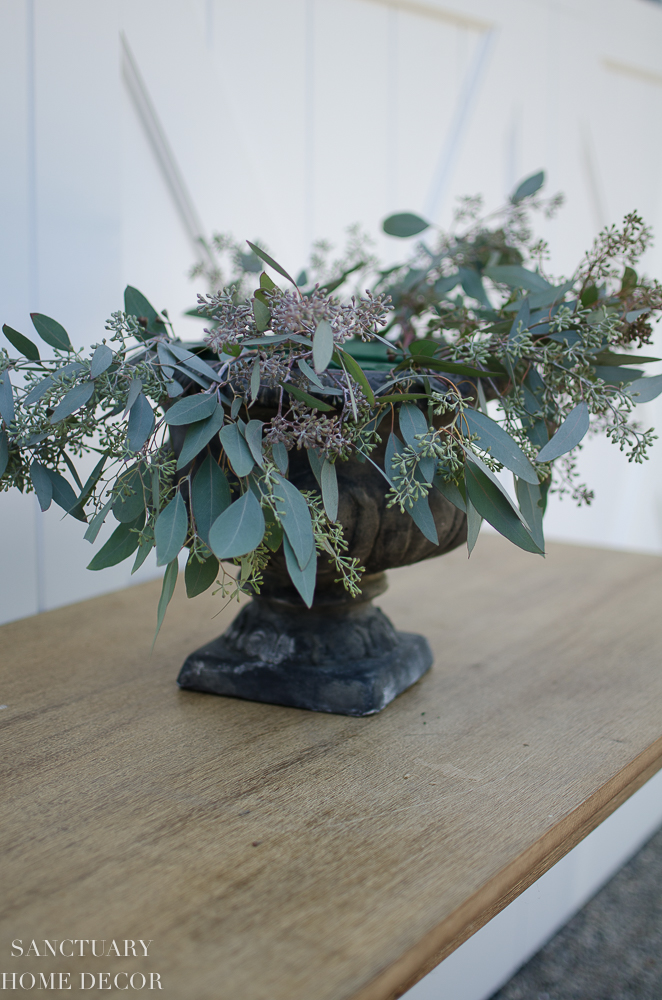
I continued adding the stems all the way around until I had a fair amount of greenery along the edge. Then I started filling in the center.
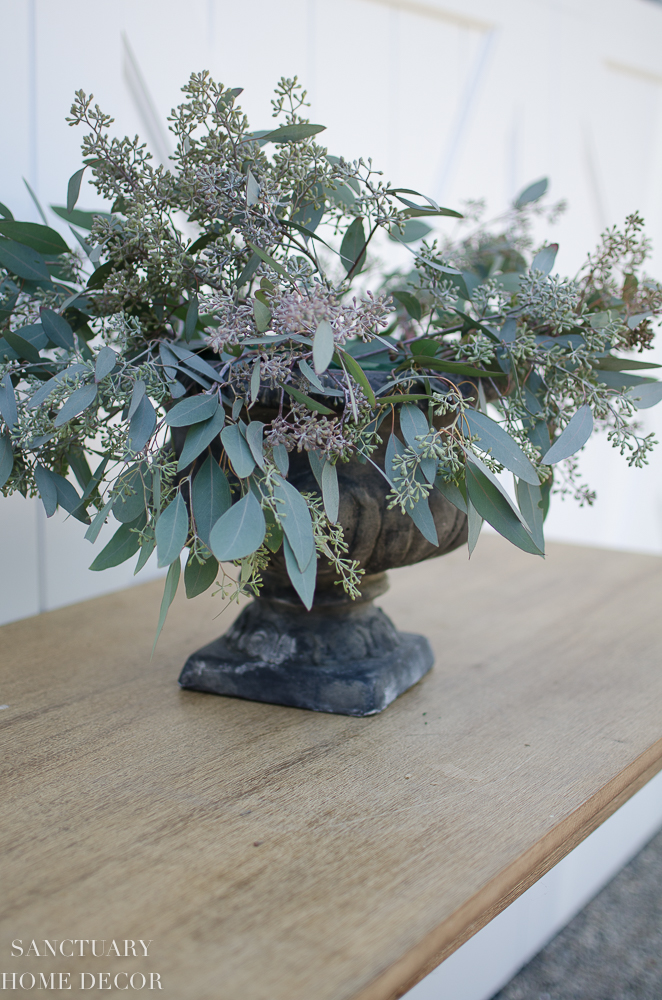
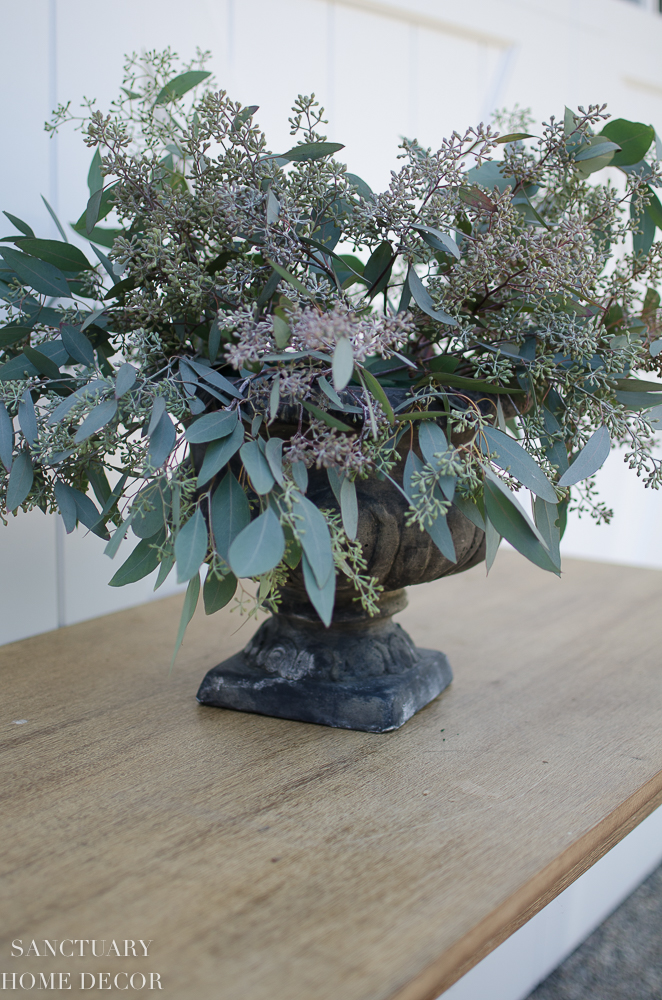
I filled in the majority of the center with greens leaving some open spaces to add the roses.
STEP 3:
Add the Roses
The final step is to add the roses. It is important to measure the length of the stems carefully in this step, so the heads of the roses do not sit too deeply in the greenery and also are not sticking too far out.
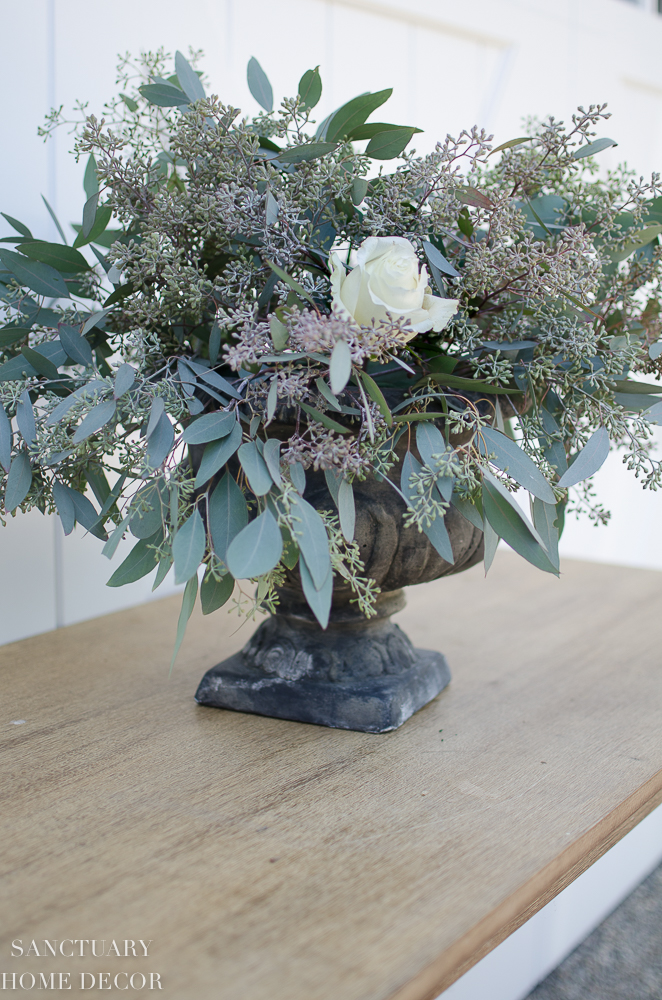
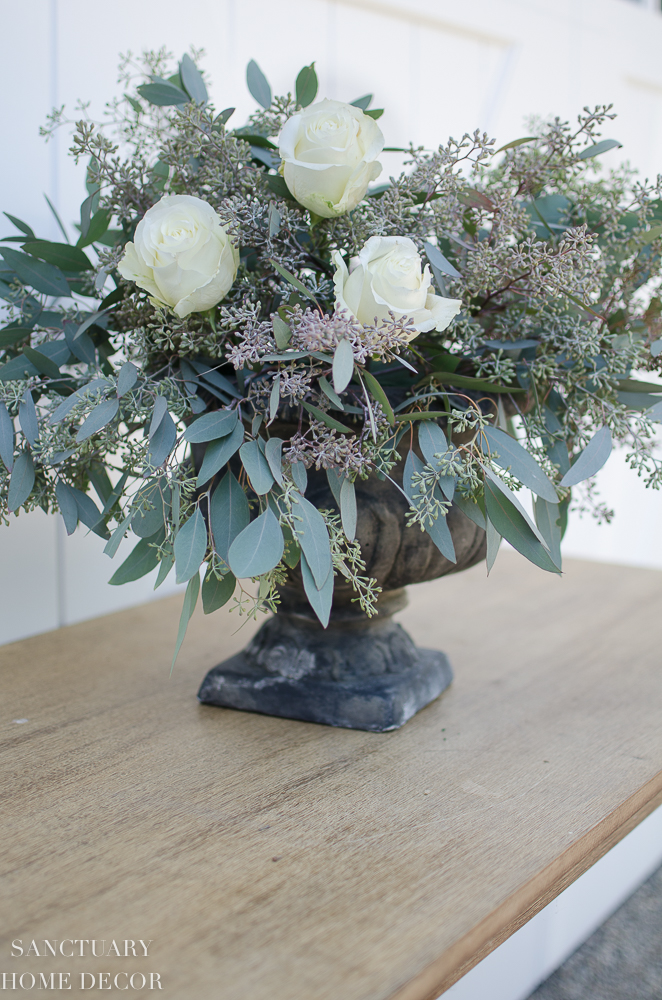
I placed the roses along the edges at more of an angle, and as I moved toward the center of the arrangement, I put them in more upright.
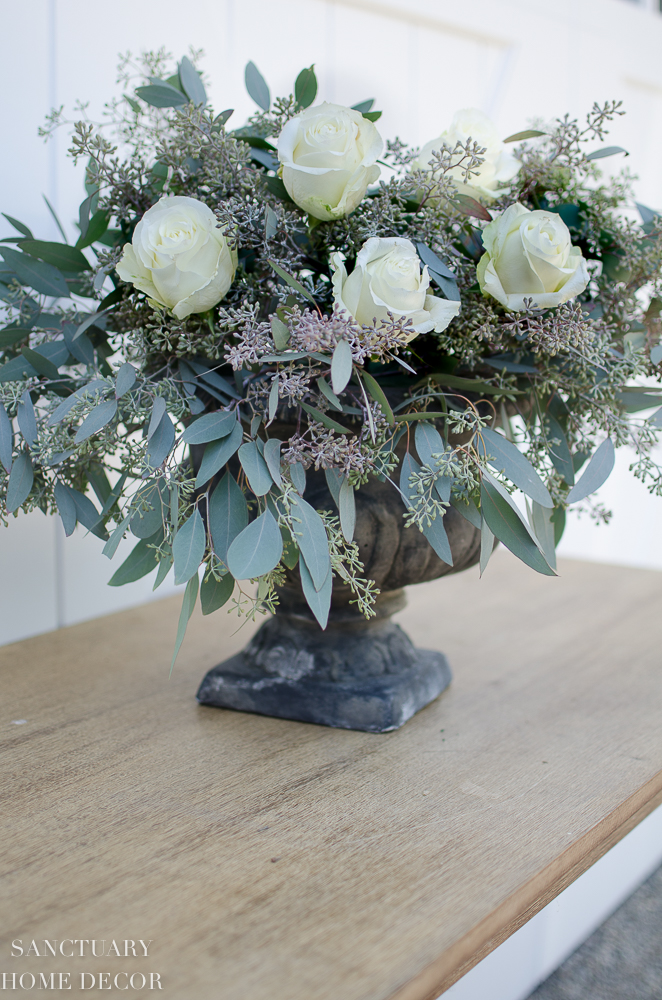
In all, I used 18 stems of roses in this arrangement.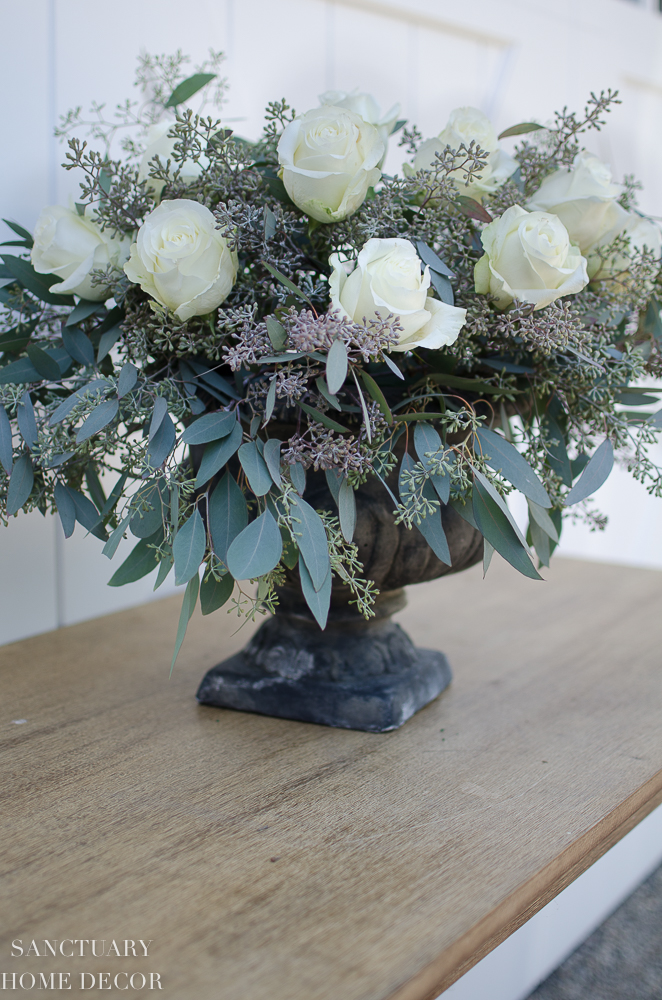
You could use a few as 12 and as many as 24 depending on how full you wanted your centerpiece to look.

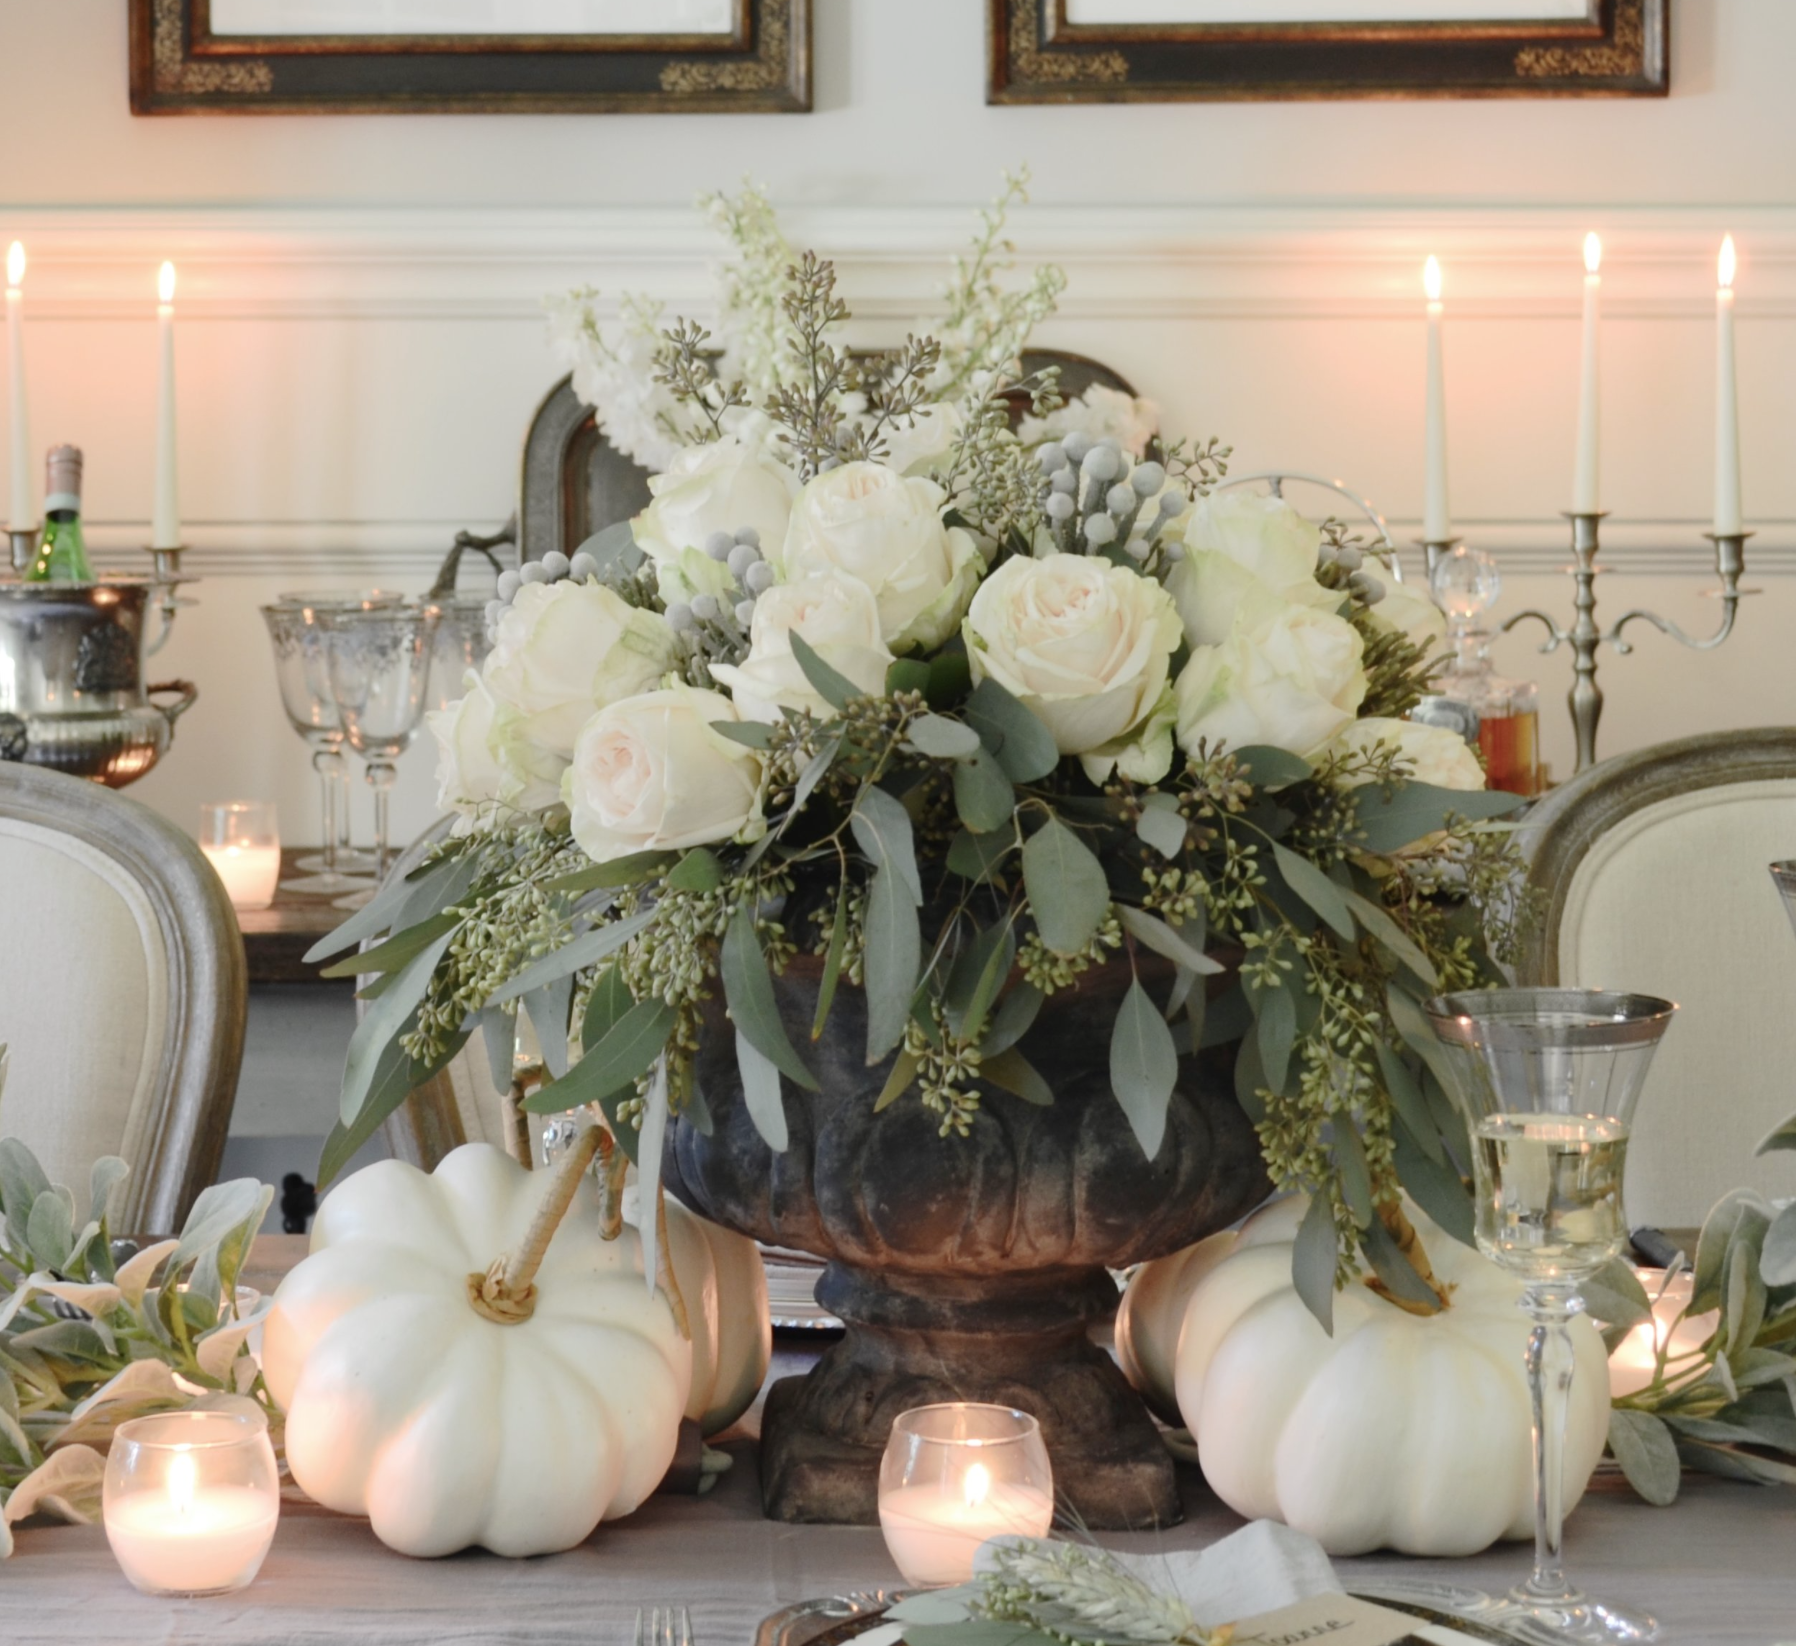
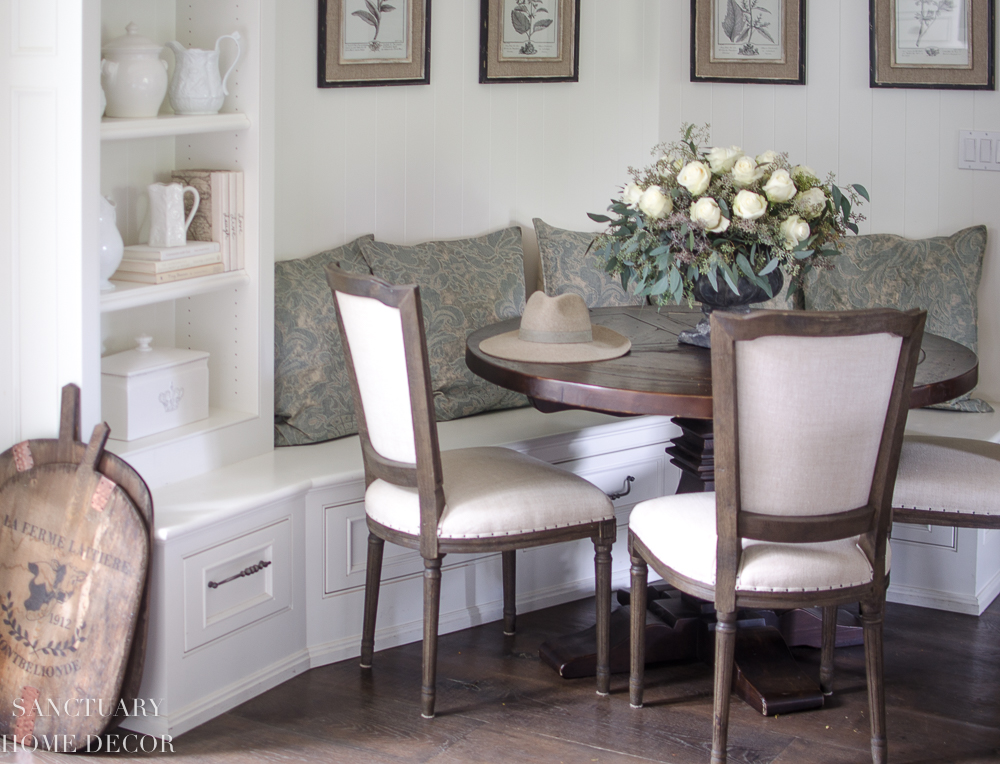
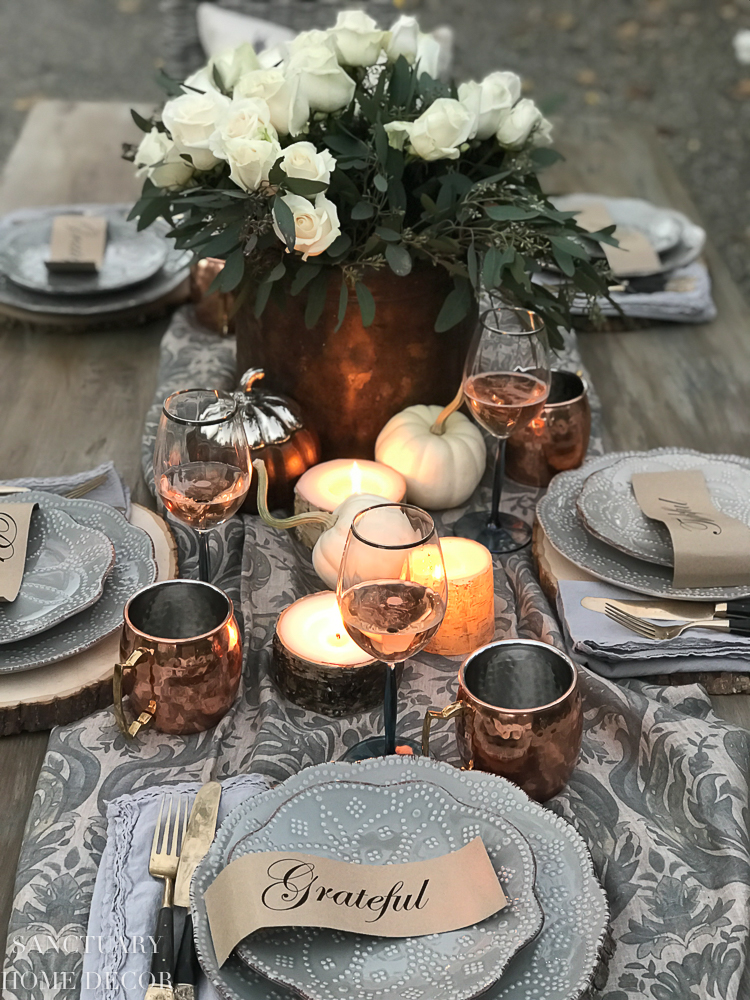
And that was it! 20 minutes and I had an easy, neutral fall centerpiece!

I did use a bit of silver brunia in the original centerpiece from last year, and you could add in any additional accent flower depending on your palette.
You can see the full post about this Thanksgiving table by clicking the link below:
I love how this centerpiece looks on a formal Thanksgiving table as well as on my breakfast table.
I hope this inspires you to keep your holiday centerpieces simple and easy and gives you some ideas about how to do that. Please feel free to contact me if you have any questions about how to make this centerpiece!
Have a beautiful day my friends!


It looks amazing, thanks for the tuitorial .
Thanks so much for stopping by, Jeannita
Love it! And, thanks for the easy to follow tutorial!
Thanks, Margie! Glad you stopped by!
I didn’t see how you made this arrangement?!?! I only see the supplies that we need?!??
This is beautiful! How long does it typically last in the foam?
Hey Melodie! Thanks for stopping by! This arrangement will last for 5-7 days depending on how fresh your flowers are : )
I have always wanted to try a centerpiece with real florals, this is beautiful and looks rather easy to do. Thanks for the great inspiration!
It is super easy, Katie! Give it a try!!