How to Create a Planter Wall in Your Home
I got super excited last week when several new metal wall planters arrived on my doorstep. I loved the color and patina and knew they had to go “somewhere” in my house!
It took me a few days to figure out where and how I wanted to arrange these beauties. It wasn’t until I went into our garden cottage (aka, my former office) that I realized the wall above the couch, that I had so much trouble finding artwork for, was the perfect location for a planter wall.
To give you a bit of context, this cottage was originally built to be my home office, but after a year I moved my office into the main house and we decided to convert this into a guest house.

We call it the garden cottage because it sits directly next to our vegetable garden.
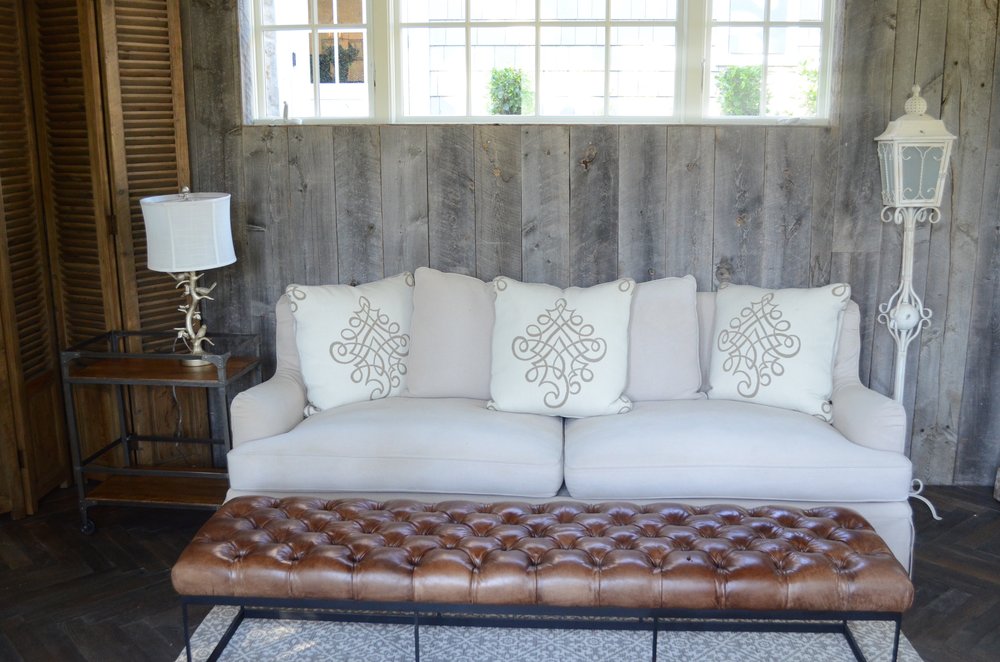
As you can see from the picture below, there was not much going on in here. There were a couple of leftover furniture pieces and a couch that I’ve always really liked. I wanted to bring the garden feel inside the room, so decided to use the narrow space above the couch as a starting point. I thought the reclaimed wood would be a great background for the galvanized metal planters.
I began by laying out the planters on the floor trying several different configurations. Once I found an arrangement I liked I attached the planters to the wall.
A little side note here…Thanks Dad for teaching me how to use a power drill many years ago! It might be the most valuable thing you ever taught me!!…well not really, but it sure has come in handy!
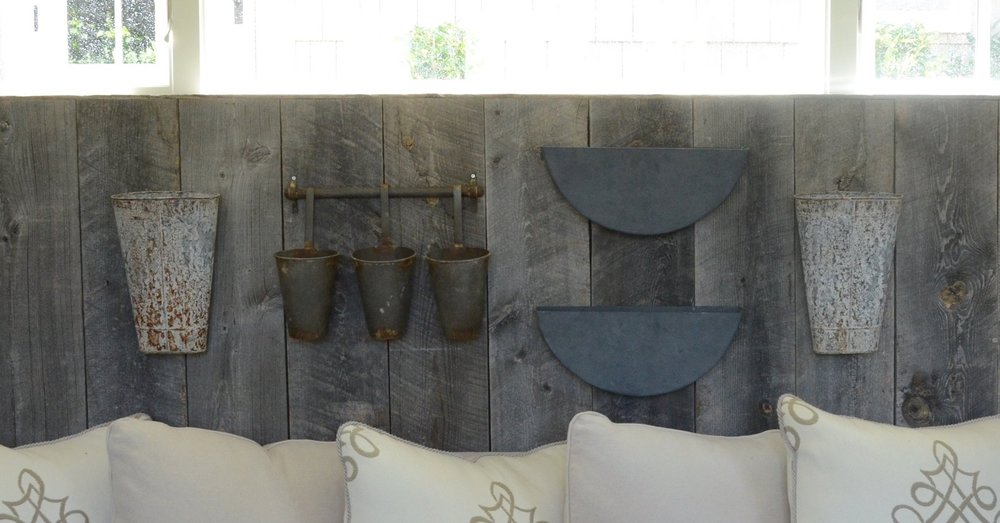
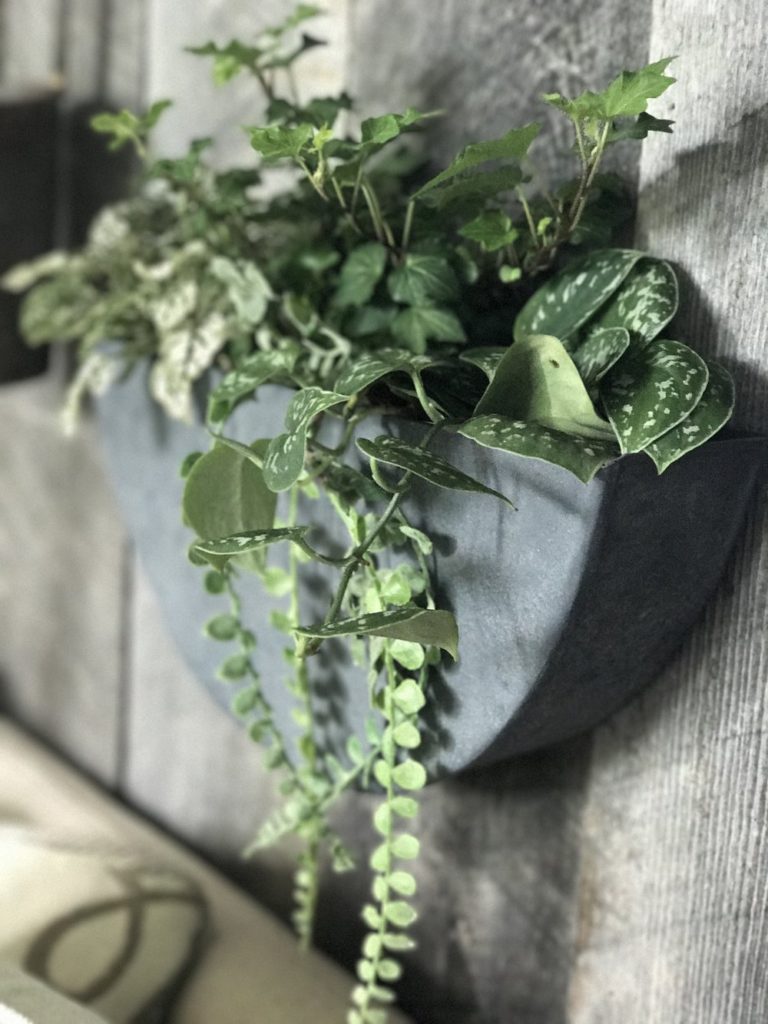
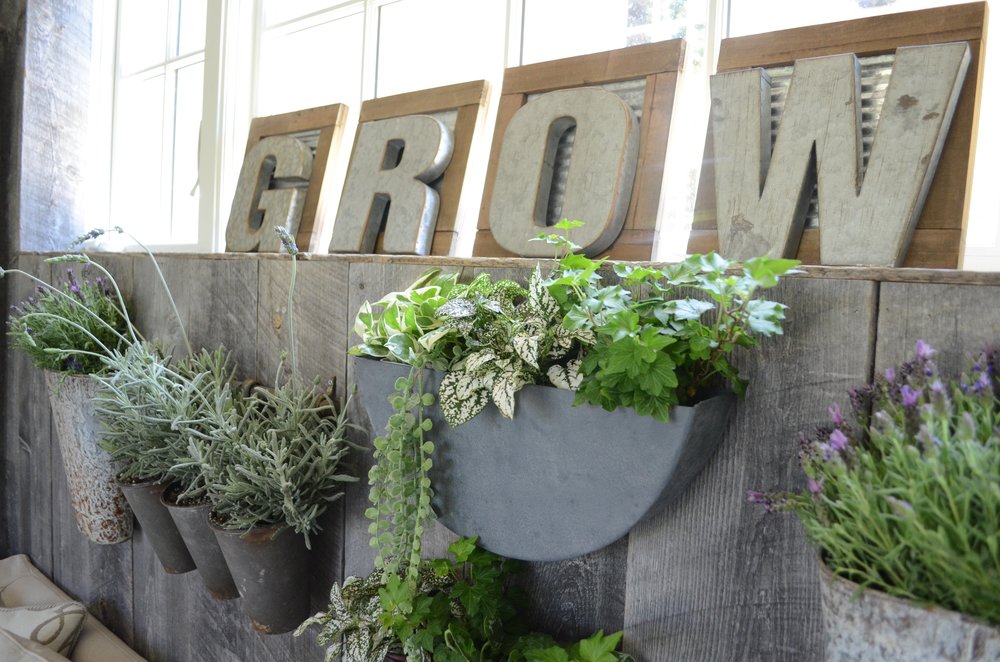
I originally thought I would plant the containers and then hang them on the wall until I discovered that the 3″ pots fit perfectly into the half round planters. So, rather than fill them completely with soil, I decided to fill them part way and then just place the pots on top of the dirt. This way if I want to water the plants in the sink, I just have to pull them out. I can also change the look of my planter wall easily by grabbing a few potted plants at my local nursery and trading out the current color with something new and fresh! I love that!
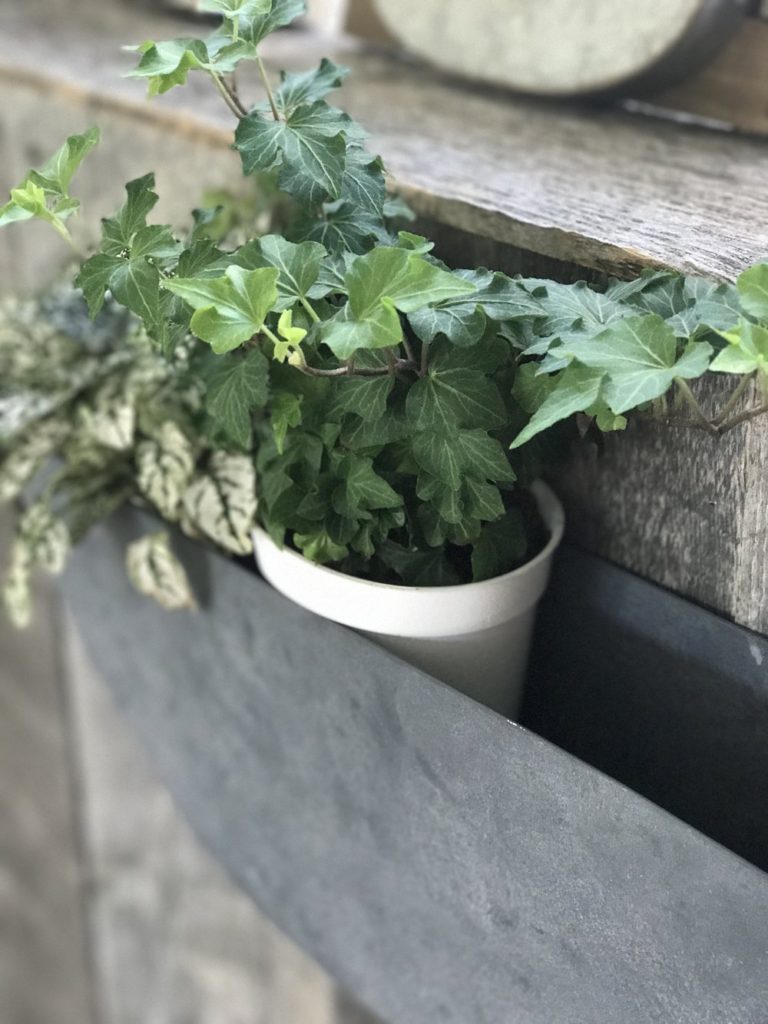
The 3″ pots fit right in to the semi-circle planters
I had toyed with the idea of using artificial plants, so I didn’t have to worry about killing them (which is a distinct possibility!) but decided to give live greenery a try.
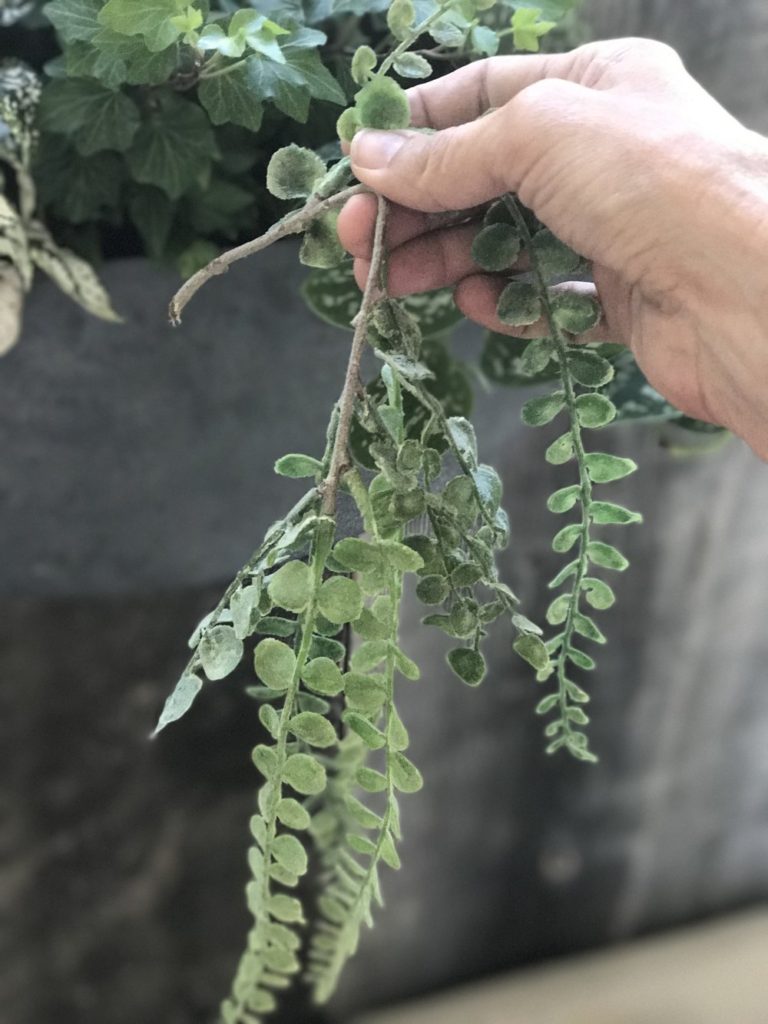
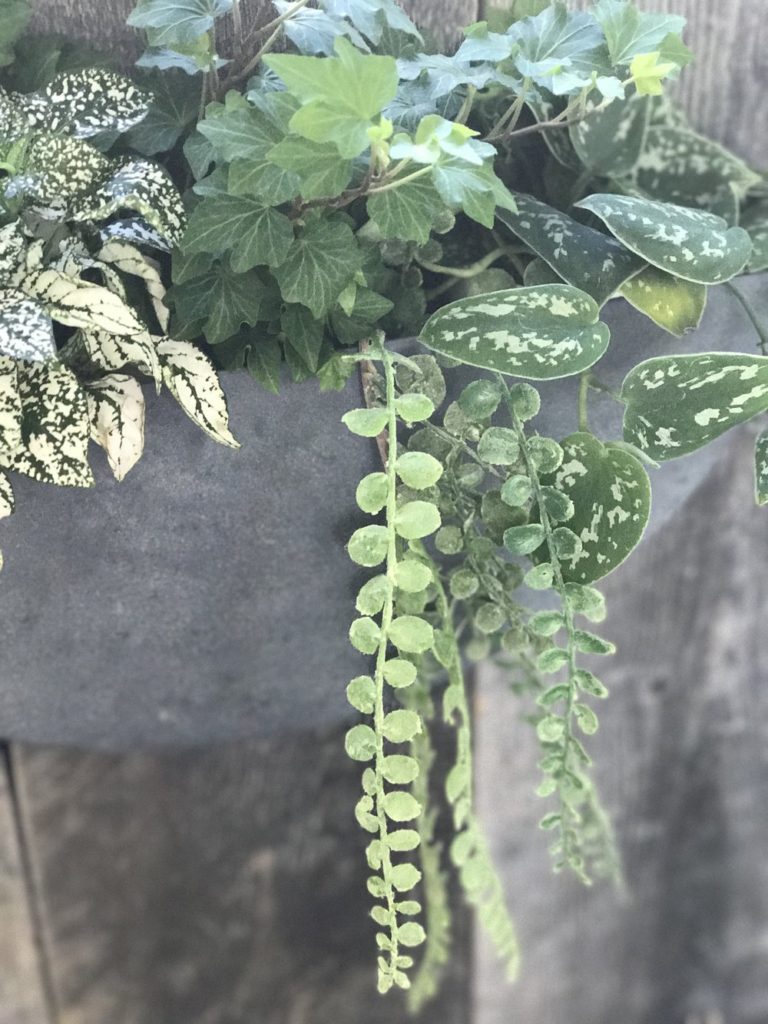
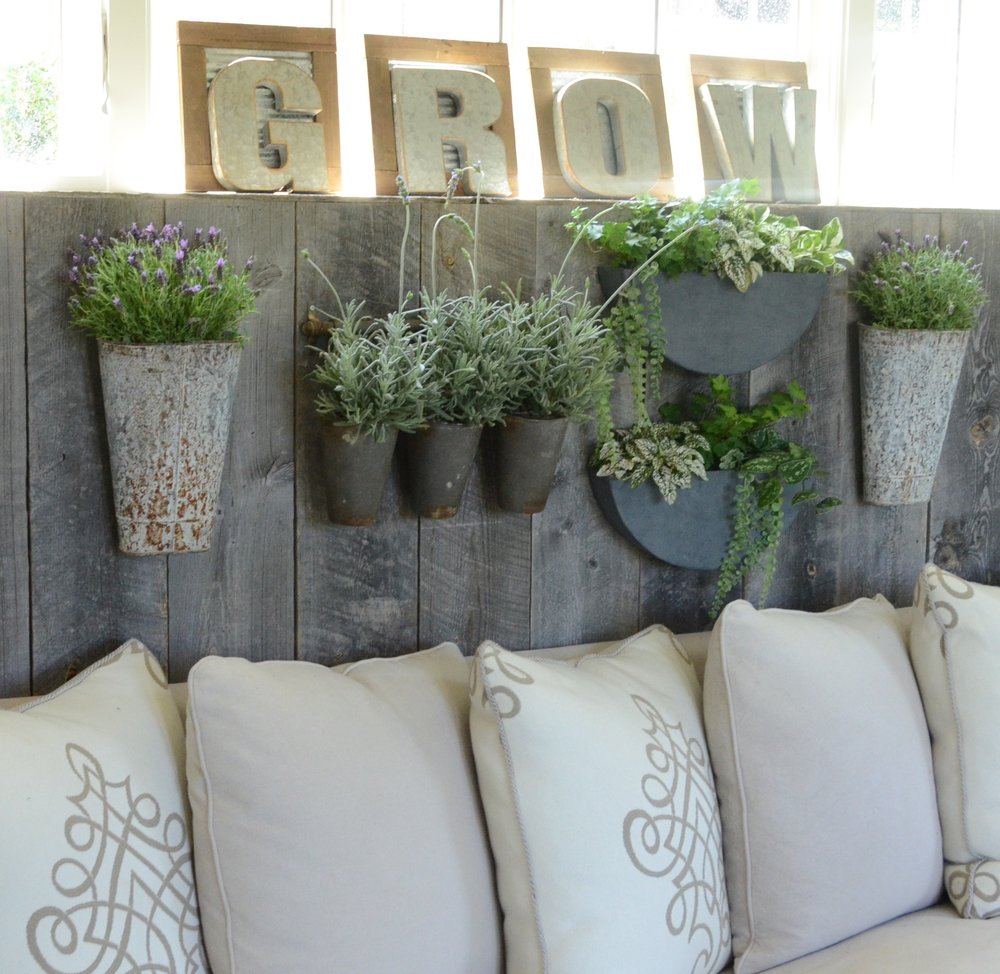
I did add a couple of artificial hanging greens to the semi circle planters to break up the solid look and add a bit of interest. It was super easy to tuck these right into the sides and unless you touch them, you would never know they aren’t real!
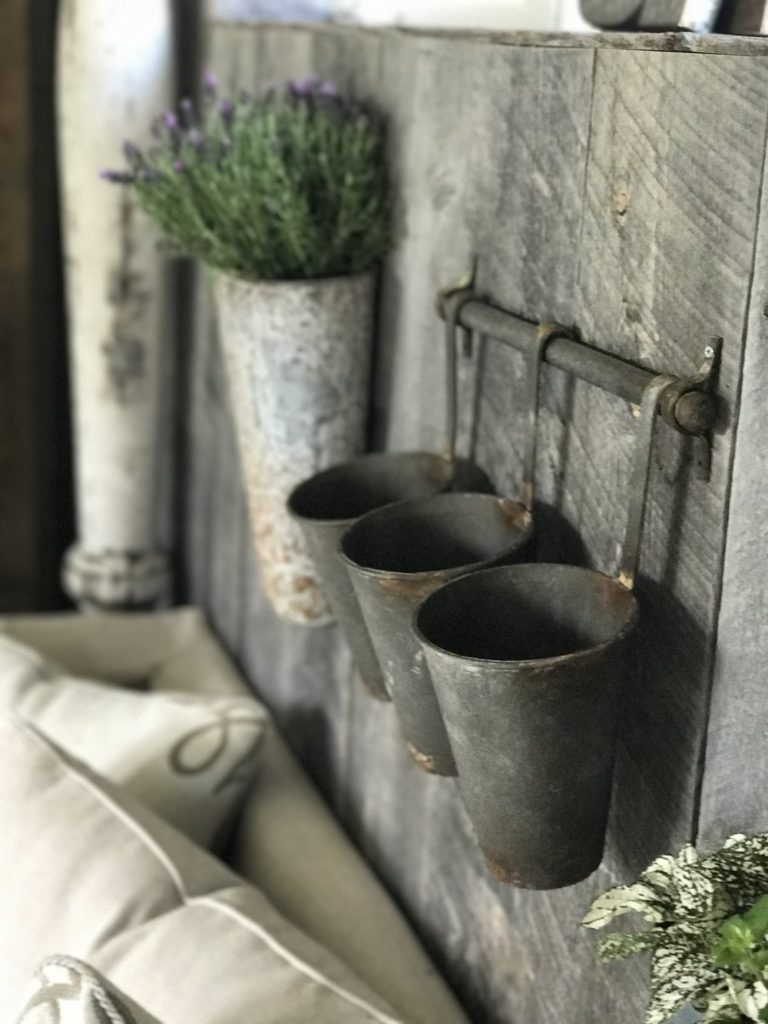

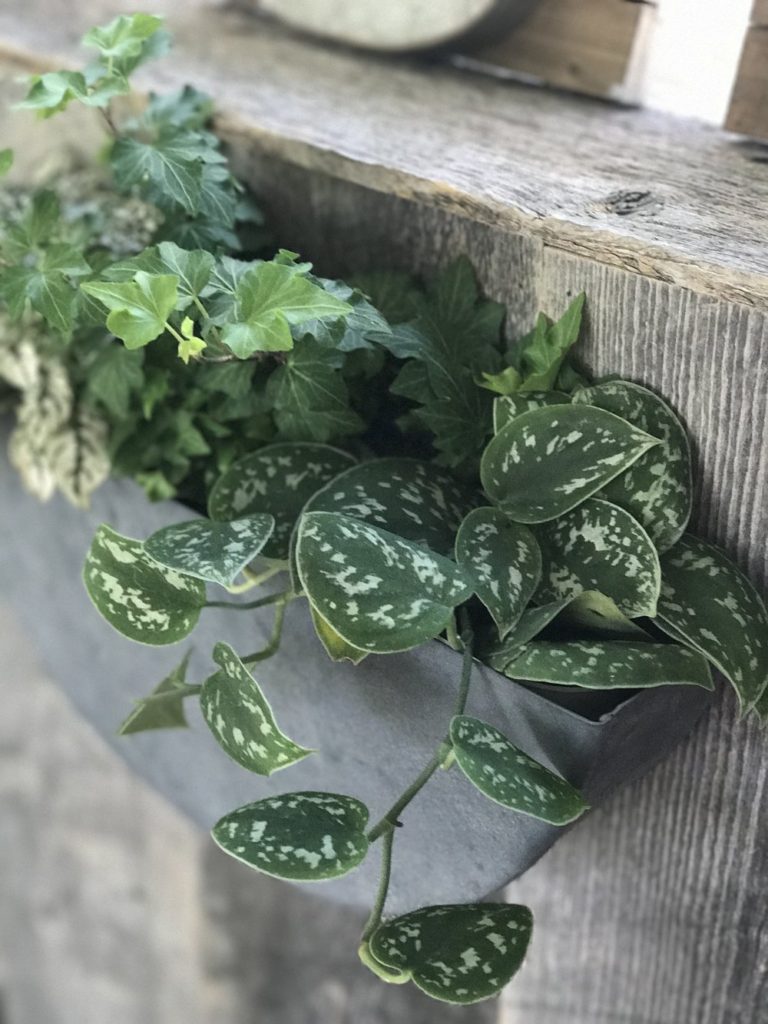
For the rest of the planters, I again just placed the already potted plants into them…So easy! I filled the bottom of the longer containers with soil to get the height of the plants right but other than that it was as easy as just dropping them in.
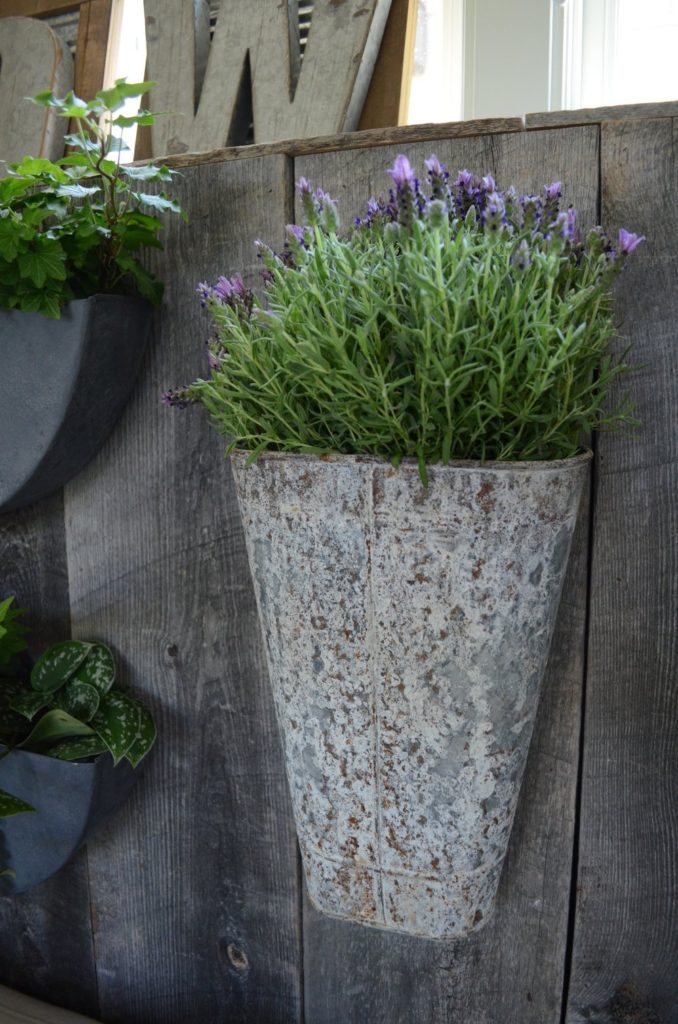
The scent of lavender in the room was amazing! So glad I chose it!
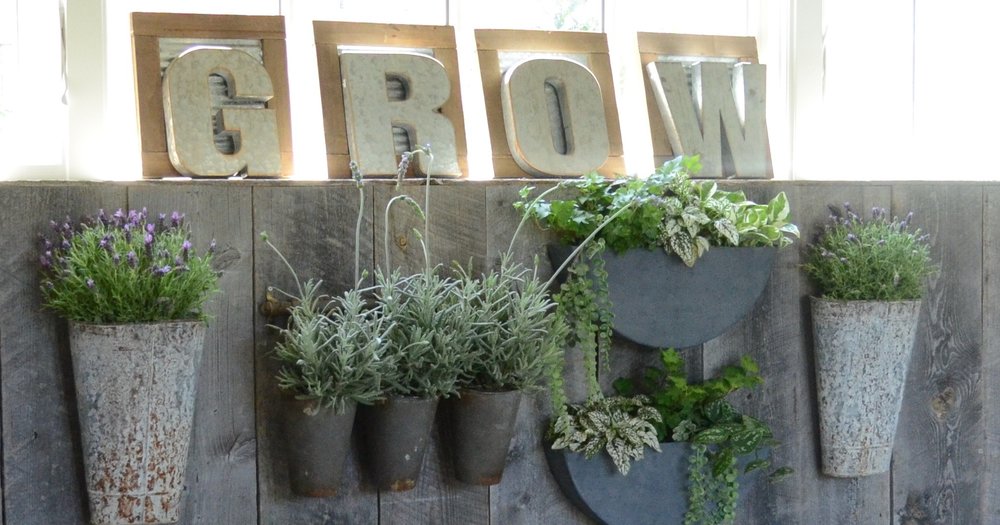
Once I got all of the plants installed, the window above the planter wall felt like it need “something”, so I went to my local craft store to see if I could find some inspiration.
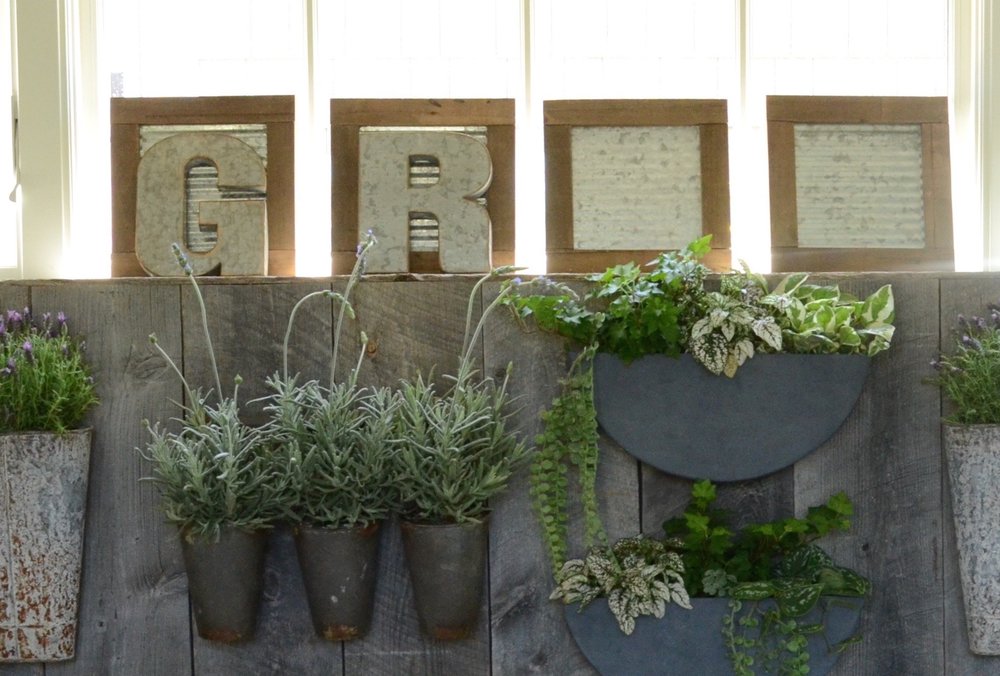
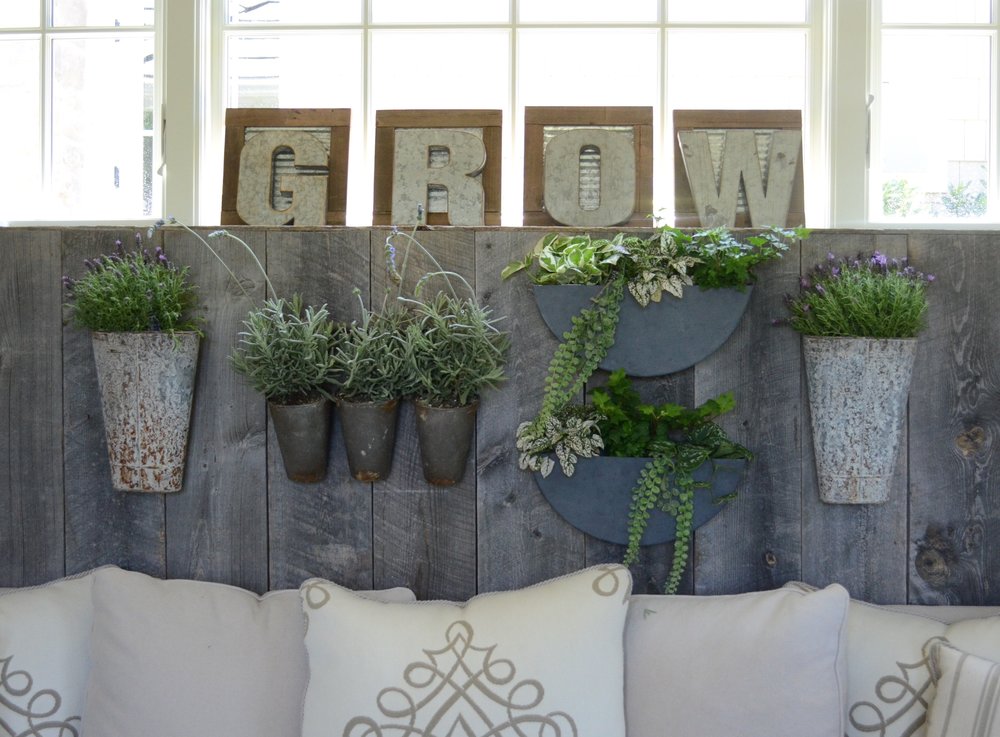
I found these great galvanized metal letters and although the stock was limited, I was able to find G. R. O. W…Perfect! Thinking it might look good to create a little more dimension, I picked up these wood frames with corrugated metal inserts to use behind each letter.
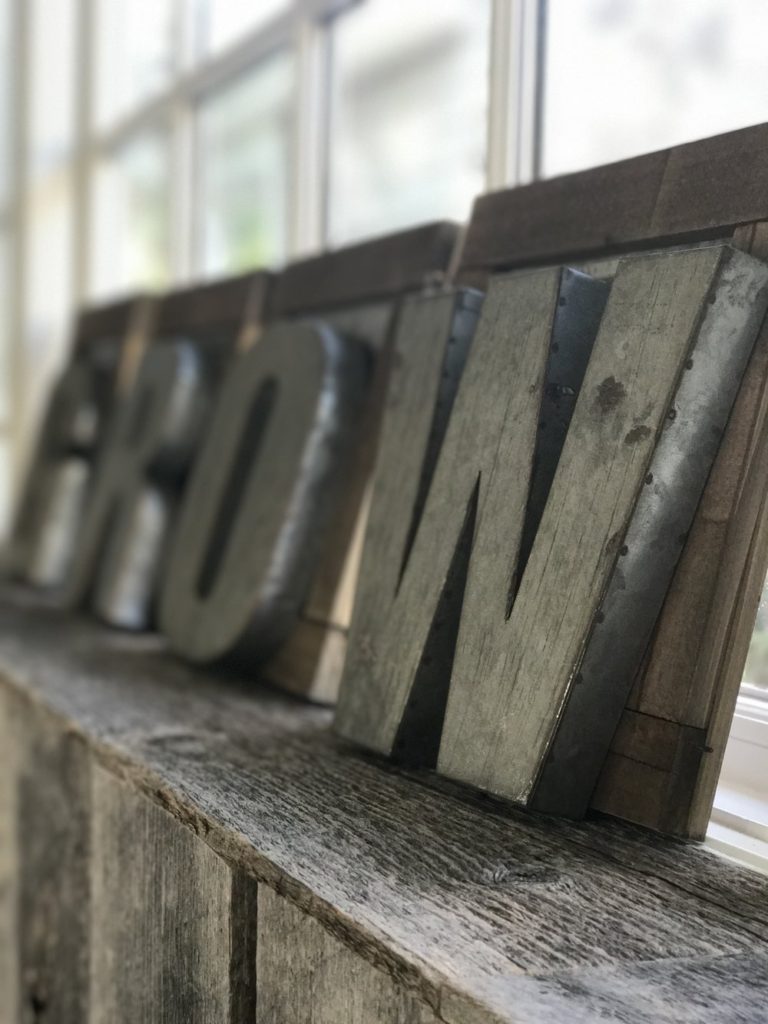
I love how they look on the window ledge, and the colors bring together the metals with the warmer wood tones in the room.
For the final touches, I added a couple of vintage columns I found at a flea market and changed out the leather ottoman for this lighter fabric bench that had been looking for a home.
And that’s it! All in all I think it’s a good start on the reinvention of our garden cottage!


Very pretty! But, If they don’t get enough light they won’t live. 🙁 Especially the lavender, it needs full sun.