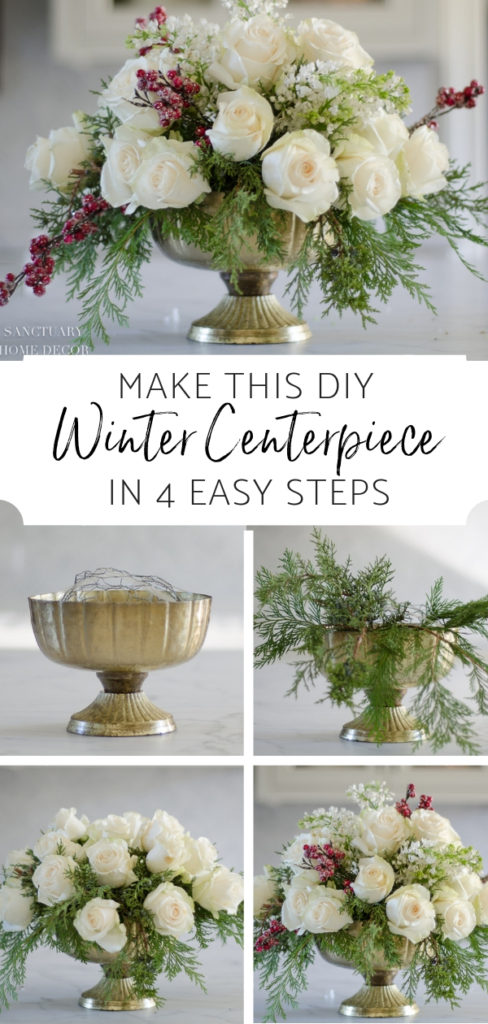
An Easy DIY White Rose and Pine Winter Centerpiece
Hi My Friends! Are you all ready for Christmas?! I am very slowly checking things off my list while spending some much needed time with my family! Yay! One of the things I always like to have is a fresh flower centerpiece on my Christmas table, but I definitely don’t have a lot of time to spend playing with flowers this time of year, so I came up with a SUPER EASY DIY white rose and pine winter centerpiece that can be made in less than 20 minutes! Today I’m sharing all of the details with you!

You can likely get the flowers and greenery at your local market or even from your yard and can make this two to three days before Christmas.
Below are the step by step details of how to make it.

HERE’S WHAT YOU WILL NEED

1) A shallow footed bowl or vase with an 6”-10” opening.
It is best to use an opaque bowl so you can’t see the flower stems. The bigger the opening the more flowers you will need.
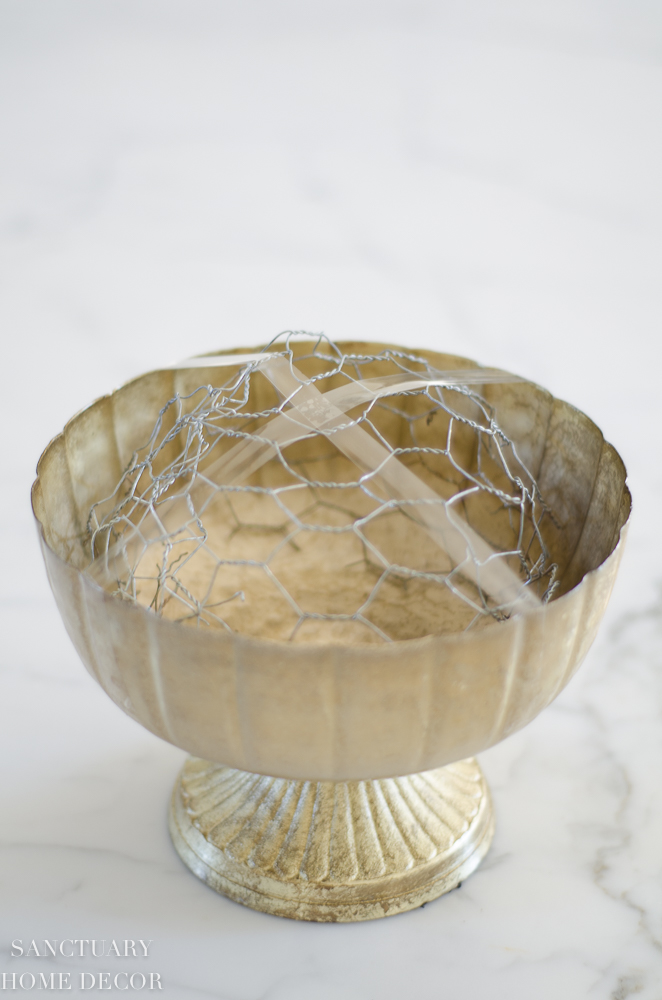
2) Chicken wire and clear floral tape
Make a ball out of a piece of chicken wire and place it in the vase. Secure the chicken wire in place with two pieces of clear (or green) floral tape. If you don’t have floral tape, you could use sturdy tape cut into narrow strips.
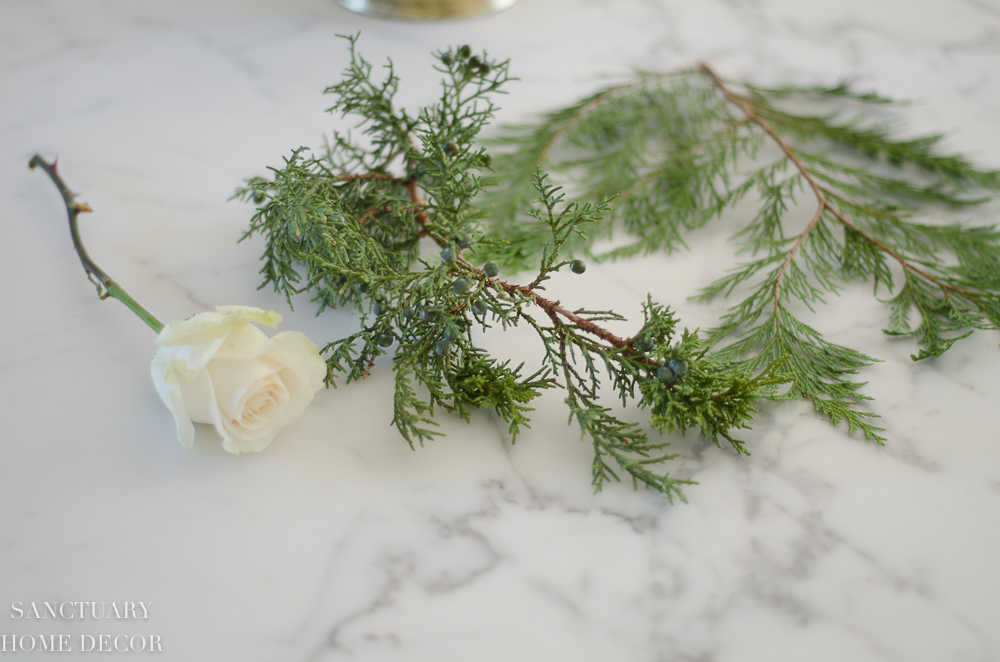
18-24 White Roses
Cedar or other Pine greenery
I used cedar and juniper for this arrangement. You can use anything similar.

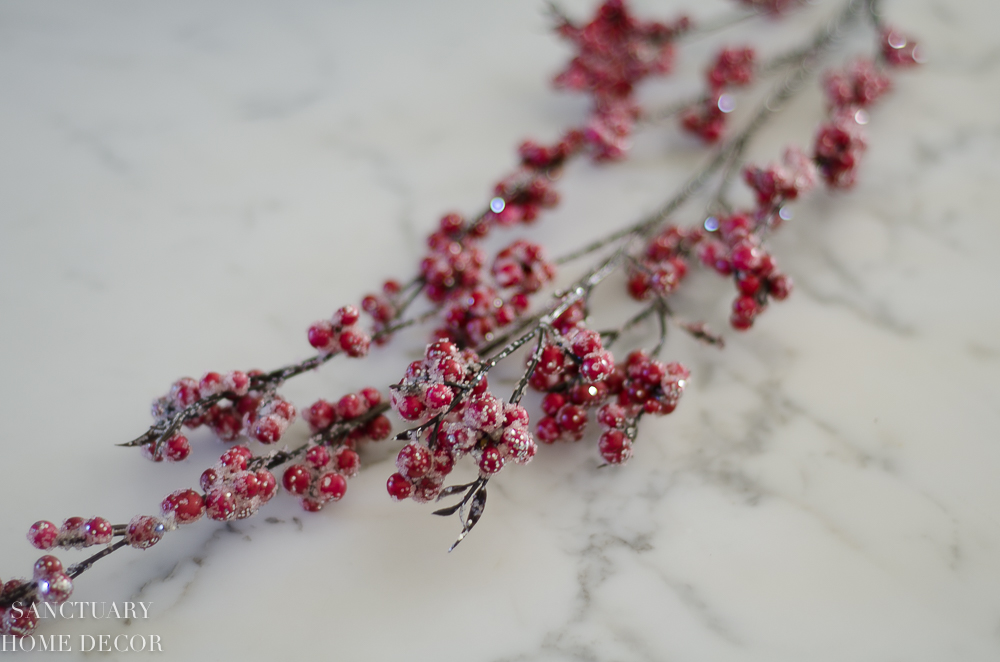
Accent Flowers
If you would like to add a second type of white flower, you can. I found some white lilac at the flower market and thought it looked pretty, but it’s not necessary.
I would add in an accent color. I had these faux berries left over from some decorating and decided to add a pop of color to my arrangement. Coffee bean berries are also a great choice and are often available in your market in a variety of colors. You can add any fresh or faux accent berry you wanted here…be creative
STEP 1: ADD THE PINE
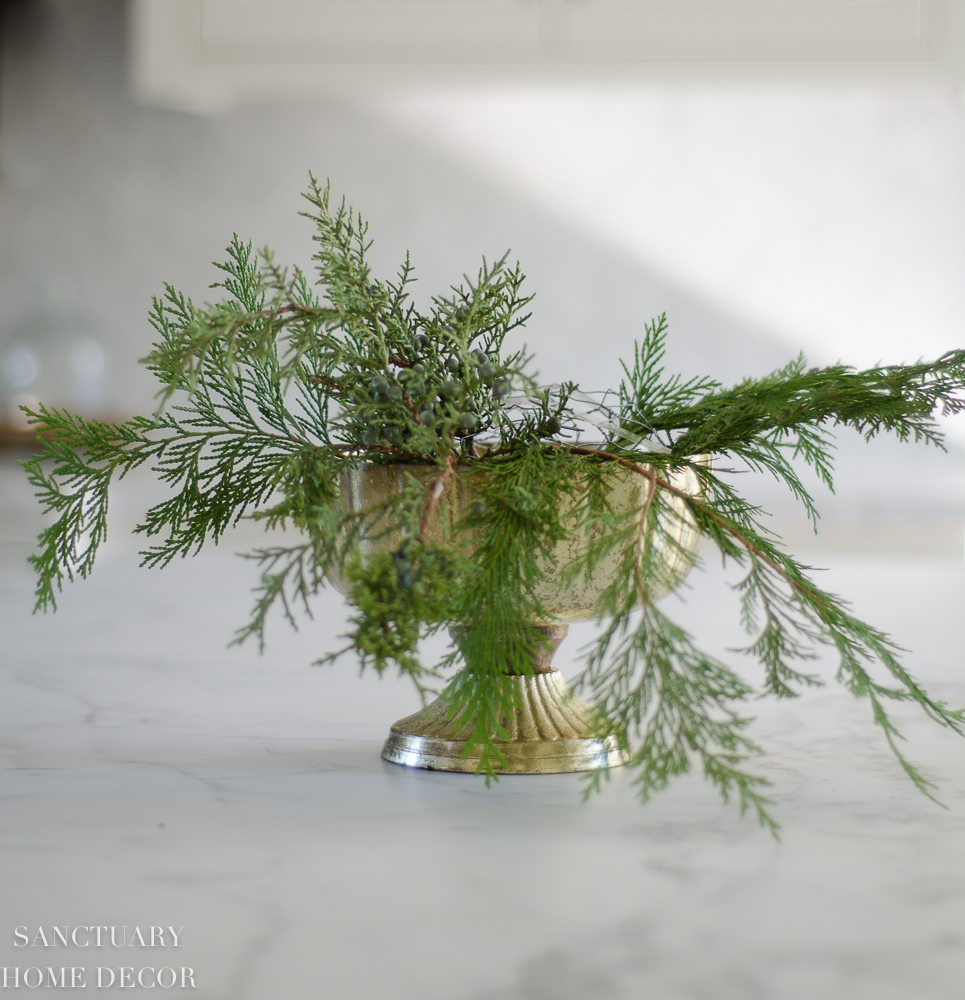
Fill your bowl about 3/4 full with water and add your pine greenery first. Strip the lower branches off of the stems and place them in the vase beginning around the edge and then filling in the center. The chicken wire should easily keep them in place.
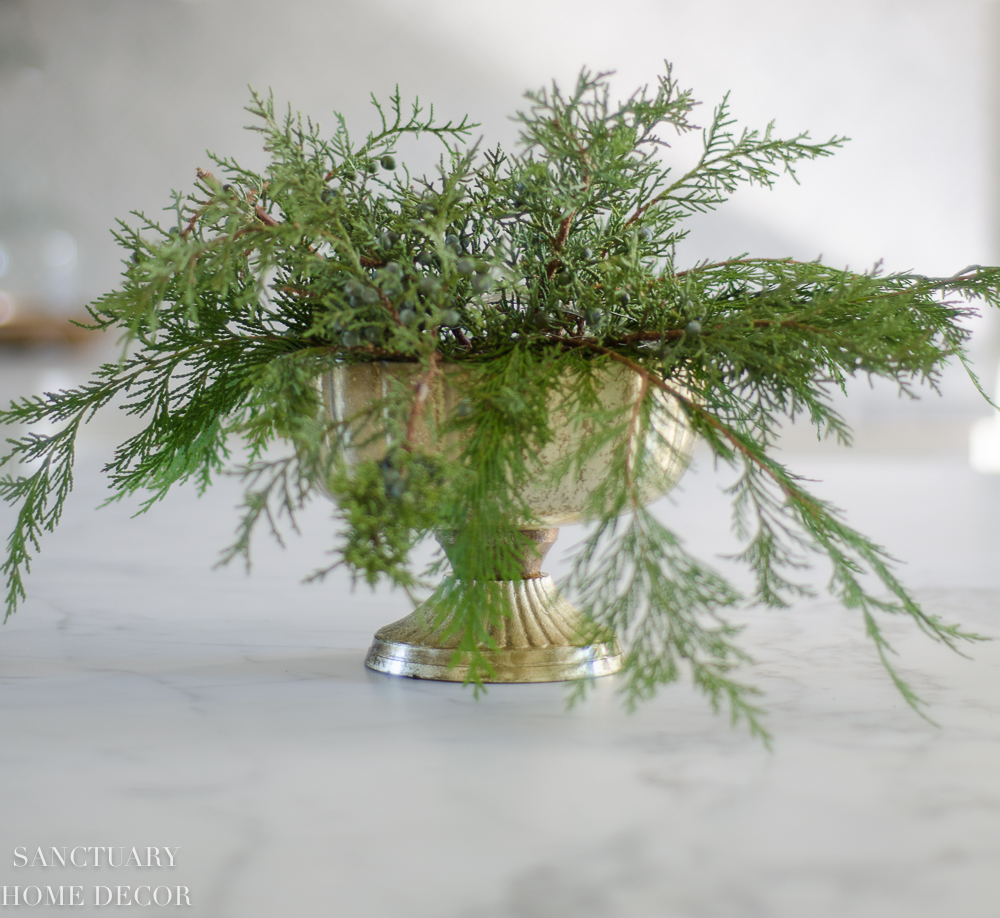
Fill in generously with the pine. You should have a nice full vase of greenery before you start adding flowers.
STEP 2: ADD THE ROSES
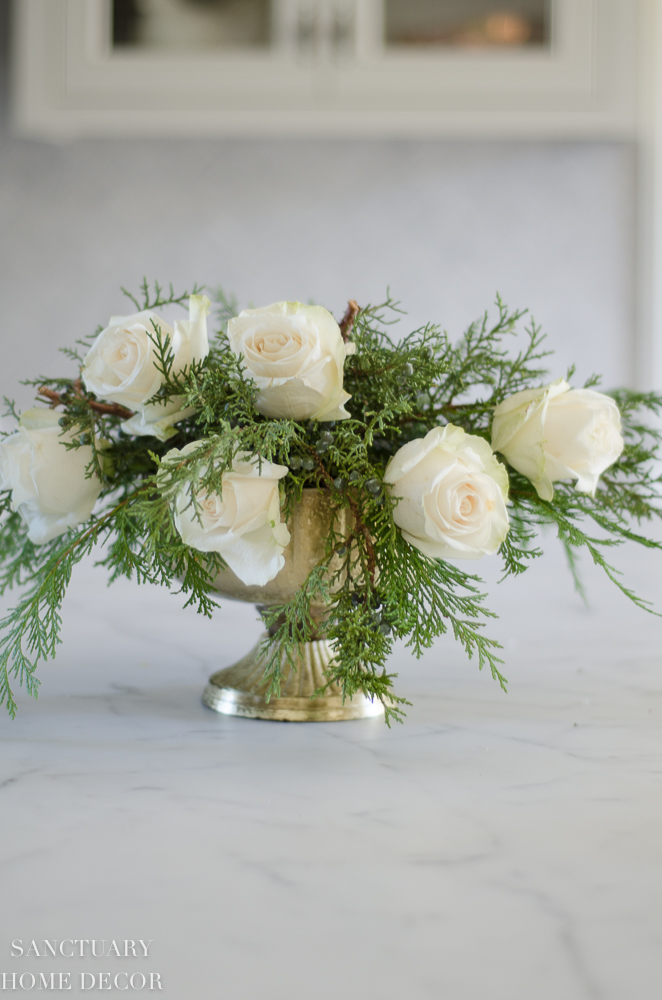
Make sure to strip all of the leaves off of your roses and trim the stems so that the heads sit just above the greenery. Place the stems into the chicken wire at an angle around the edge first and then fill in the center being careful to cut the stems the right length so you get a round shape to your centerpiece.
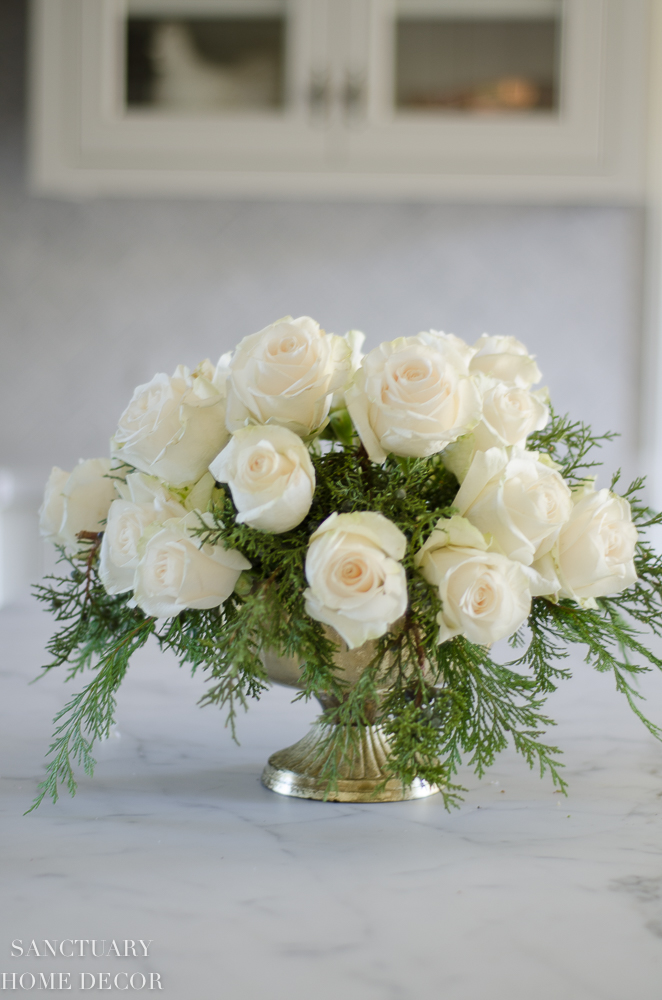
I used 18 white rose stems for my arrangement.

STEP 3: ADD YOUR ACCENT FLOWERS
This is the fun part! Here is where you can be creative and play with adding a bit of texture or color. I found some white lilac at the flower market, so I filled in some spaces in my centerpiece with that first.
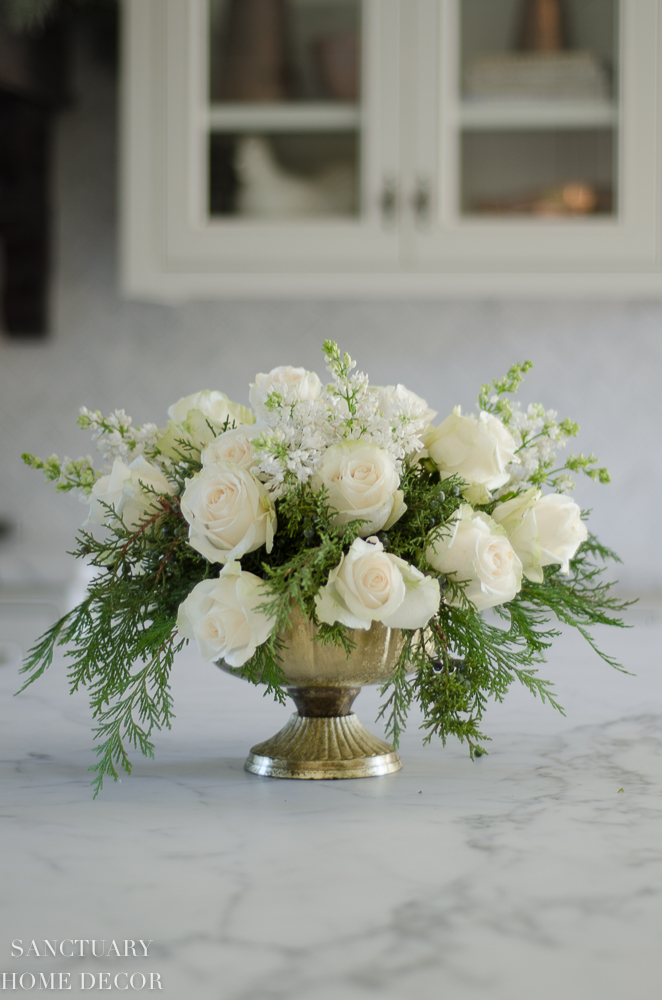
I let it stick out a bit farther than the roses to give the centerpiece a softer look.
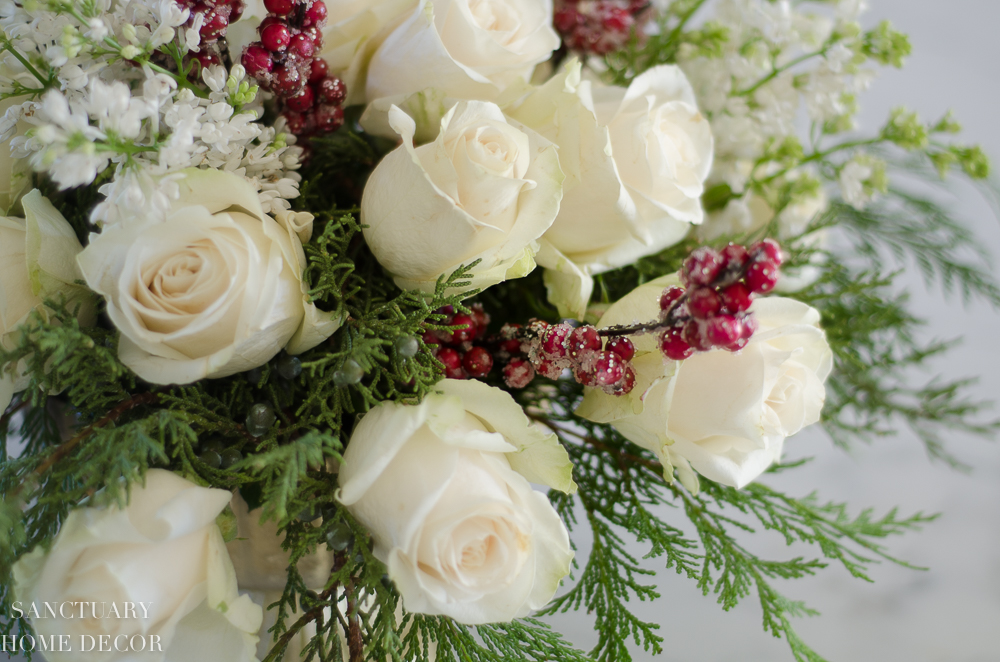
Then I added in the faux frosted berries. I love the pretty pop of color this added to the centerpiece without being too overwhelming. You could just as easily add a different color to this arrangement and it would still have that pretty winter white feel.
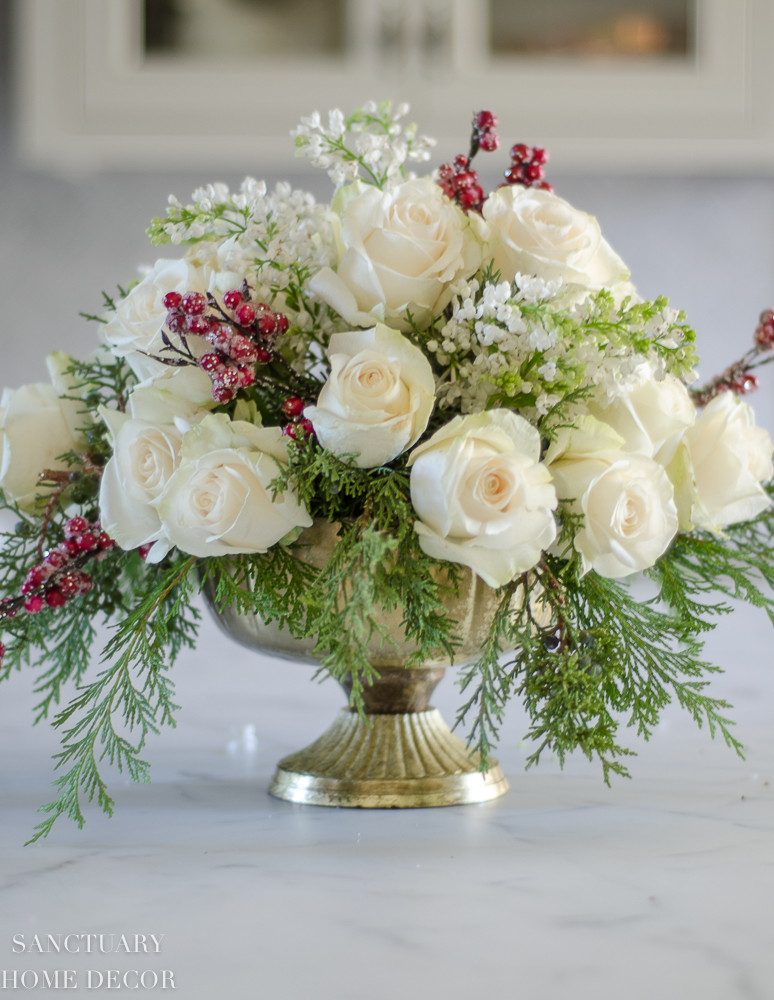
And that’s it! This took me about 20 minutes to put together and is still looking great two days later. If you’ve never arranged flowers this way, I hope this takes a bit of the mystery out of the process and inspires you to give it a try.
If you want a bit more info about flower arranging you can read my post about The 5 Best Flower Arranging Tips I’ve Ever Gotten.
I wish you all a wonderful week ahead and happy holiday season!


This looks gorgeous and the instructions are very easy. Thank you for a great post. Btw, I was not distracted by the other viewer’s “correction” on the cedar versus pine statement. Your description clearly states cedar or other pine greenery — you just have to read it , I guess!