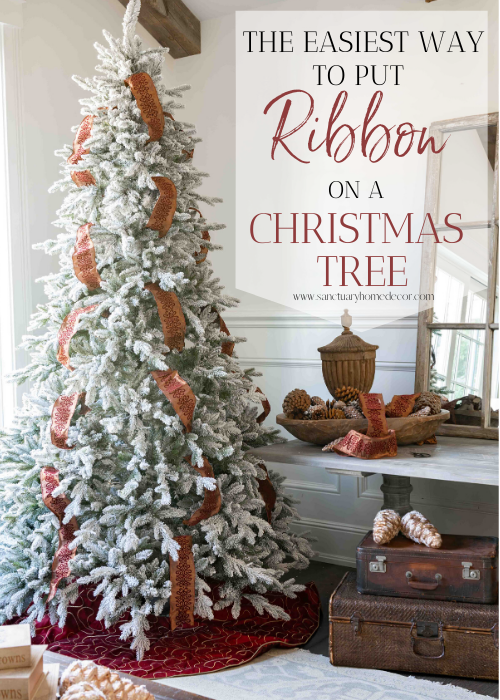
A Simple Way to Put Ribbon On A Christmas Tree
The addition of ribbon to a Christmas tree can add beautiful color and design, but can also be intimidating to install. Fortunately, there is a simple way to put ribbon on a Christmas tree that only takes minutes and looks amazing!
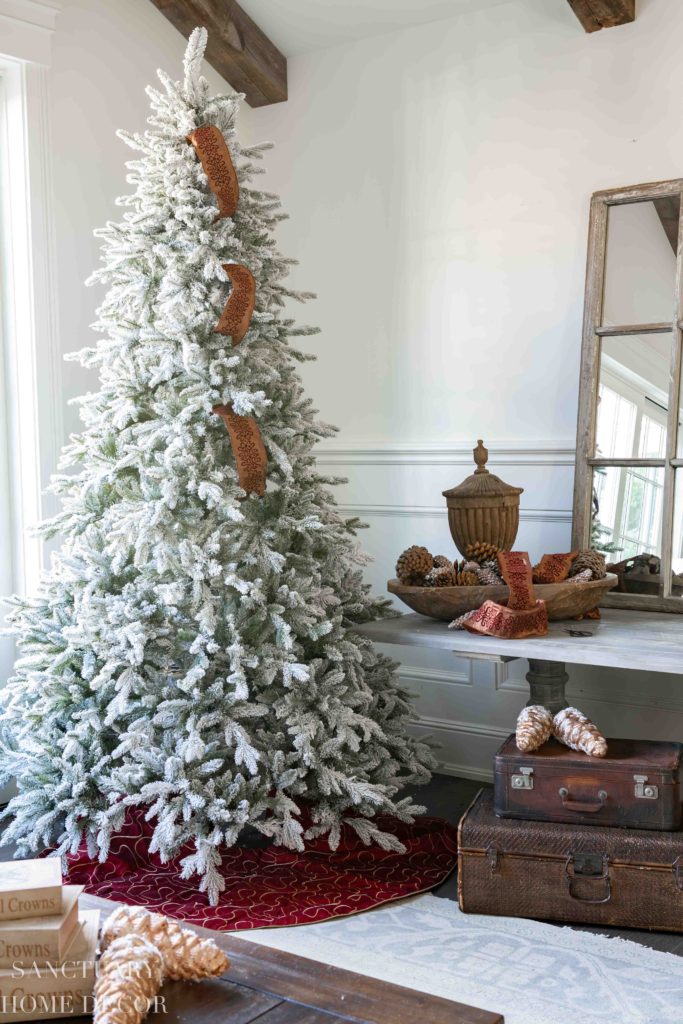
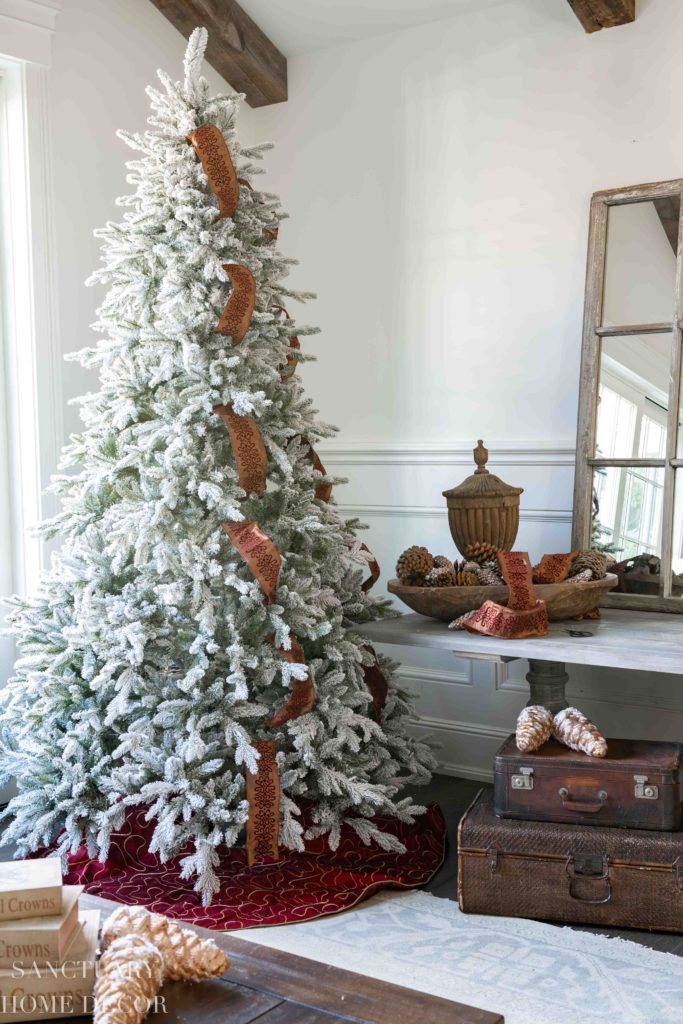
I have to admit that I was slightly giddy when my new King of Christmas tree was delivered this week! I have been wanting a flocked tree for several years and this 9′ Queen Flock was exactly what I hoped for! It reminds me of the beautiful pine trees we see in Montana during the winter!
You should know that this is a sponsored post that contains affiliate links, but I am committed to promoting ONLY products that I actually use and love and will always give you an honest review!
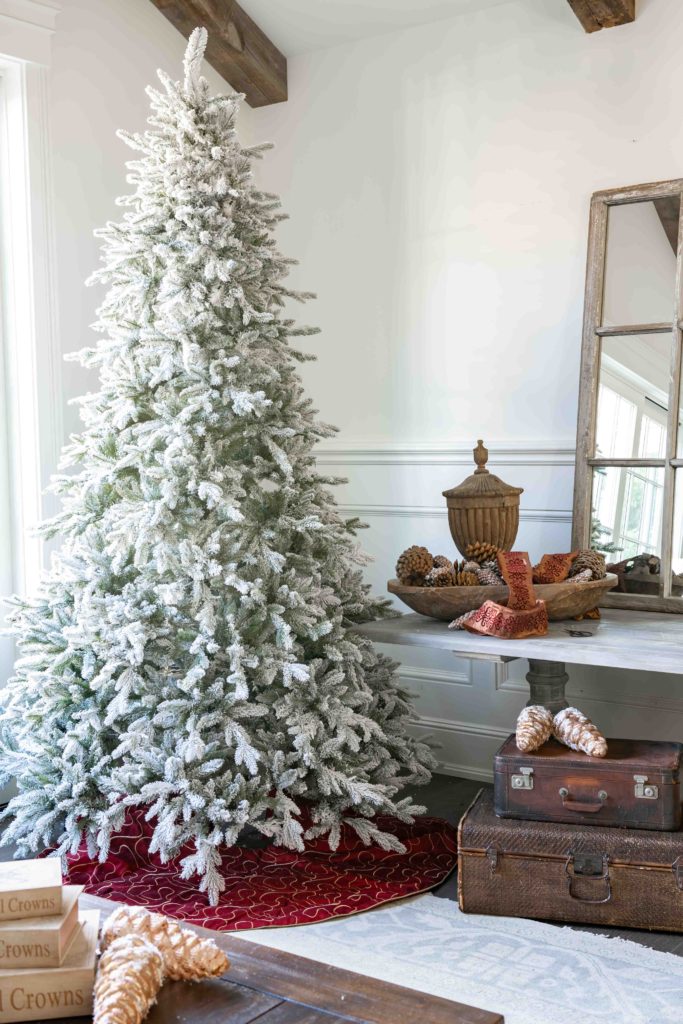
The best part is, it only took me 10 minutes to put up AND it’s pre-lit, so I just plugged it in and it was ready to decorate! YAY! So with my new Christmas tree sitting naked in the living room, I thought I would start by putting some ribbon on to get the decorating started.
And as long as I was decorating, I figured I would show you guys a simple way to put ribbon on a Christmas tree in just a few minutes.
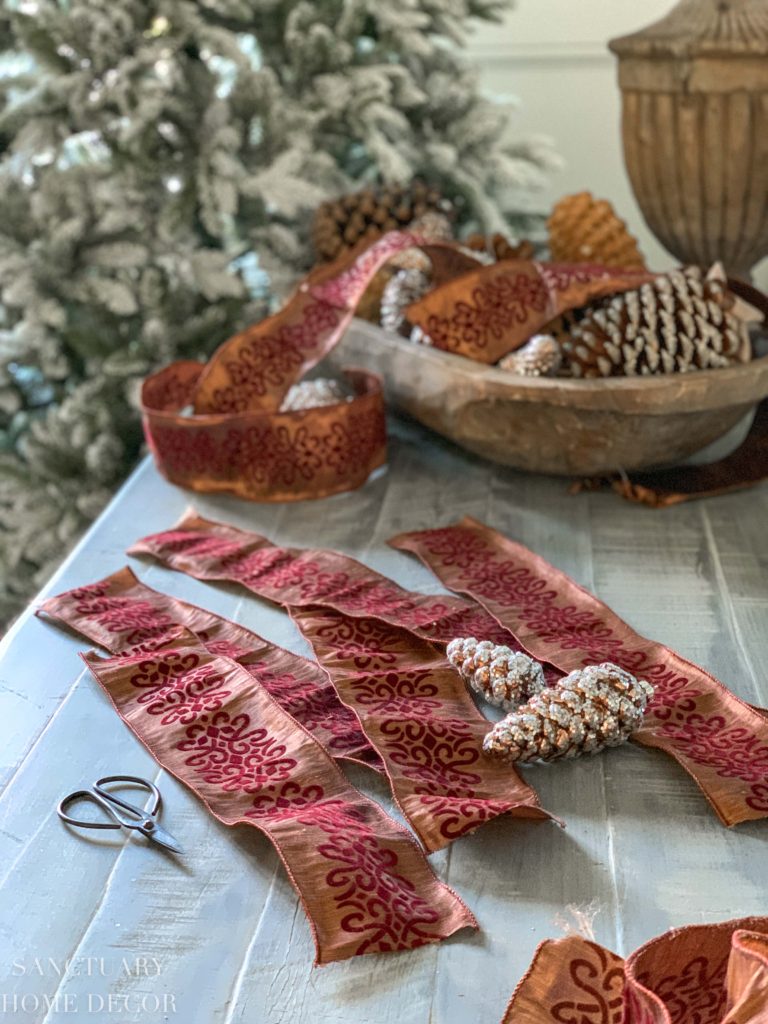
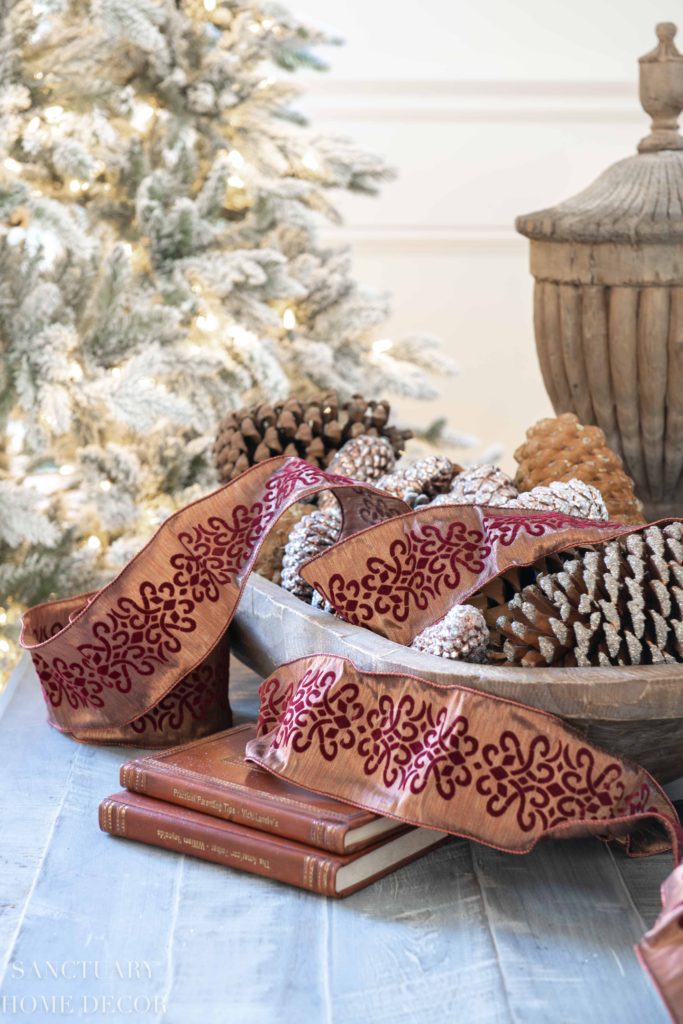
So here’s the key…cut your ribbon into 12′-18″ strips so that you can strategically place them and make adjustments without struggling with an entire roll of ribbon.
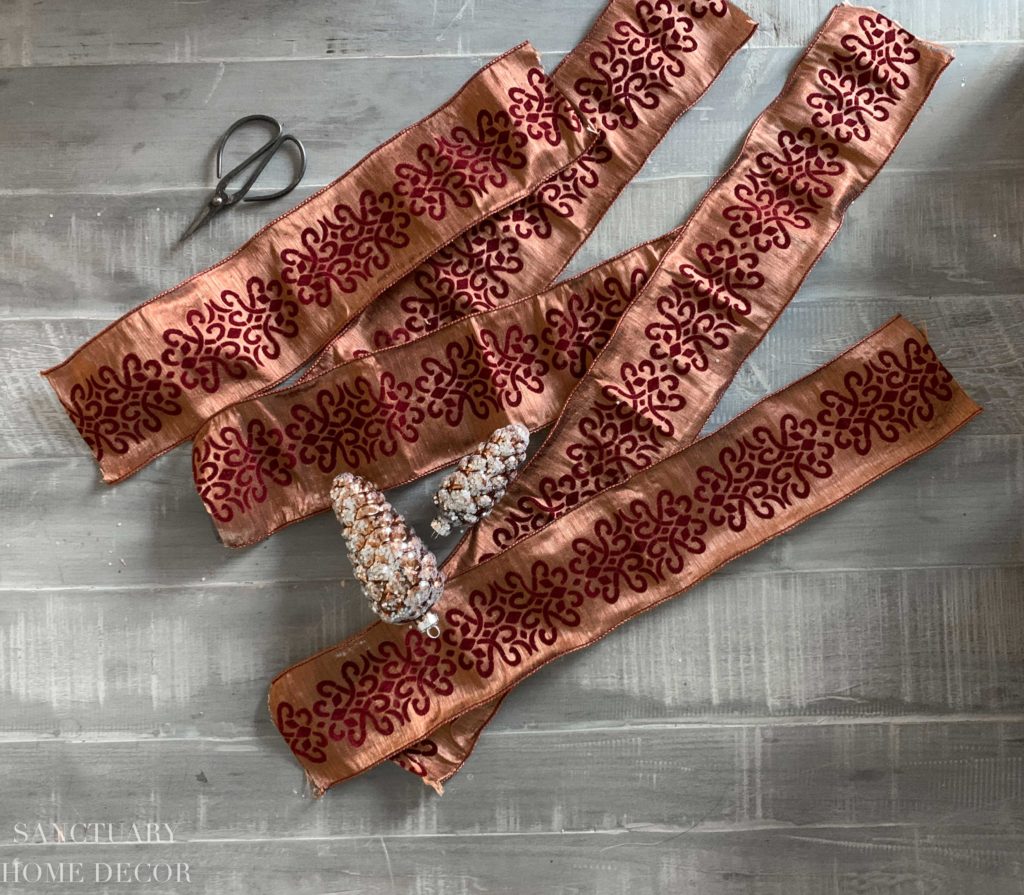
I recommend using wired ribbon to be able to manipulate the shape of each piece, but you can really use any ribbon you like.
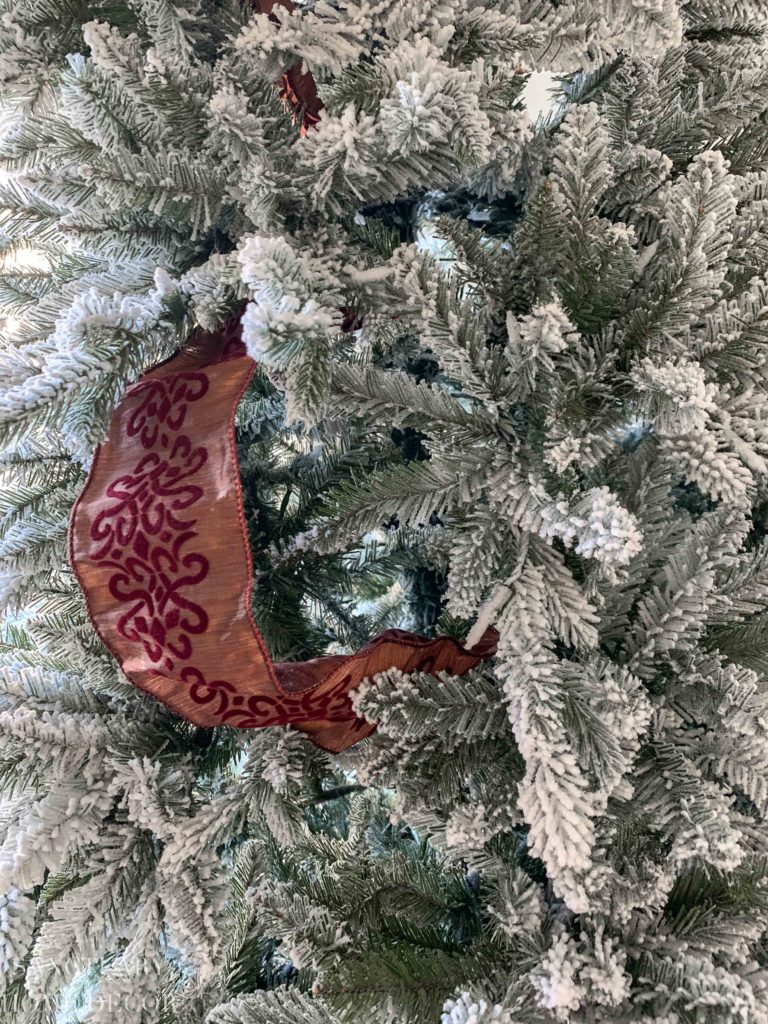
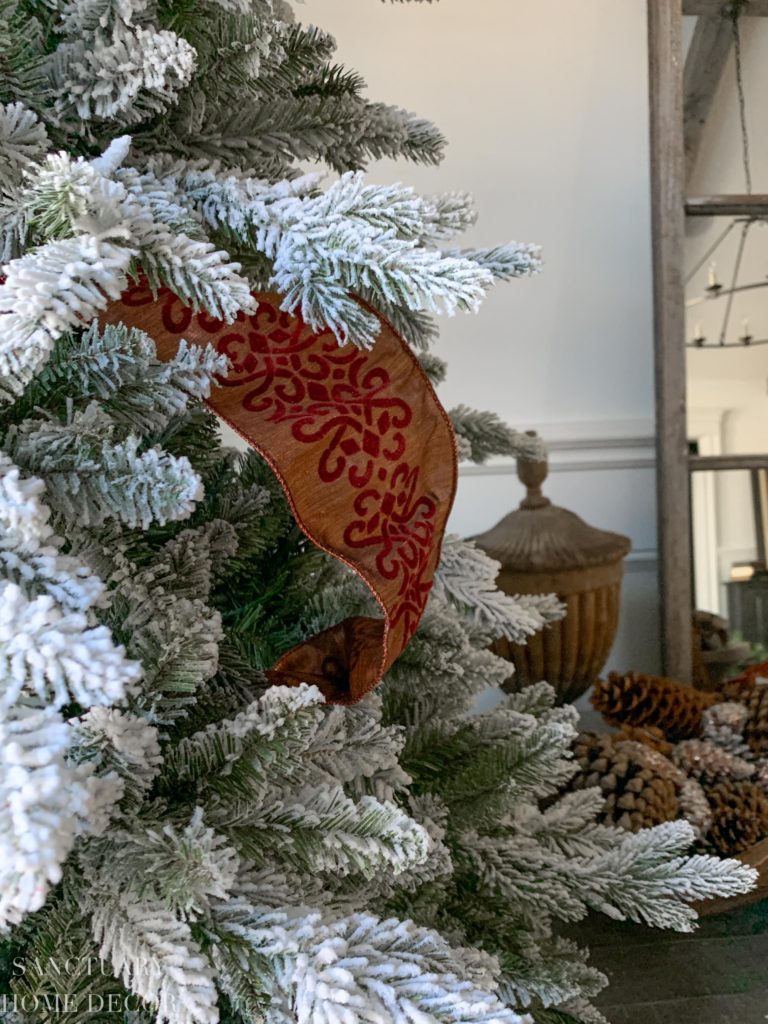
Once you have cut your pieces, simply tuck the ends deep into the tree and allow the ribbon to bow out into the shape and size you like.
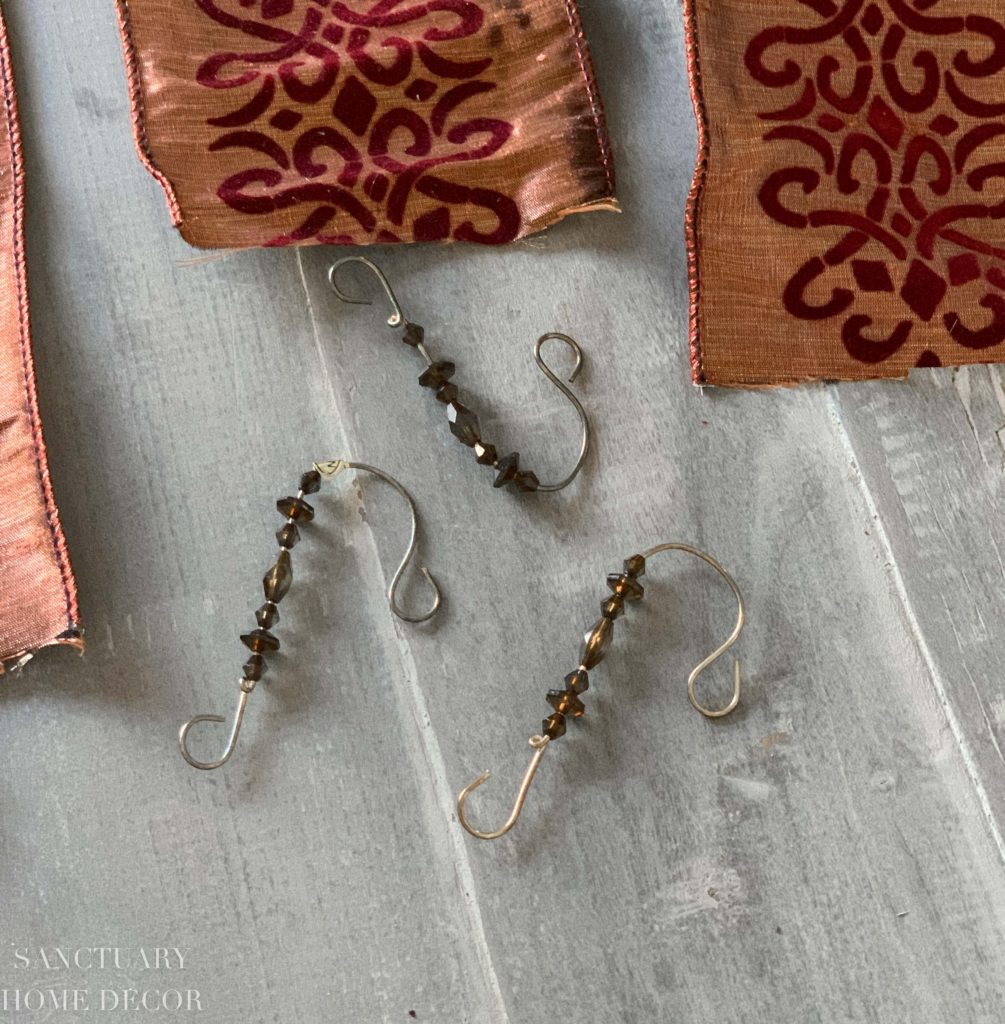
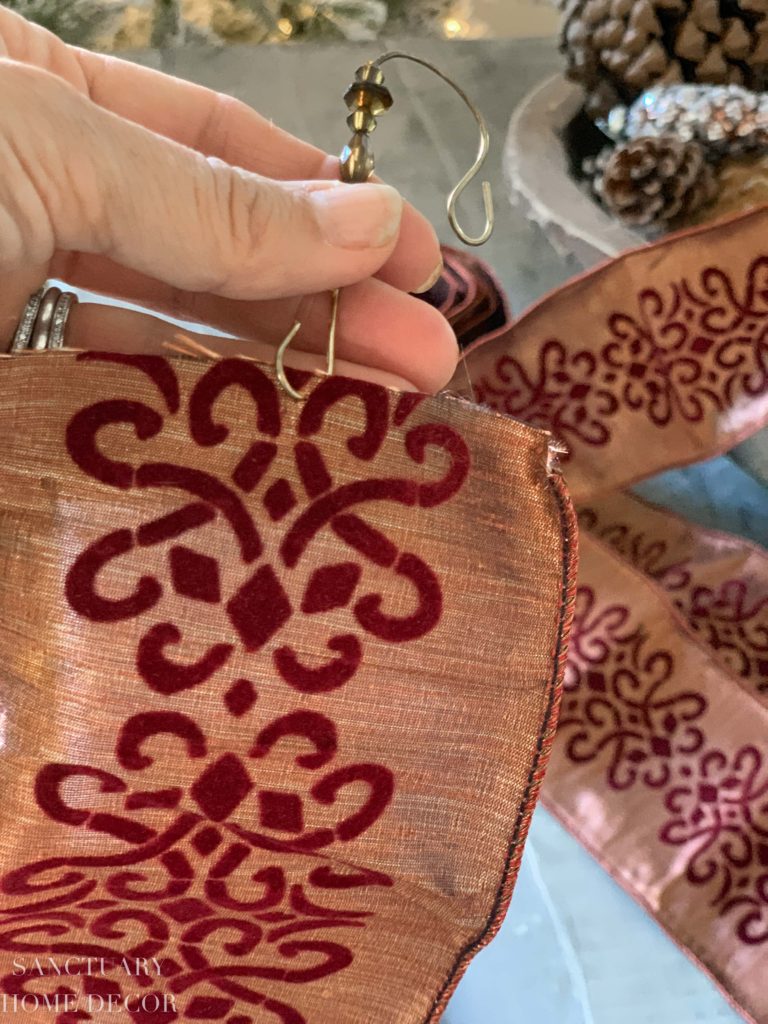
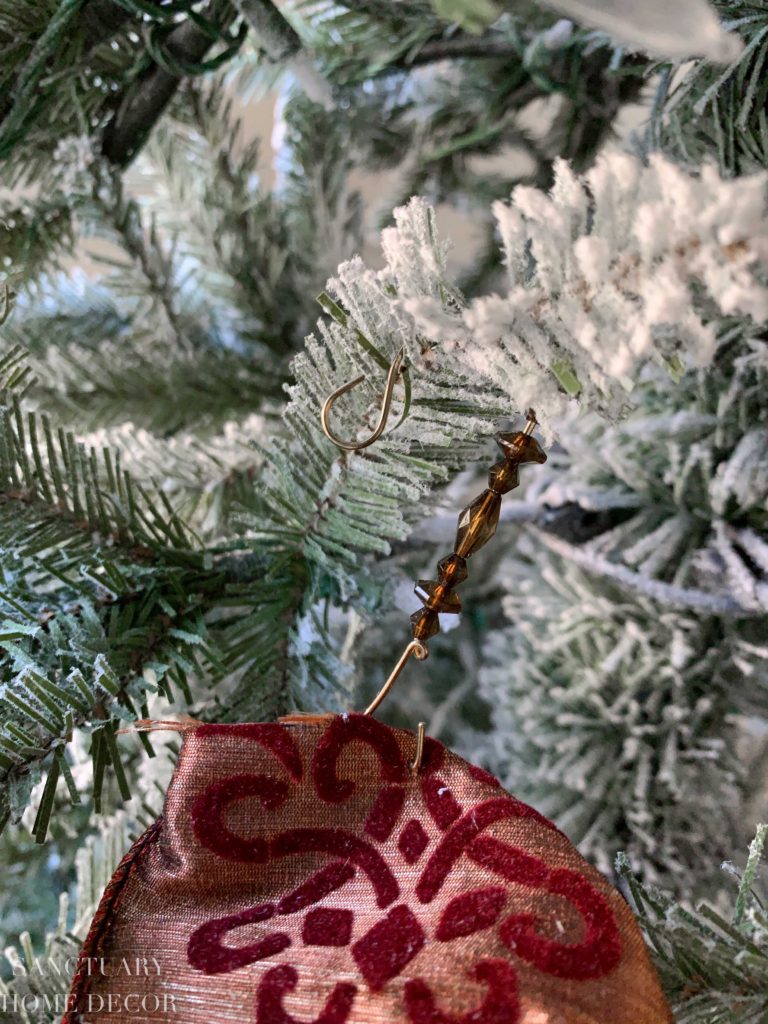
If your ribbon does not stay tucked into the tree branches, you can attach an ornament hook to each end to secure them in place.
There is some debate among Christmas tree decorators about whether to add ribbon before or after ornaments. My view is, add the ribbon first to get a basic design in place. it is easy to adjust individual pieces around ornaments as you decorate, but the basic design will still be evident.


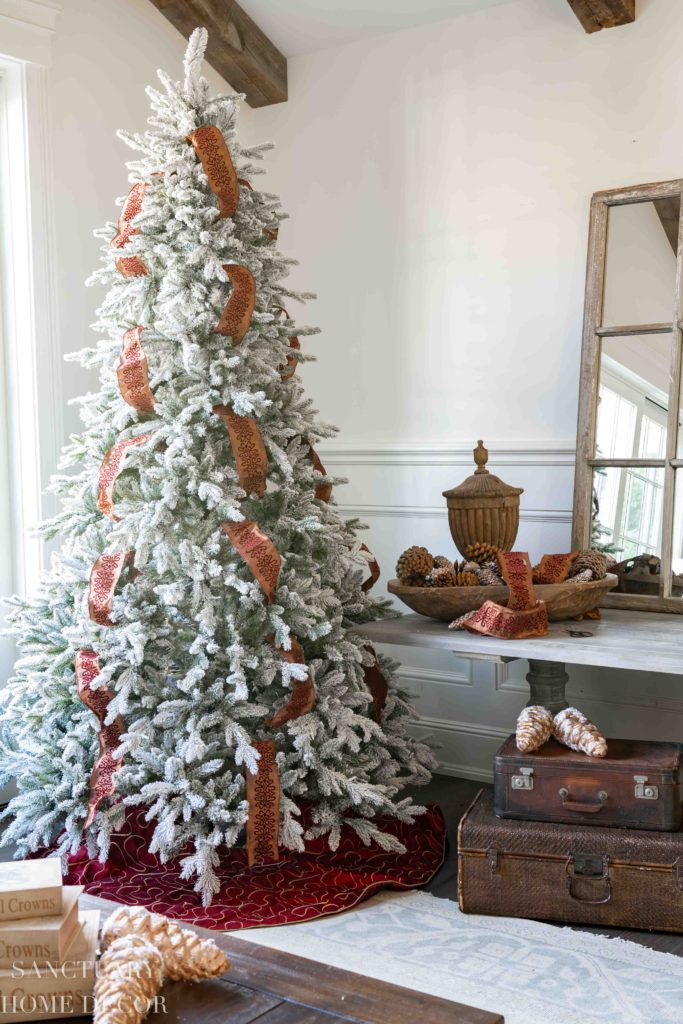
As you can see, above, I used small pieces and placed them at differing angles in a vertical “row” from top to bottom.
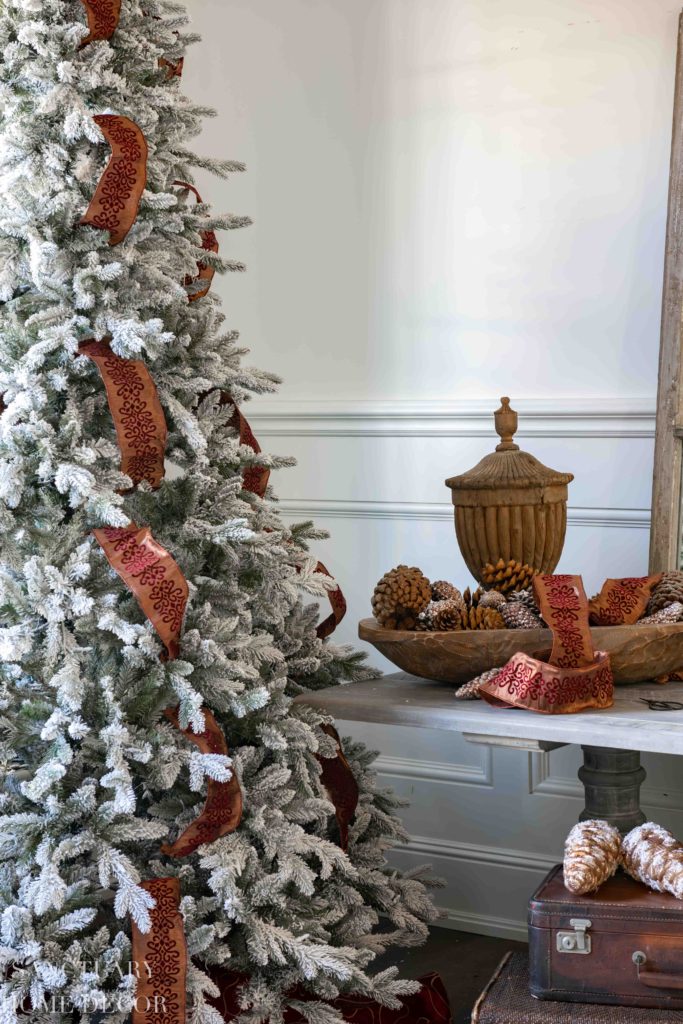
This gives the look of a single piece of ribbon being threaded through the tree without the hassle of using one long piece.
I repeated the process around the tree 5 times, using 5-6 pieces of ribbon for each row.

This gave me a good base to start adding my decorative picks and ornaments. I always end up adjusting the ribbon slightly to get the ornaments in the right spot, but the overall look stays consistent.
The same technique can be used to create a more horizontal design around the tree.
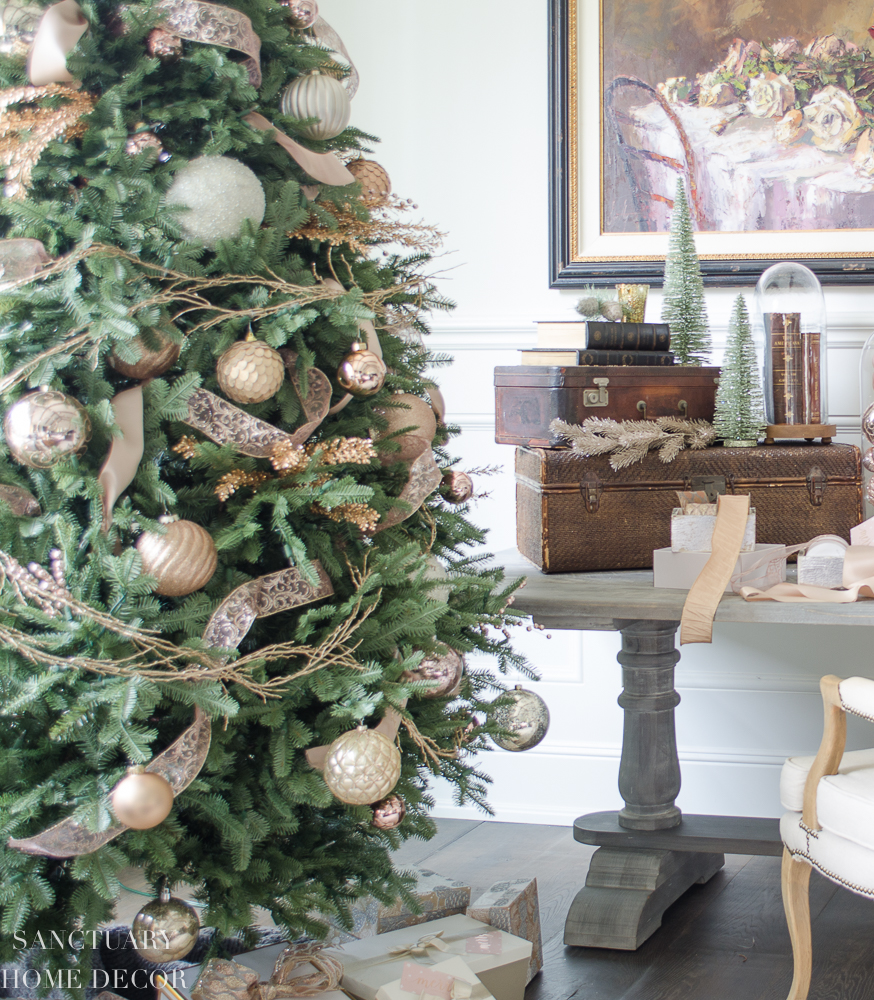
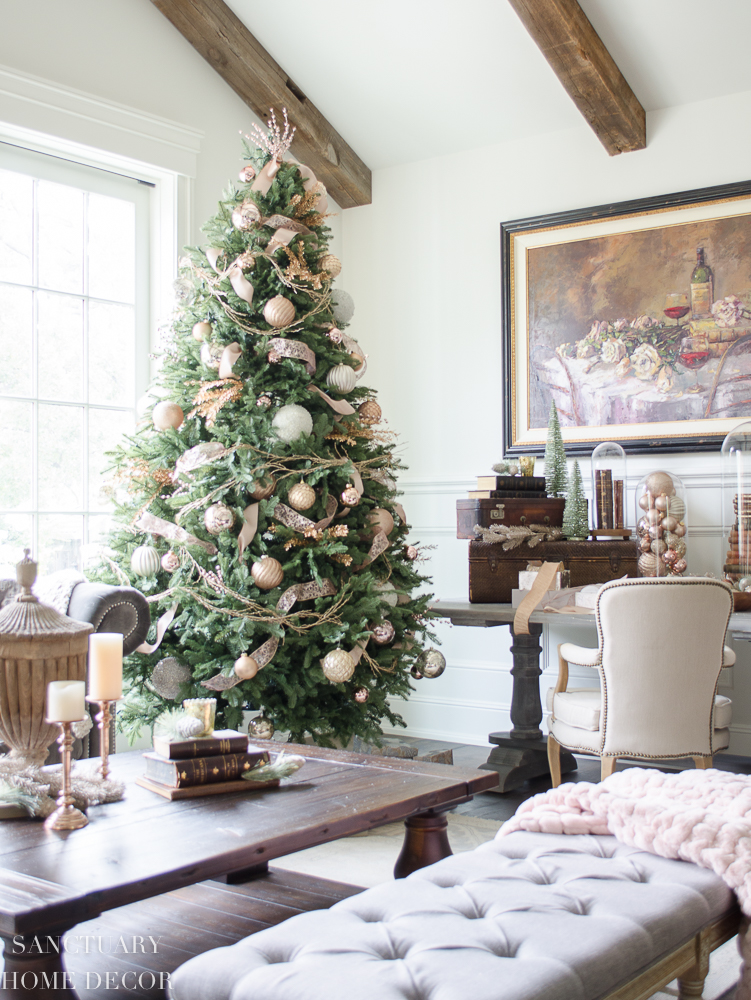
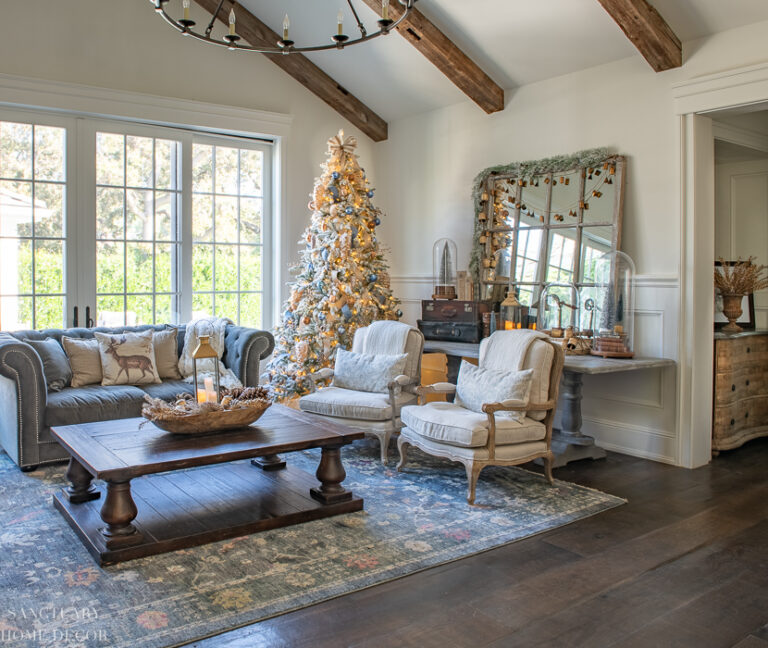
On my tree, last year, I used two different ribbons in a narrower size and created a more random pattern. You can tour this room by clicking HERE.
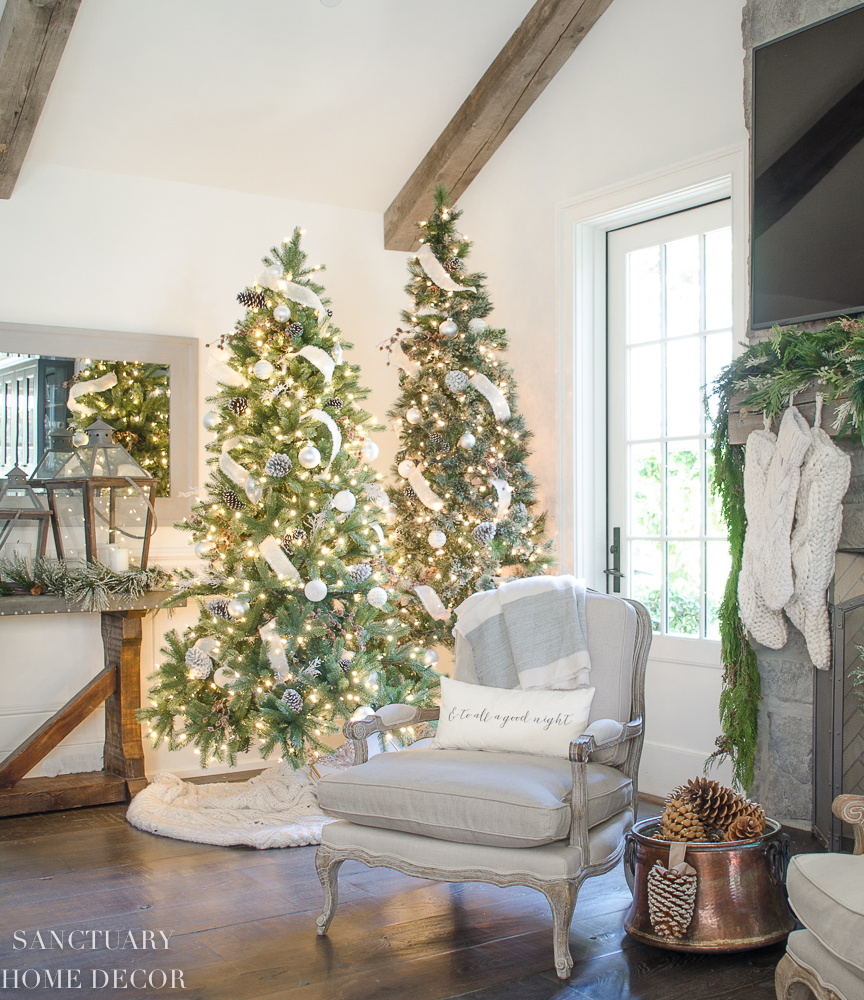
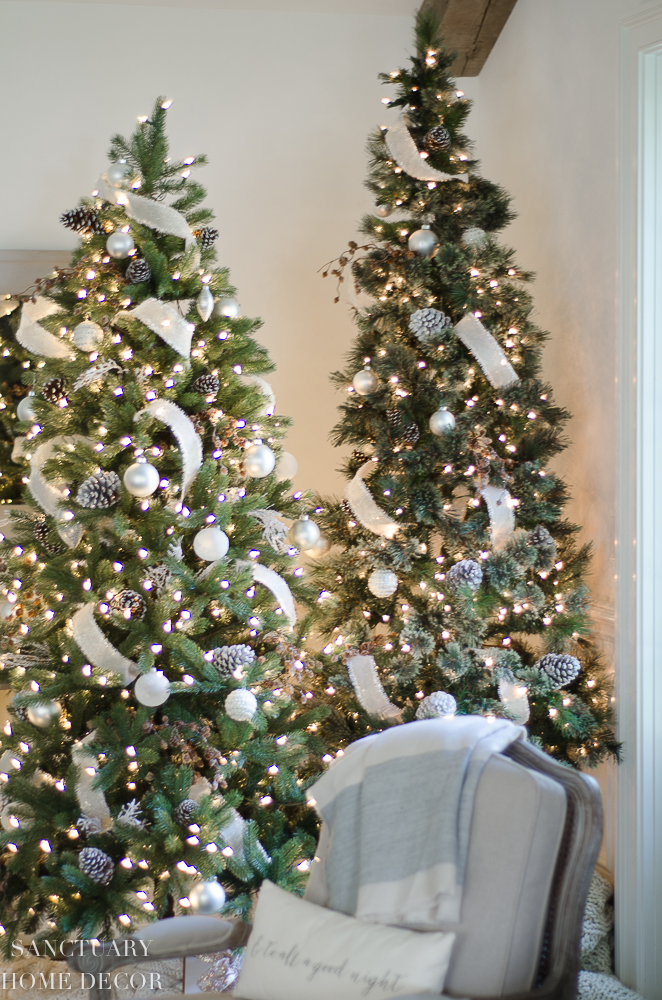
And on my family room trees, I used a simple white ribbon with a frayed edge, to add some brightness. You can tour this room by clicking HERE.
So that’s it…a simple way to put ribbon on a Christmas tree that only takes about 10 minutes! I hope this helps you decorate your tree this season. I will have this tree complete in the coming week and will share the final look with you then!
Oh, and if you’re shopping for a new tree, don’t forget to check out KING OF CHRISTMAS and use code SANCTUARYHOME to get 10% off!


Your trees are beautiful! Do you know about how much ribbon you need for a 6 foot tree? I never seem to have enough, but cutting them in smaller pieces is so brilliant! Thank you for the tutorial!
Hi Pamela-I’m so happy the tutorial was helpful! I would think about 20- 30 feet would be about right. Hope that helps!
Hi Karen
Just wanted to say “thanks” for the ribbon tip. I’ve always loved the look; you’ve inspired me to try it again! Also, along with everything else you’ve done, I truly loved your reindeer toss pillow. If you would let me know where you got it, I would be so grateful. Merry Christmas🌲
Thanks so very much! That pillow was purchased a few years back. Sorry I can’t be more help!
Where can I buy those little clips you showed to hang the ribbon?
Love the tutorial. Thanks
The king of Christmas site is not responding.
Thought you’d like to know.
Thank you Bonnie!!