Holiday Entertaining: How to Make a Beautiful Cheese Board
Can you believe it’s that time of the year again?! Parties, holiday meals, decorating…all of the things that I love so much, but sometimes stress me out when you combine them together! One of the things that helps me feel less stressed, is to have “go to” simple entertaining options that work for any size gathering. You know, the things that you can do with your eyes closed and know they will be a hit… for me that go to party winner is a beautiful cheese board!
I know how happy I am to see a display of delicious nibbles at a holiday party, so in my book this is the perfect appetizer for a cocktail party or as small bites before a meal. Most importantly, it is super simple, because there is no prep required, just buy and serve items that can be done last minute and your guests will love! Win – Win Right?!
So, here are my 5 tips for putting together a beautiful holiday cheese board.
1) Be Creative in your Board Choice
I know a traditional cheese board is usually wood, but there are so many options available out there that you can be totally creative in your display! I have to admit that I have about a dozen different sizes and types of boards, for every type of party, but I’m a little overly enthusiastic about my cheese boards! Just one (or maybe two) good boards will do the trick for just about any gathering. For my larger displays, I often use a very large vintage bread board, but I’ve used everything from wood, to marble and slate to ceramic…as long as it is a surface that is sturdy and can be cut on, it works! You can definitely mix and match materials as well or layer two or three boards together for a larger party. I’ve provided some affiliate links below from traditional to a little more out of the box. Just click on the picture to get more info.

This post contains affiliate links.


2) Choose the Right Balance
I have a theory that what elevates a cheese board from good to great is the right balance of flavors and textures. By this I mean, savory, sweet, salty and crunchy. Obviously there are many ways to achieve this balance, and I have tried many combinations in the past, but here are my favorites.
Choose 3-5 cheese types from soft and creamy to hard and crumbly.
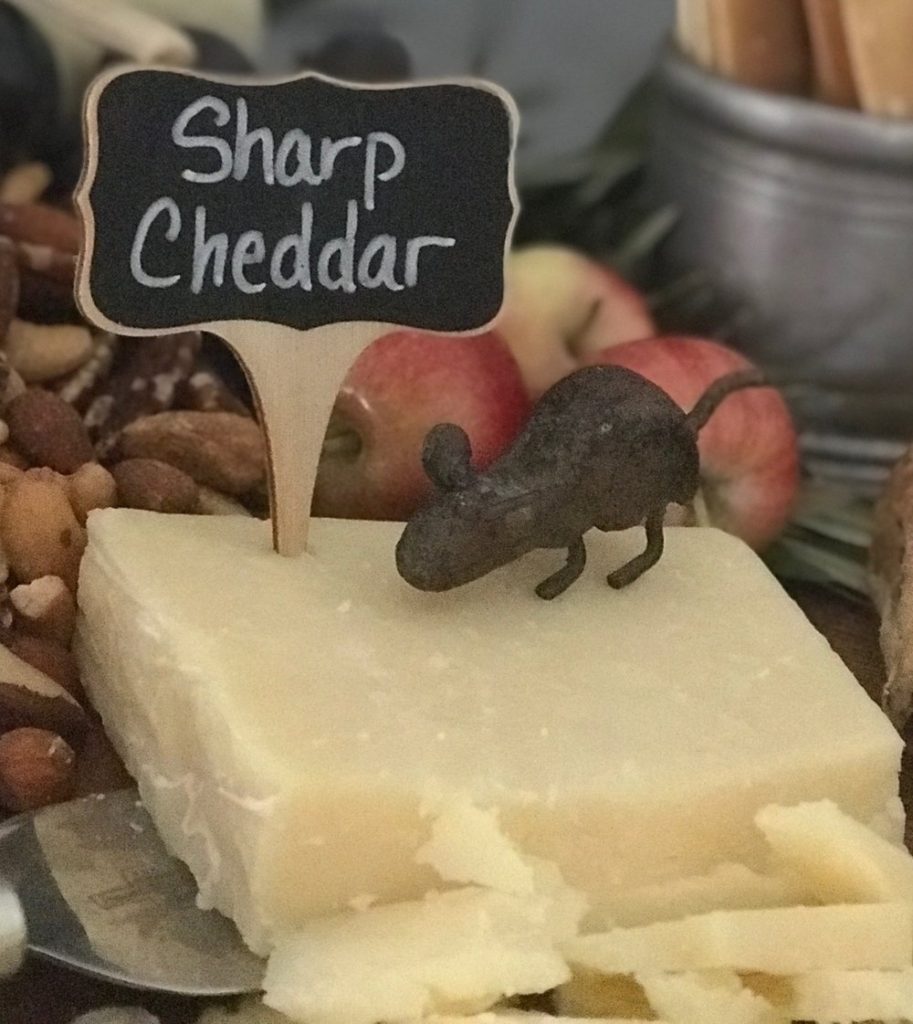
This can be any combination of cheeses you like, but I usually choose a creamy brie, a simple goat cheese, a sharp cheddar or aged gouda, a blue cheese and something with a flavor (like truffle or cranberry). This seems to be a good all around combination of flavors and textures with a wide appeal. You don’t need gourmet here. Most markets have a nice variety to choose from, so don’t over think this part!
Bring in some salty elements.
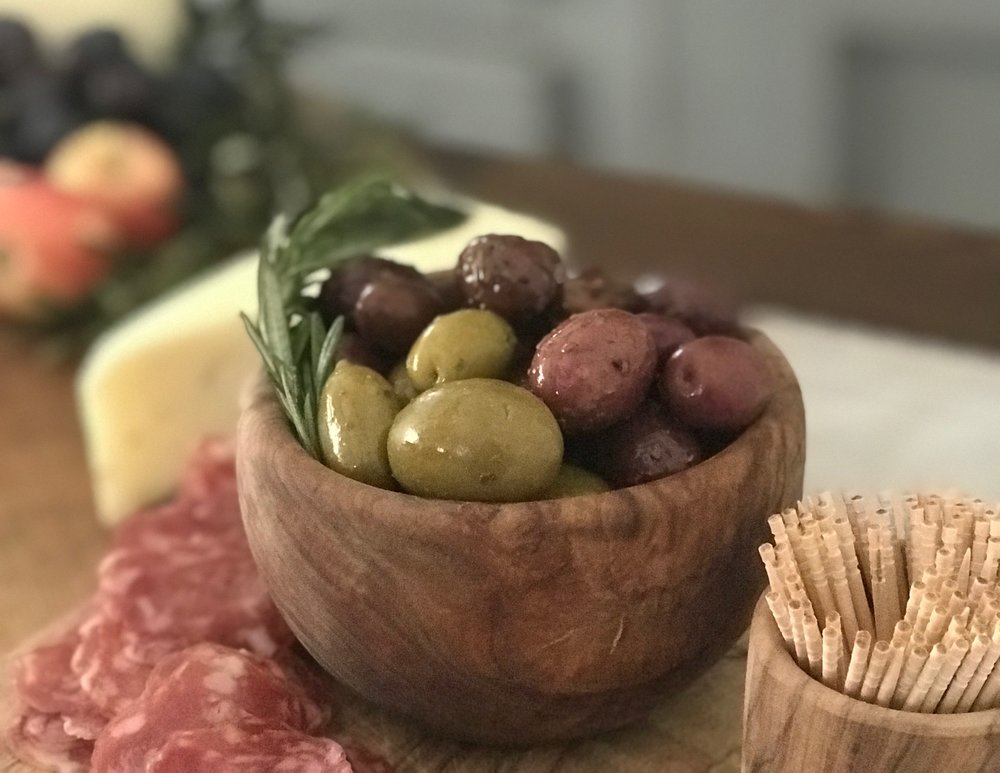
There are so many great salty bites that pair well with cheeses. The super briny flavor of olives plus the crunchy, saltiness of mixed nuts are tried and true favorites. A couple of smoked or cured meat options are also a nice addition for a different flavor and a little color. I have also added sliced grilled sausage or smoked salmon to my boards for a more hearty appetizer.
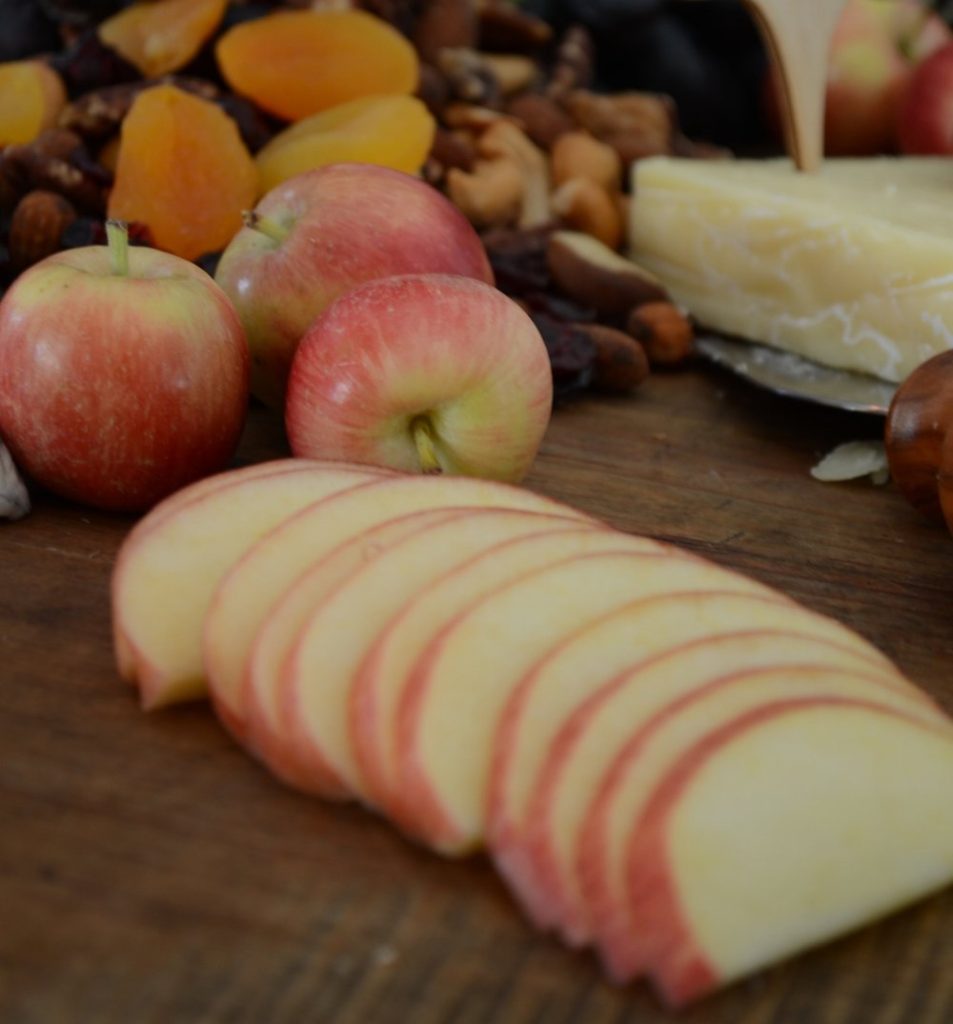
Add a little sweetness.
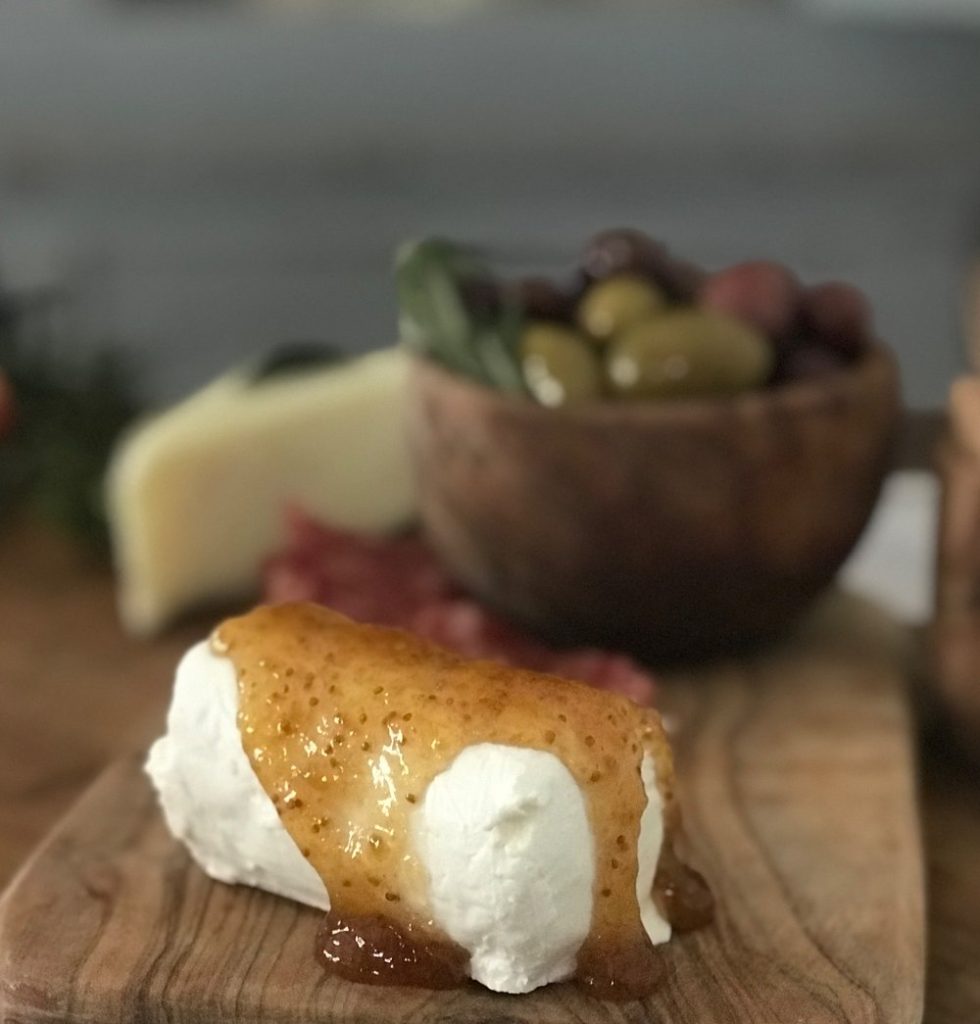
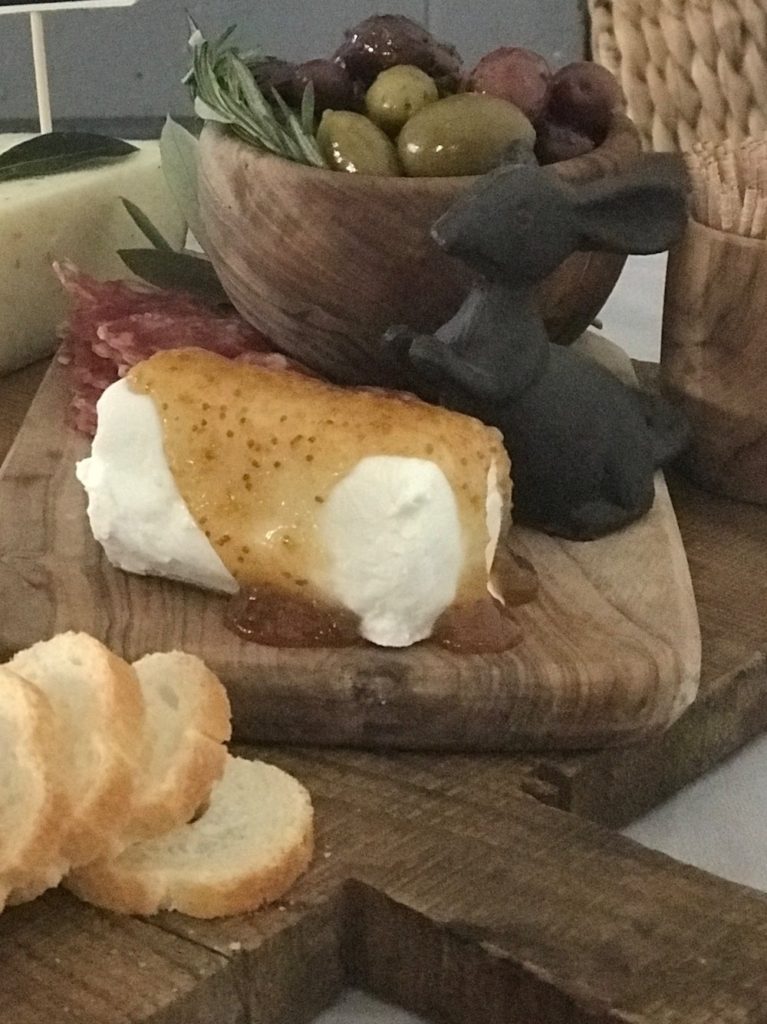
This might be my favorite part of the cheese board. Those little sweet breaks from the savory and salty. I know grapes are the obvious choice, but you can add to that with some dried cranberries and apricots or some simply sliced apples or pears. I also love a little bowl of honey comb when I can find it! A simple goat cheese can be elevated with a drizzle of your favorite jam over the top. I love fig jam at this time of year, but you can really use any jam that you have on hand.
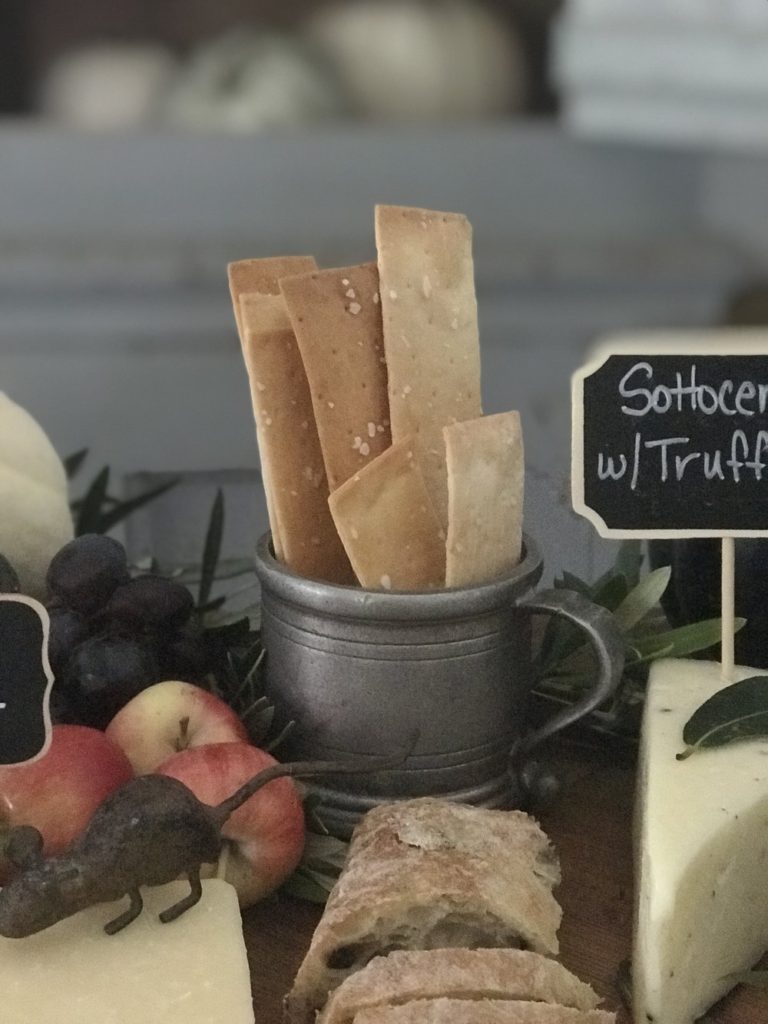
Offer yummy breads (and crackers).
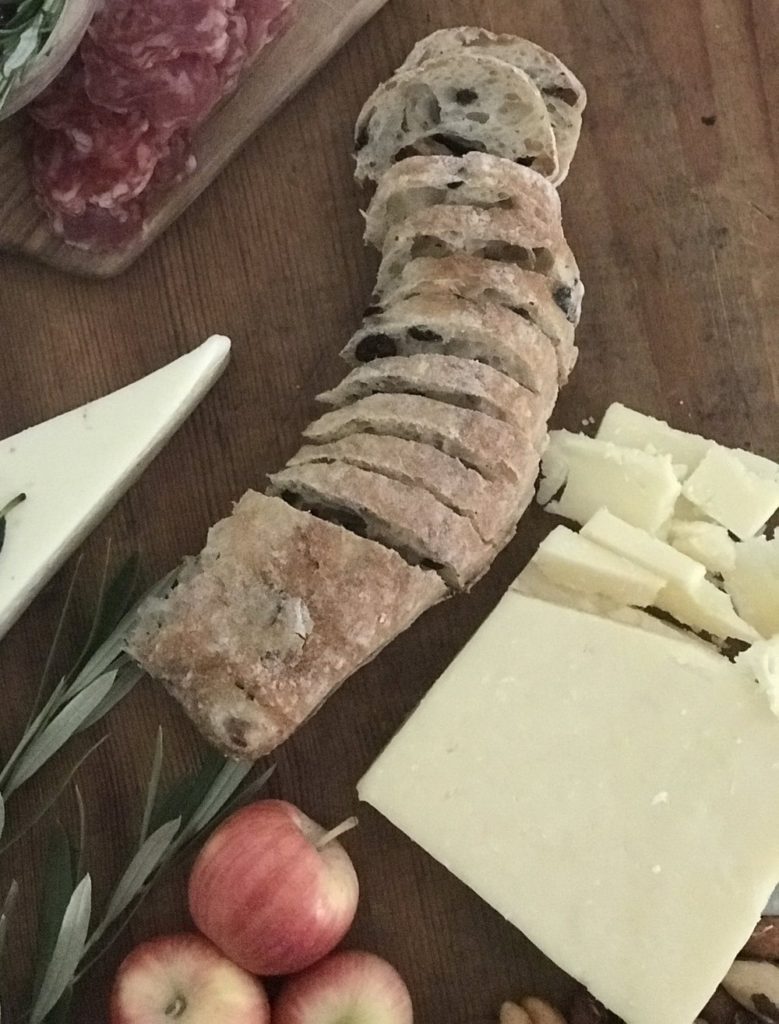
O Many years ago, I only put crackers out with my cheese boards, and then one day I went to a friends house for a party and she had the most delicious, thinly sliced breads to accompany the cheese. I was in love! A great french baguette is a staple, but a lovely olive, rosemary or walnut raisin loaf can add a whole new dimension and flavor to your board. Don’t be afraid to experiment. There are so many options available in the bakery section of most markets that the sky is the limit.
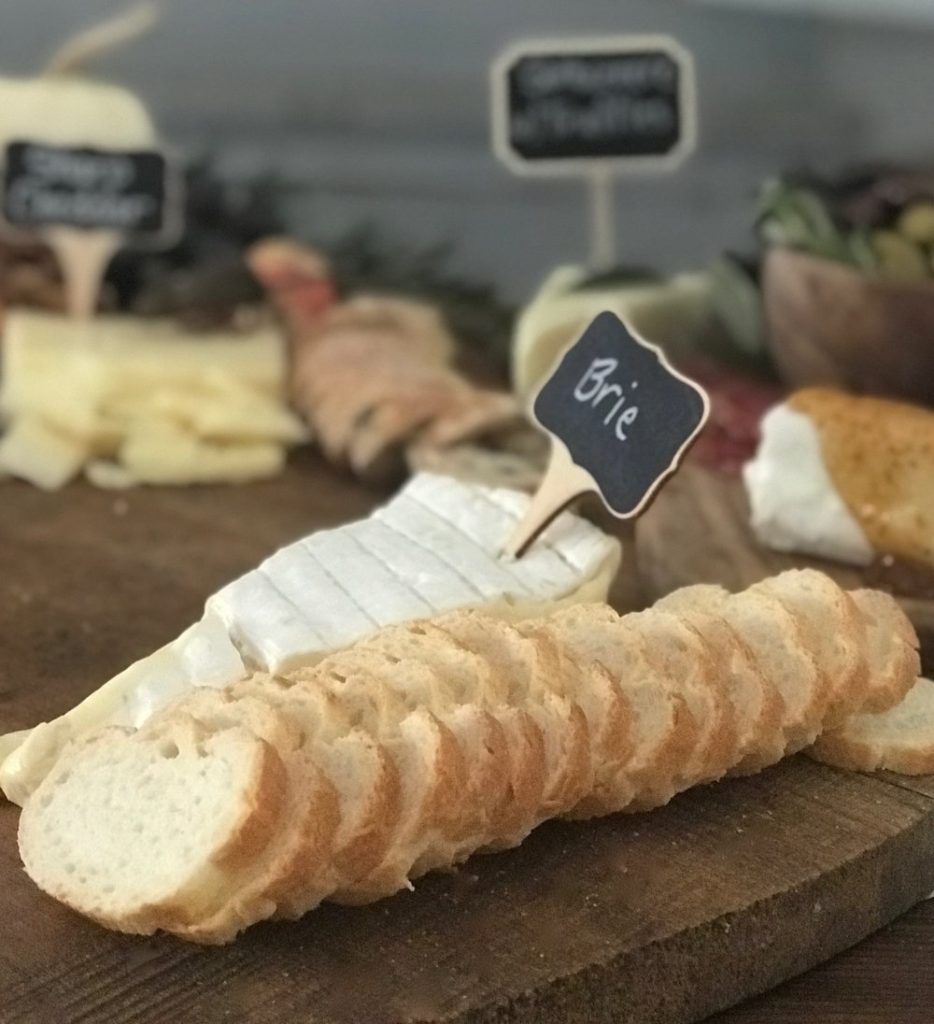
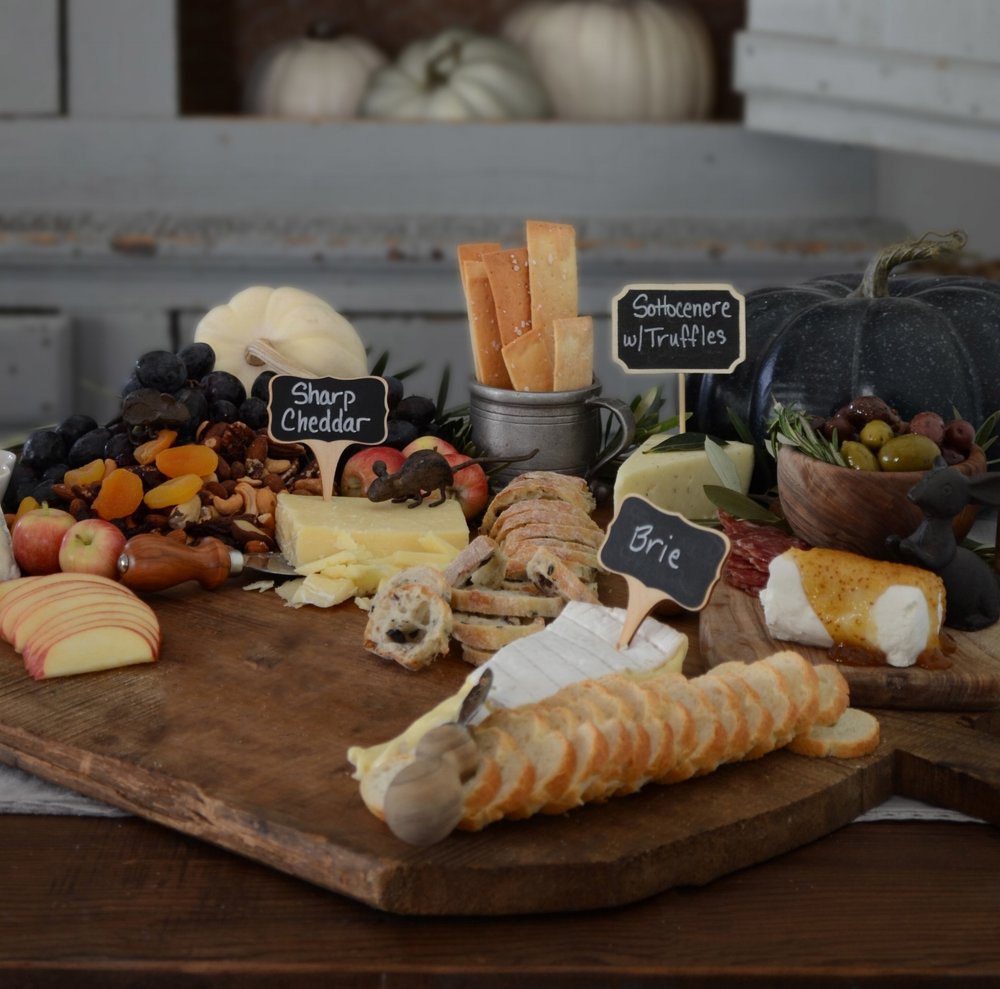
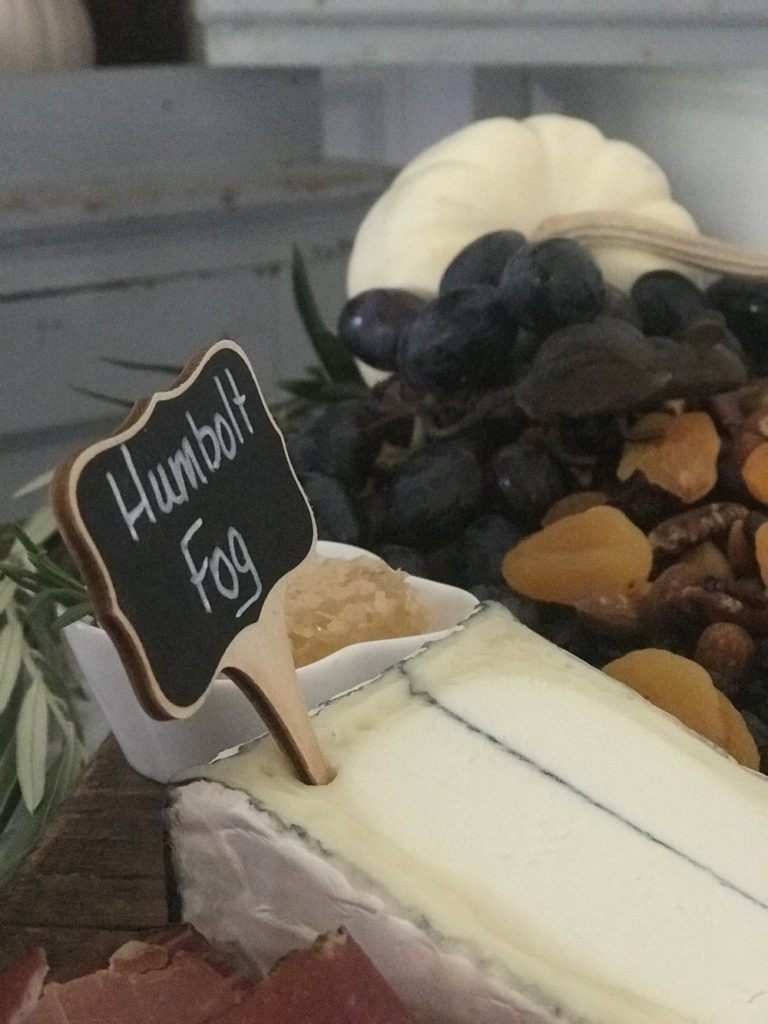
3) Take The Mystery Out Of It
Don’t you hate when you go to take a bite of something, expecting one flavor, and you get something completely different? Me too!! I don’t think there should be any mystery when it comes to food. I like to label things and let my guests know what to expect when they take a bite. Luckily there are tons of options for doing this on a cheese board. Everything from a simple folded card with the name or flavor to easy to use chalkboard or ceramic markers. You can even write directly on some boards! I’ve linked a few of my favorite options below.
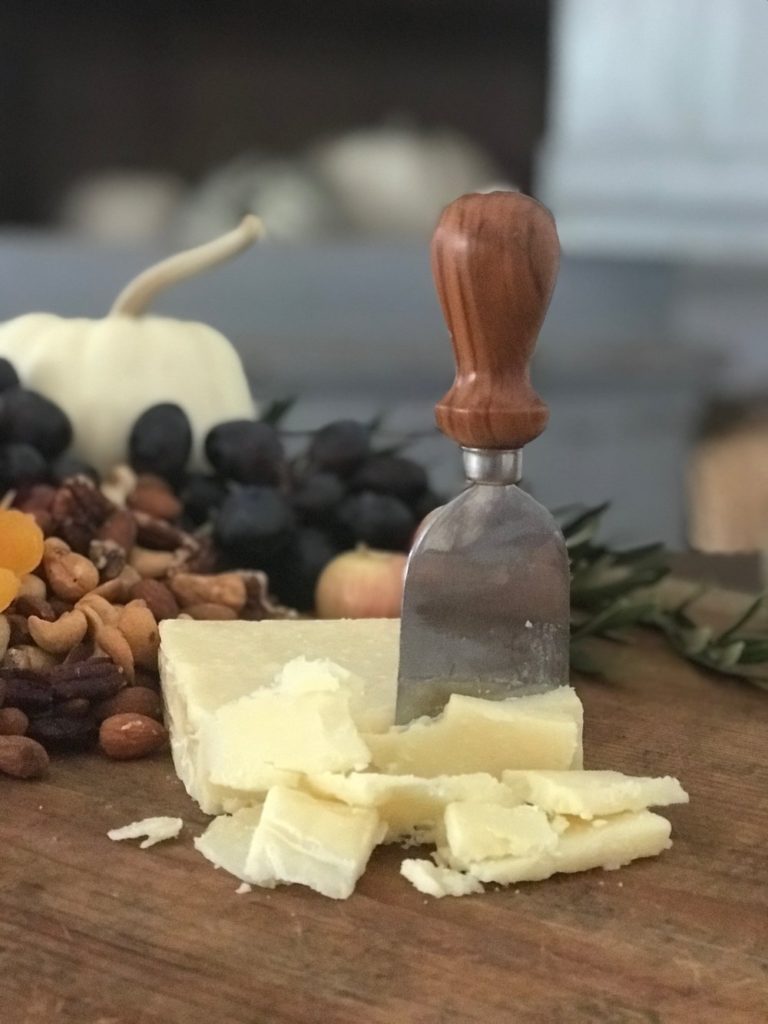
4) Don’t Forget the Details
Sometimes it’s the simplest things that change your guests experience from good to great. For example, if you have a beautiful aged gouda cheese displayed, but don’t have the right knife to cut it, it is either going to be wasted (because no on can figure out how to eat it) or a mess (because your guests tried to saw through it with a butter knife). There are a ton of beautiful cheese knives available and it is worthwhile to invest in a simple set. You will use them for years! Also remember to place a small container of toothpicks and a small bowl for olive pits nearby. Finally, don’t forget the napkins…your guests will definitely appreciate it!
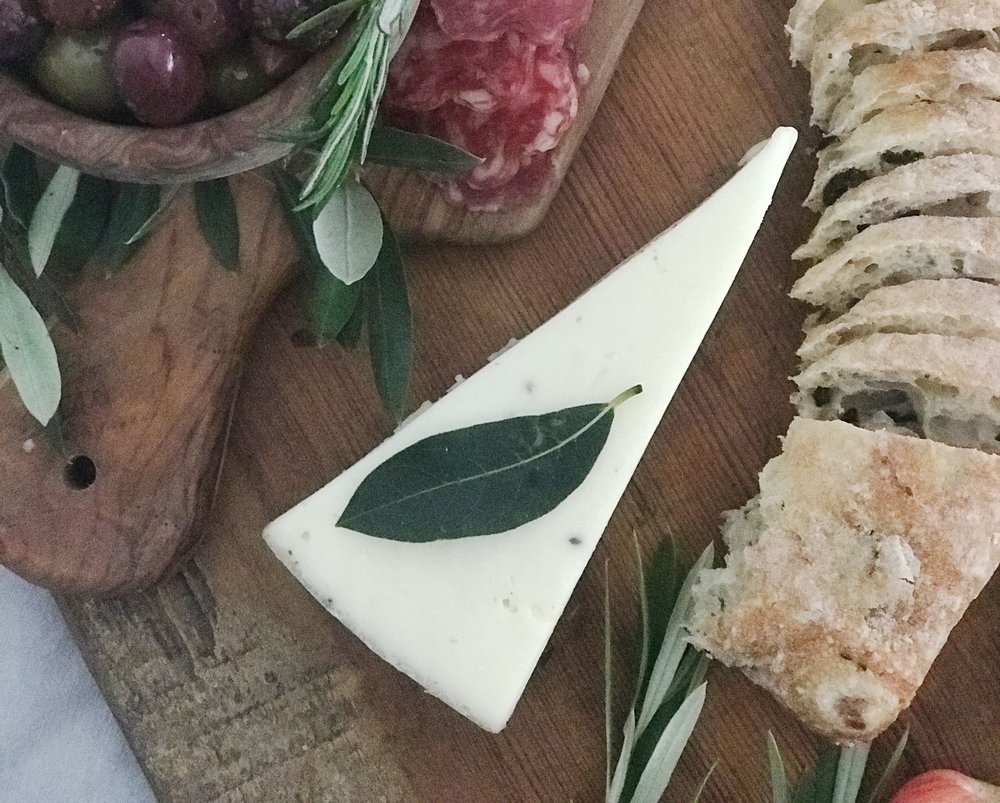
5) Make it Pretty
As important as it is that the food you display tastes great, it is equally important that it looks beautiful.
Consider the season and add a few simple touches to your cheese board to make it look as lovely as it tastes. Some fresh herbs, a mini pumpkin a pomegranate, some whole figs or some baby apples all add a seasonal flair. I also add some fresh herb sprigs tucked in here and there or in this case some olive branches around the edges. Anything goes, really, so be creative…grab some fresh flowers or greens from your garden or some fruit from your tree and add it to the display.
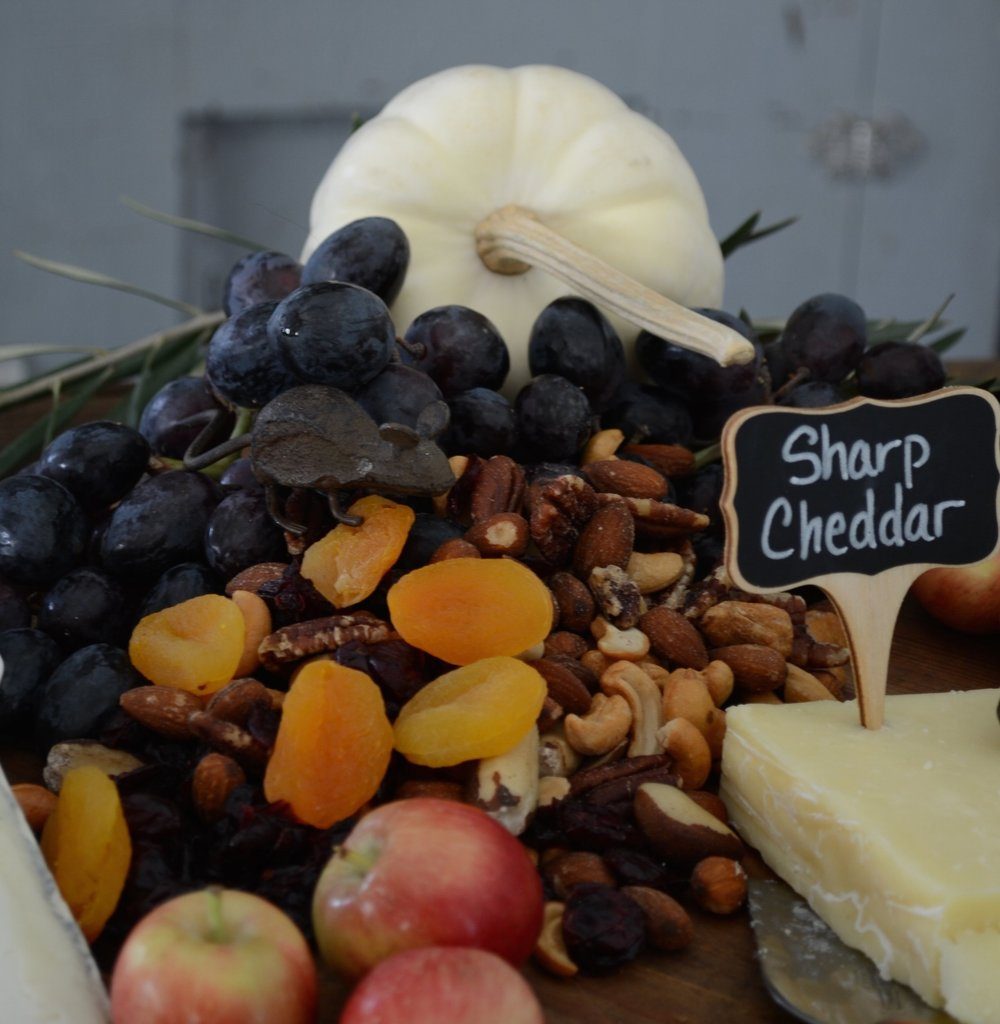
Also, don’t be afraid to add some whimsy… I love these little cast iron mice and am often asked where I got them, so I’ve linked them below. Just click on the picture for more info.
I hope this helps you envision an easy way to start the holiday party season and gives you a few fun ideas! I always love to hear from you, so please leave a comment and happy entertaining!!