How to Make Artificial Flowers Look Real
It’s almost spring and I can’t wait for the beauty of my favorite season to arrive! While I am waiting, I am filling my home with beautiful faux flowers and plants to add a little bit of color and freshness to every room. Not all artificial flowers are created equal and I have spent a lot of time sourcing the most realistic and beautiful faux options available. That’s why I was so excited when my favorite flower source, Afloral reached out to me to see if I would style some of their stunning spring florals in my home and share my tips for how to make artificial flowers look real!
This is a sponsored post but all opinions and reviews are mine. I only share products that I actually use and love!

The artificial flower options available at Afloral are truly next-level beautiful! They have the most realistic looking tulips I have ever seen! For this look in my kitchen and family room, I used their FARMHOUSE VASE and filled it with REAL TOUCH WHITE TULIPS. I love how realistic these tulips look and they are so easy to arrange.
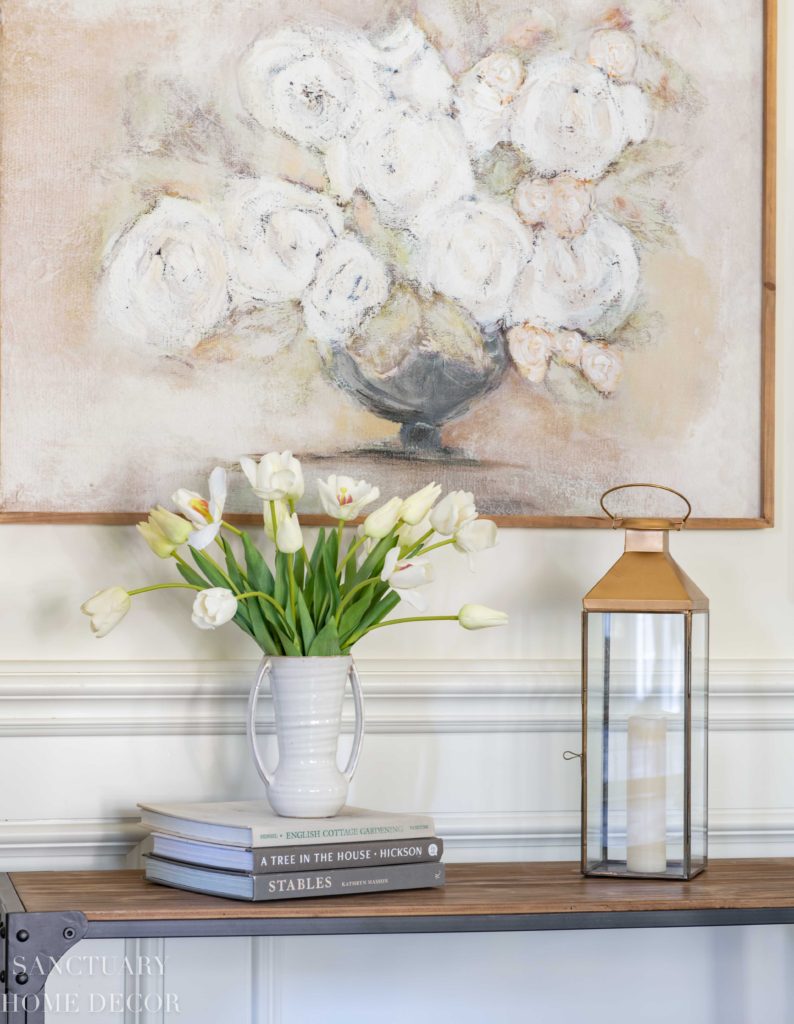
These blooms arrived with very straight stems and closed buds, so after I put them in the vase, I made sure to bend some of the stems on the outside edge of the arrangement to mimic the look of fresh flowers. I also opened up the petals on some of the flower heads so they didn’t look quite so uniform.
If you want to see a video of exactly how I created this arrangement, CLICK HERE.

Tip #1 Bend stems in the way that a fresh flower would naturally bend and open up some of the flower petals.
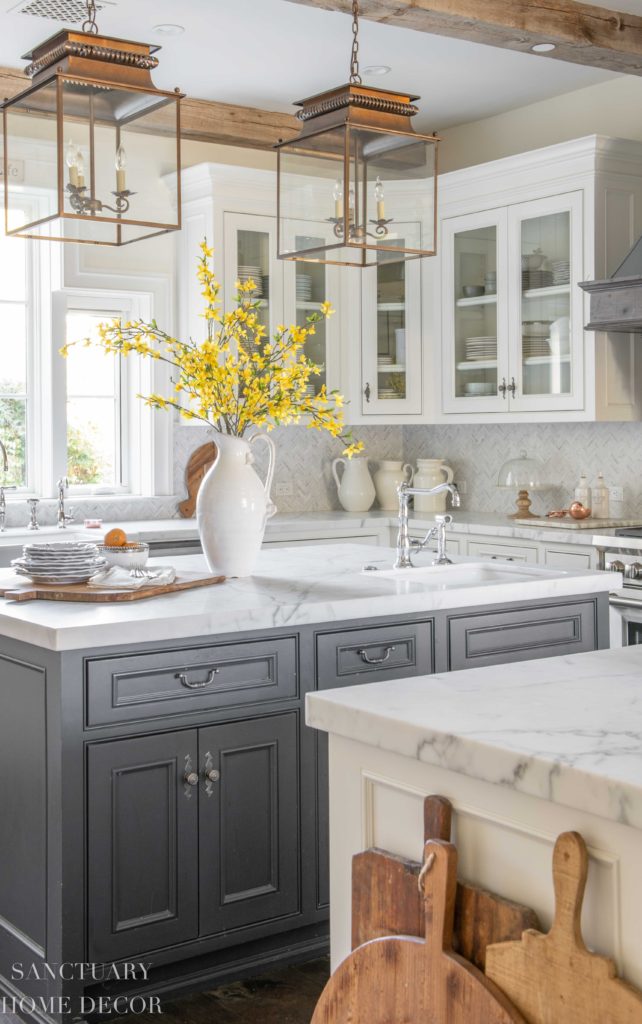
I love how a simple pop of color in an otherwise neutral room can make a huge impact. These stunning faux FORSYTHIA BRANCHES are the perfect way to bring a bit of spring into my kitchen before fresh branches are available.

These pretty branches arrived with very long stems, so I originally used them in a tall ceramic pitcher at their full length, but I really wanted a shorter arrangement for my kitchen. Instead of cutting the stems, I bent them to the right height to fit in a simple handcrafted STONEWARE VASE.

This will allow me to use these branches in both tall and short vases season after season. The key to this technique is to use opaque vases so you cannot see the stems!
Tip #2 Use opaque vases so you cannot see bent stems.

Remember those REAL TOUCH TULIPS I mentioned before? Well luckily they come in several colors and varieties and they ALL look amazing!! I was so excited to receive these gorgeous pink blooms and decided to make a petit arrangement in a shorter FARMHOUSE VASE.

I removed some of the lower leaves and cut the stems down to the right height. This is exactly how I would have treated fresh flowers if I was arranging them in a vase filled with water. Then I added a small ball of chicken wire inside the vase to help hold the stems in place.
TIP: Use wire cutters to easily trim faux flower stems.

I followed the same steps as above, bending the stems and opening some petals. This simple process created a super authentic fresh flower look from these faux florals.
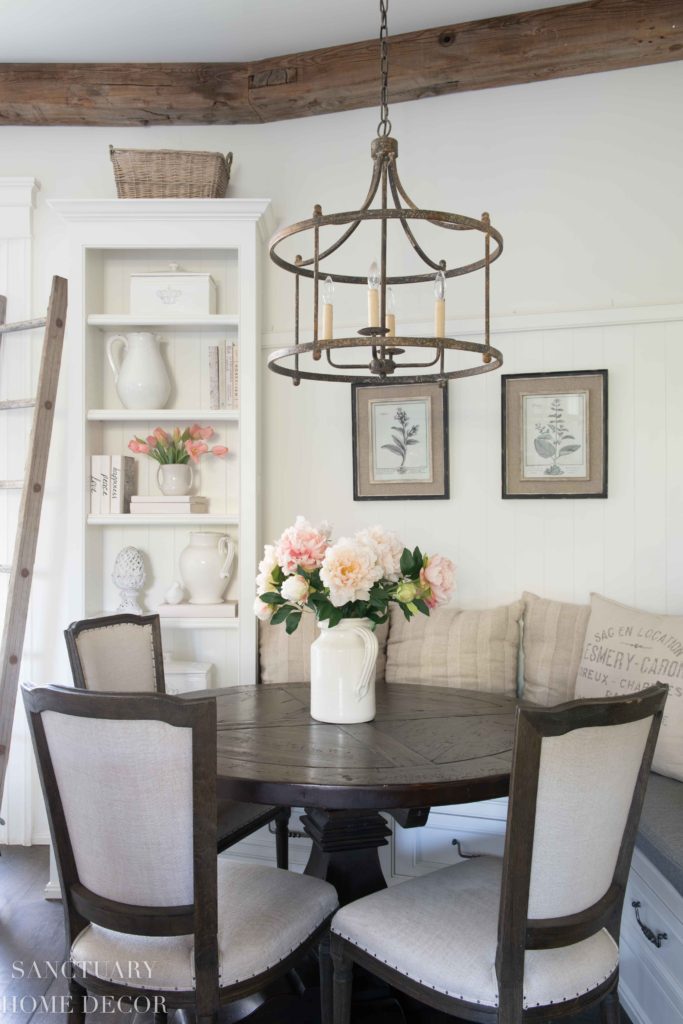
Tip #3 Remove lower leaves and cut stems for shorter vases.
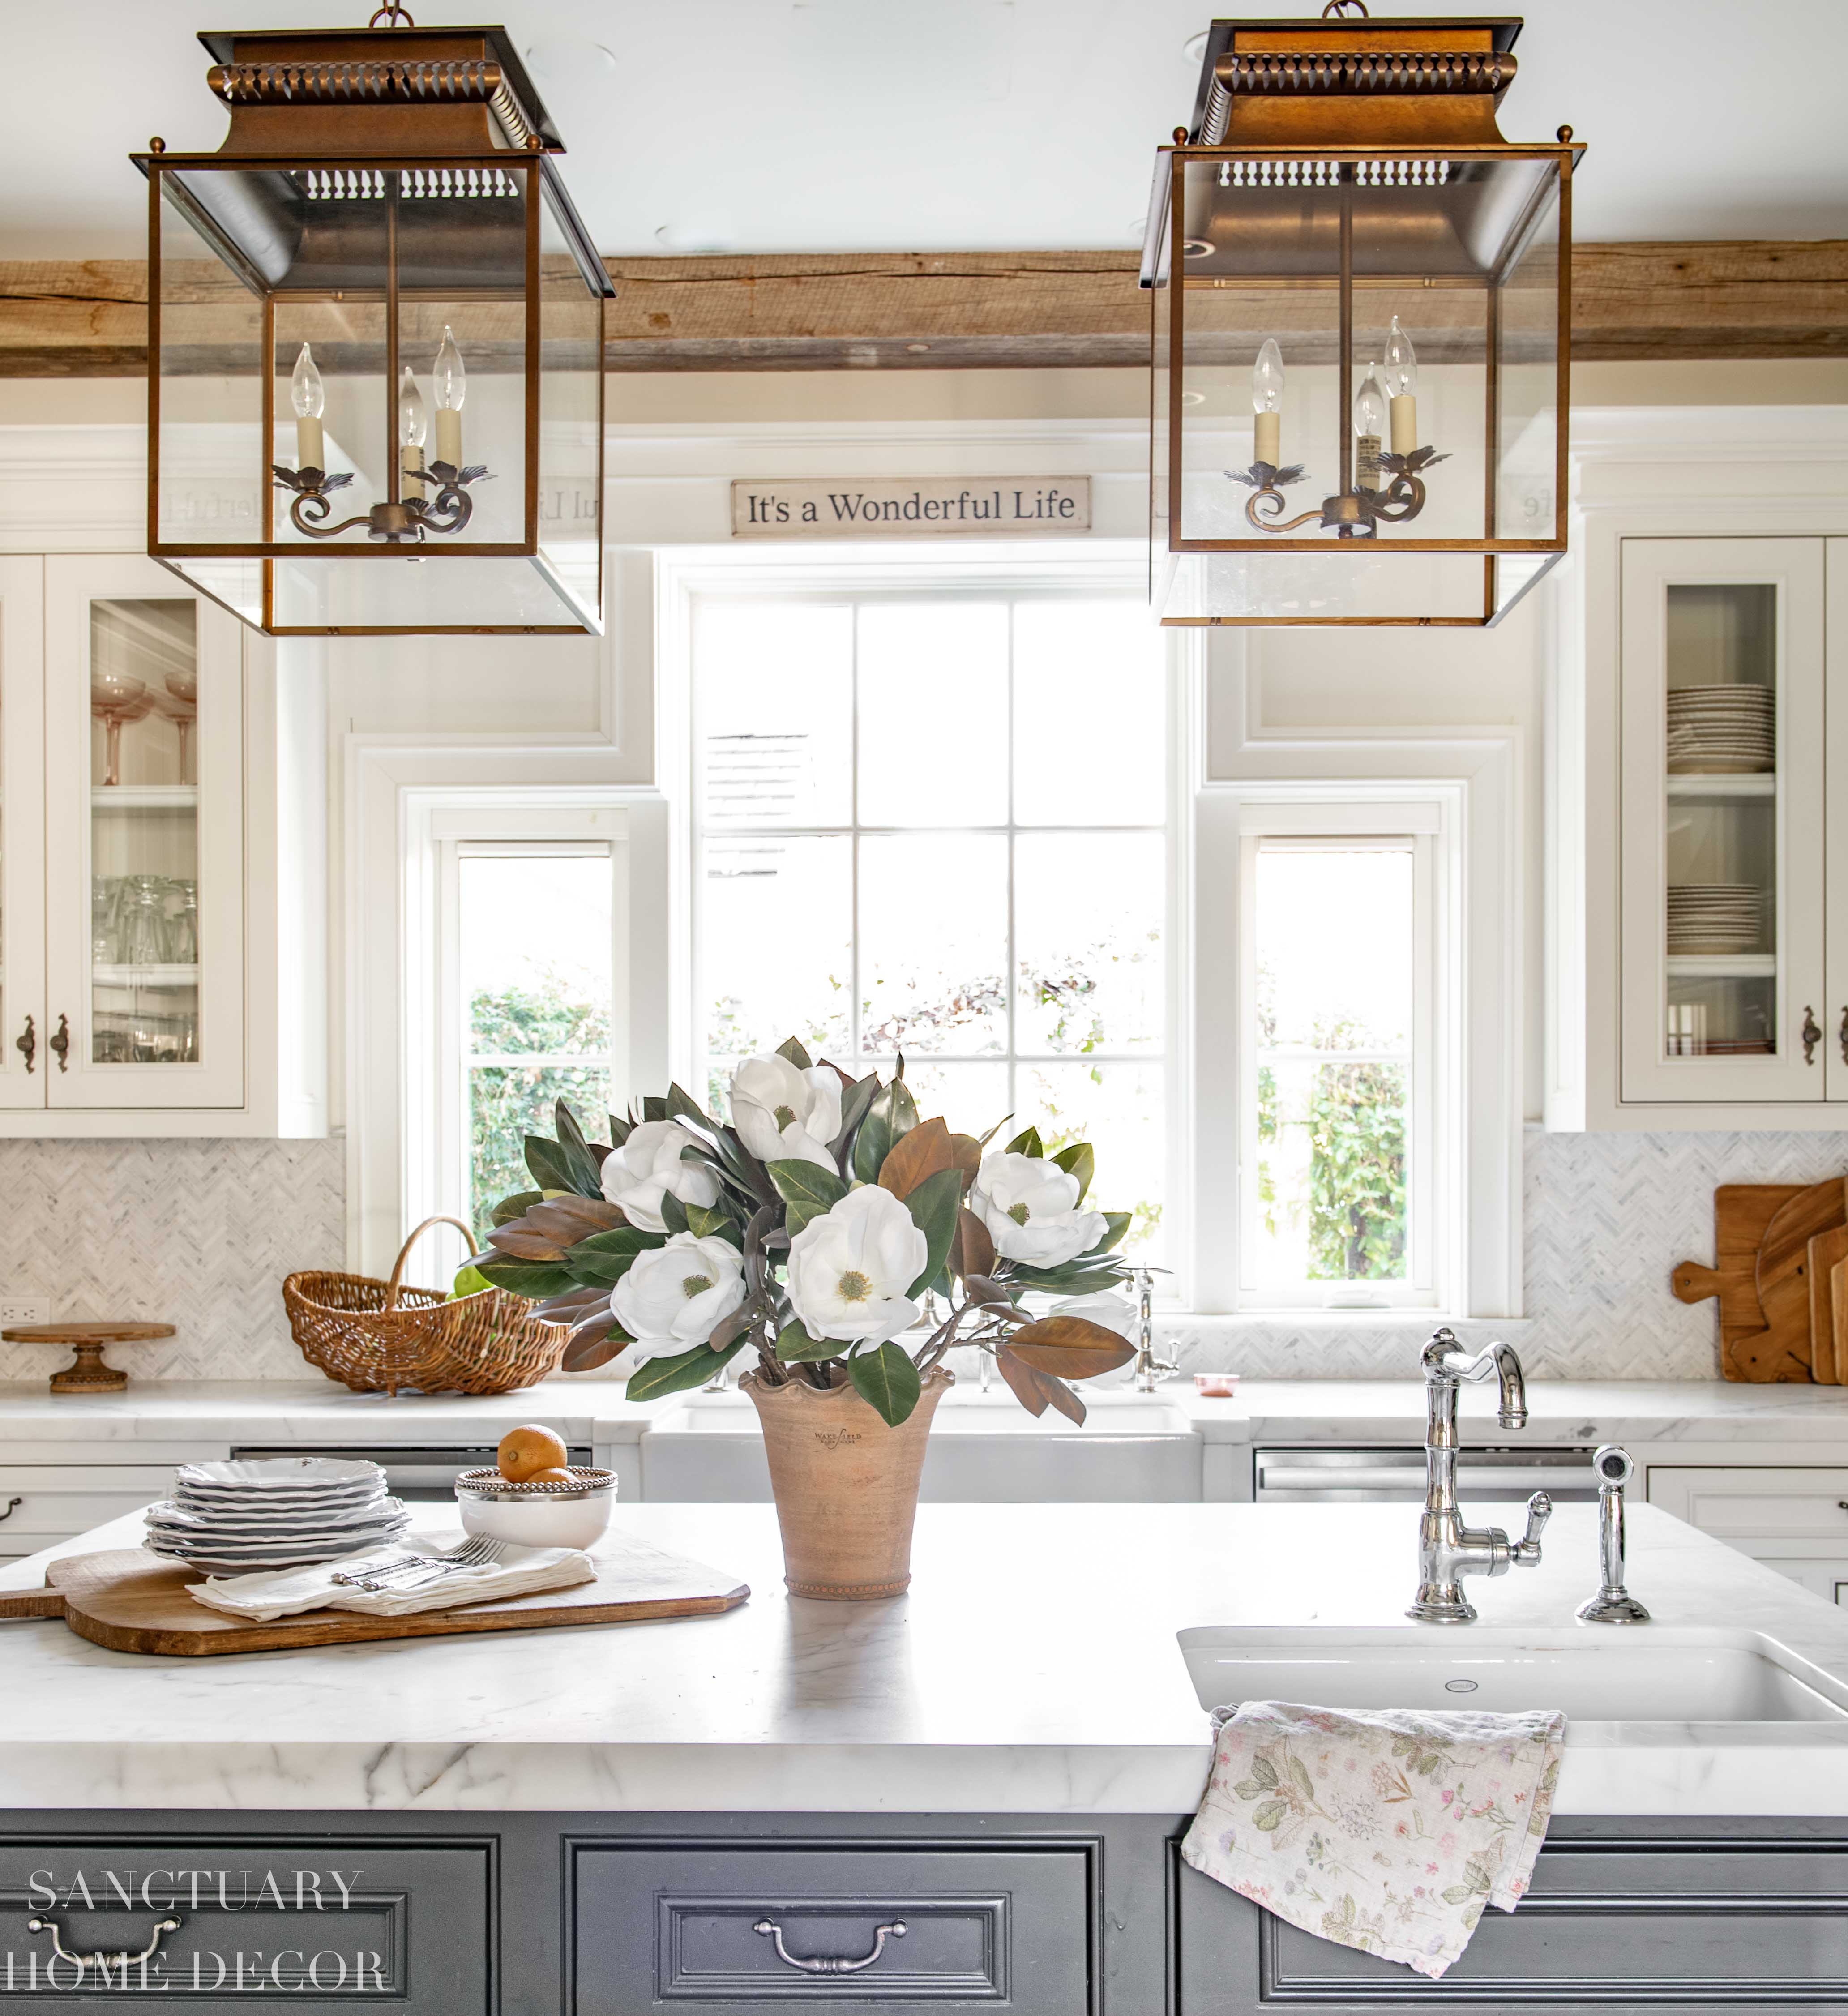
I used all of the same techniques as above to arrange these stunning MAGNOLIA STEMS in this pretty TERRACOTTA POT.

I shortened the stems by bending them to the right height for the pot and also opened some of the flower petals as I did with the tulips.

I also love how these look in a taller pitcher on the table in my living room!

I am a super fan of peonies! Of course, fresh are my favorites, but we can not grow them here in Southern California, so imagine how excited I was to receive this stunning ARTIFICIAL PEONY PLANT!!
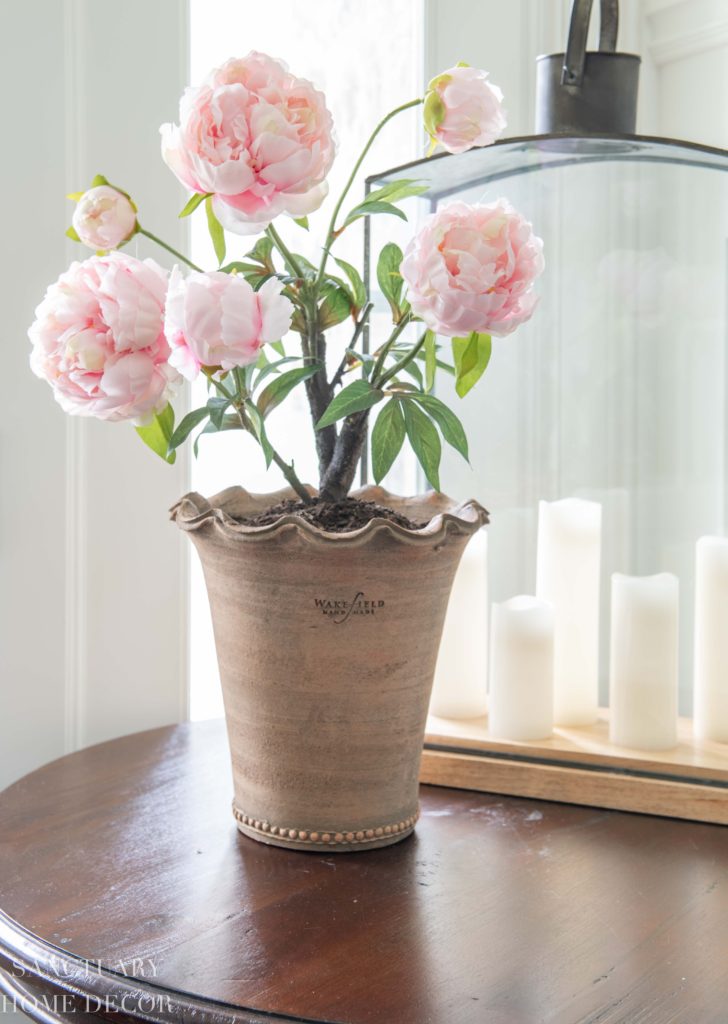
I decided to use it on a table in my front entry, so I put it in a beautiful TERRACOTTA POT with just a bit of crumpled paper underneath to bring it to the right height. Then I added a couple of handfuls of potting soil to make it look even more realistic!
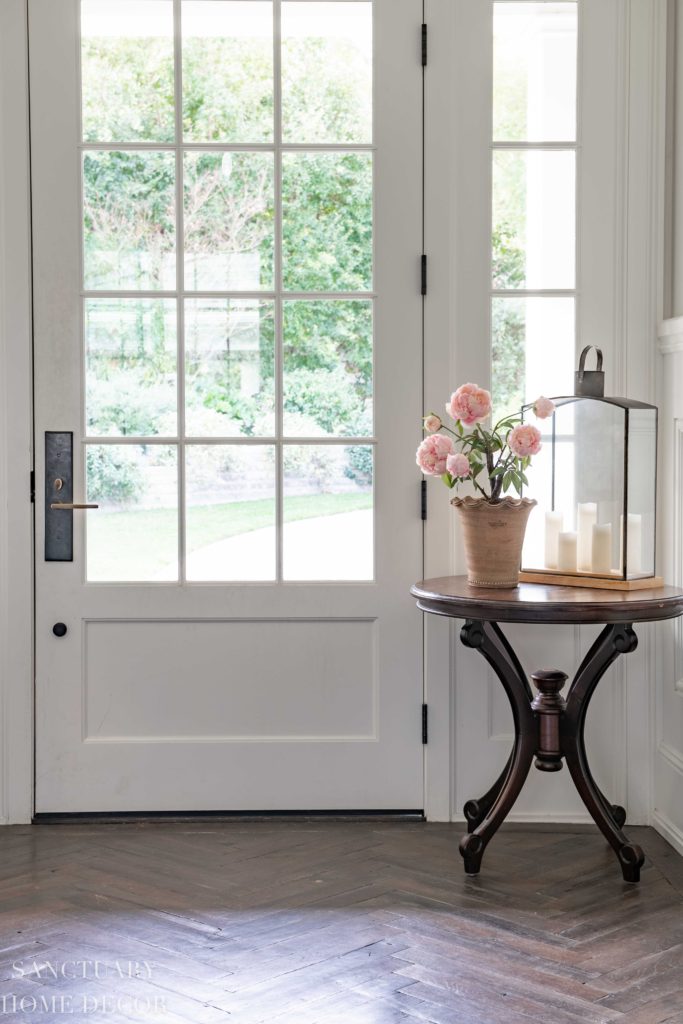
Everytime someone comes in my house they ask where I got such a beautiful peony plant. When I tell them it isn’t real thay can’t believe it!
Tip #4 Add dirt to artificial potted plants to make them look more realistic.
Speaking of potted plants, did I ever tell you that I have a black thumb when it comes to growing houseplants! I seriously kill every live houseplant I buy, so imagine how excited I was to get these incredibly realistic ARTIFICIAL PLANTS from Afloral!
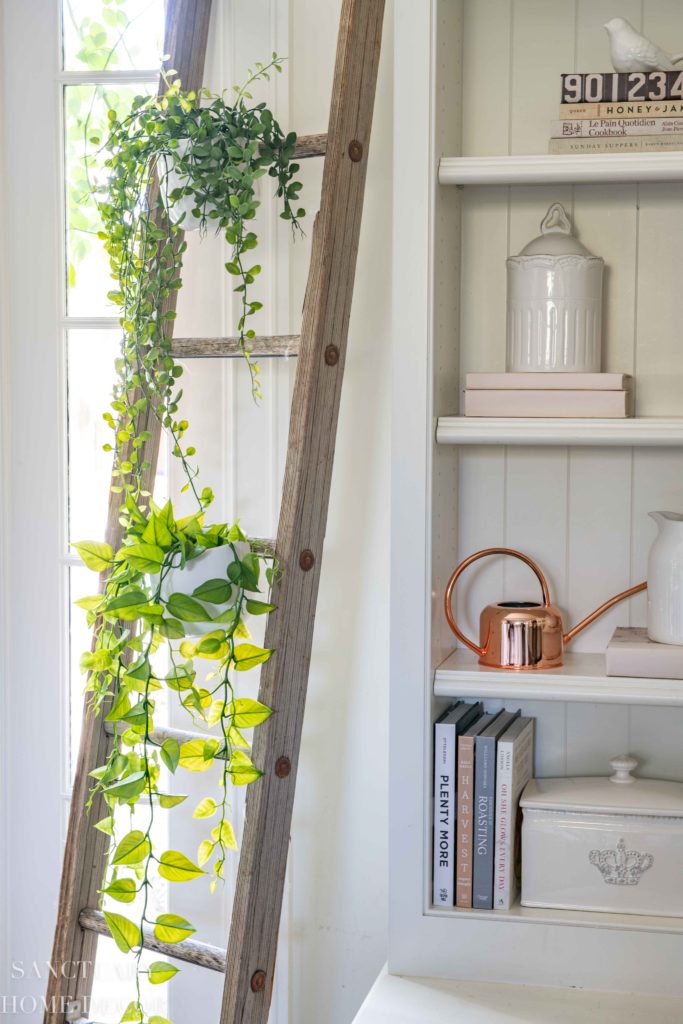
Not only did I get beautiful BUTTON FERNS and PHILODENDRON, I also received the most amazing white WALL PLANTERS in which to display them. I started by hanging them on an old ladder next to the window in our breakfast room, but they didn’t last long there.

When my teenage daughter saw them she immediately asked to hang them in her bedroom, so we put them on the wall next to her window with the philodendron. I love how authentic they look hanging in this space.
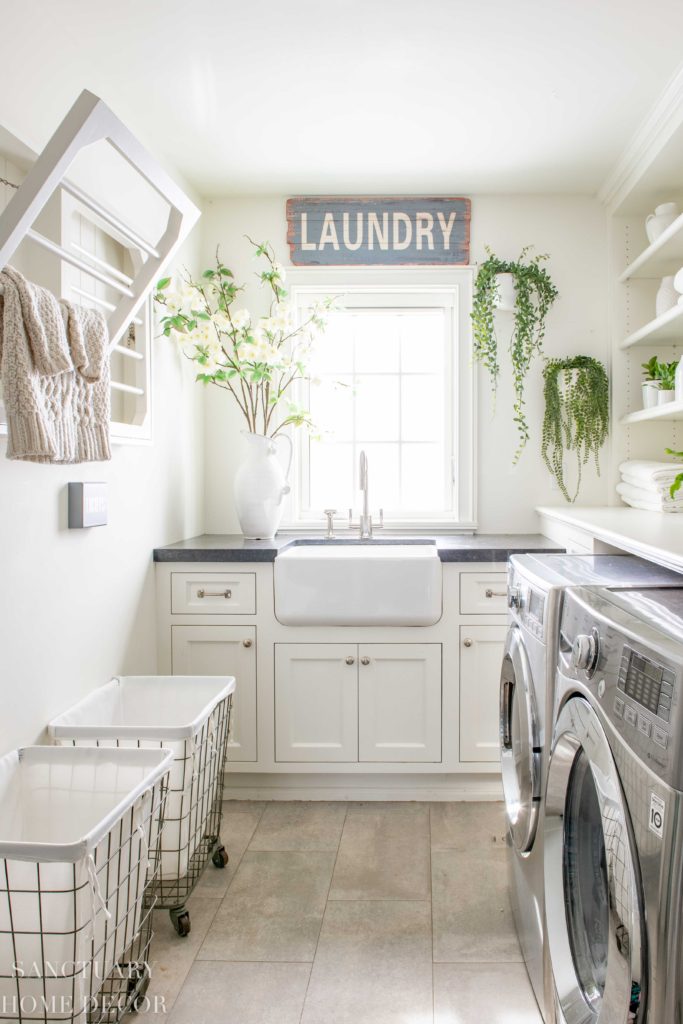
I decided to use the button ferns on the wall next to the window in my laundry room and I love how they freshen up this room! The key to making artificial plants look real is to place them where a live plant would actually grow, such as next to a window or on a window sill or shelf with bright light.
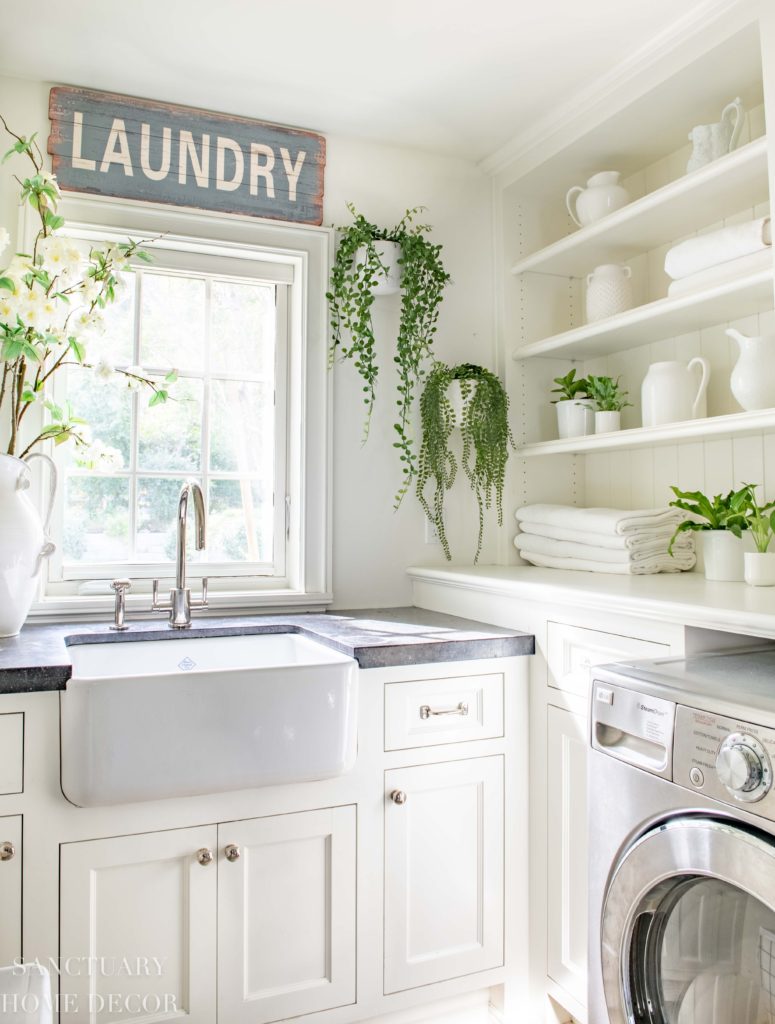
Tip #5 Make artificial plants look real by putting them in locations where live plants would grow.
I hope this gives you some ideas for how to make artificial flowers look real Scroll down for links to all of these products and be sure to check out my all-time favorite faux flowers HERE.


They all look so beautifully displayed. With quality artificial blooms it is easy to fool people! One other idea is to put water in the container and add fresh foliage and even other flowers from the garden or shops to your artifucial arrangements- looks even more realistic. Also, it helps to display only those flowers that would be in season.
So true, Gaynor!! Great tips!
These blooms really do look real. I love the tips you’ve given me for adding soil to some of the faux plants. That would really make it look real.
Thank you
Karen
Thanks so much for your kind note, Karen! I appreciate that!