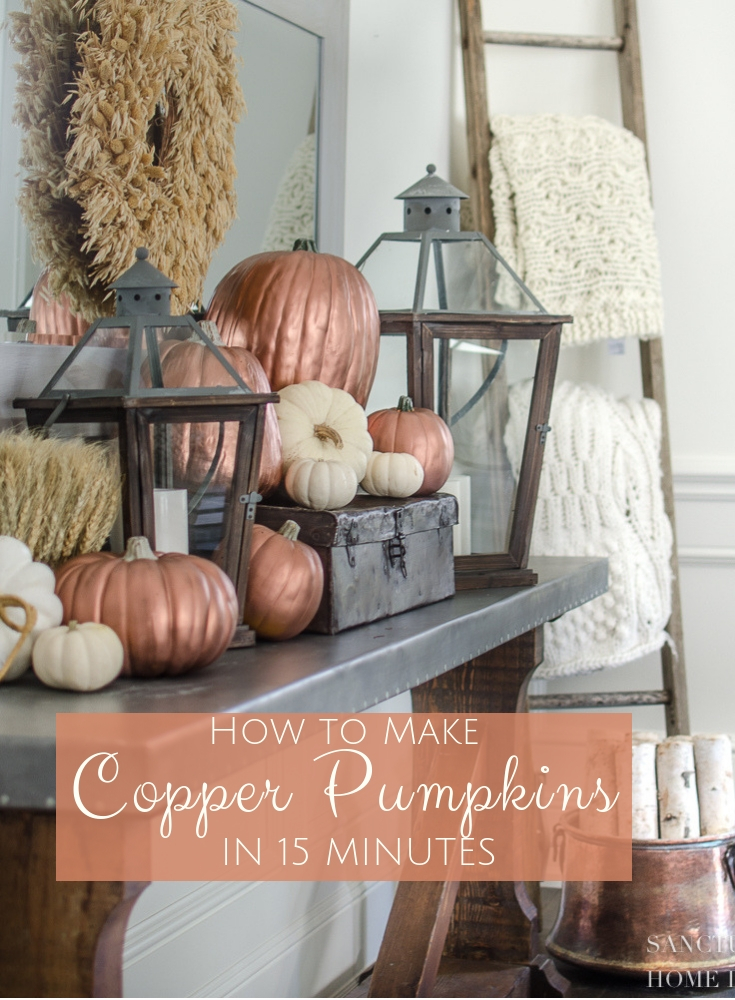
How To Make Copper Pumpkins in 15 Minutes
I’m all about the copper pumpkins this year. Actually, I’m kind of all about copper throughout the house for fall, but I especially love the look of copper pumpkins in my fall decor.
I thought about buying copper pumpkins to add to my ever expanding collection of fall decor, but then realized that I seriously don’t have any more room to store faux pumpkins, so I grabbed a can of spray paint and transformed my old orange pumpkins into copper beauties!
This whole process literally took less than 15 minutes!
Below are step by step instructions on how to make your own copper (or metallic) pumpkins.
WHAT YOU WILL NEED
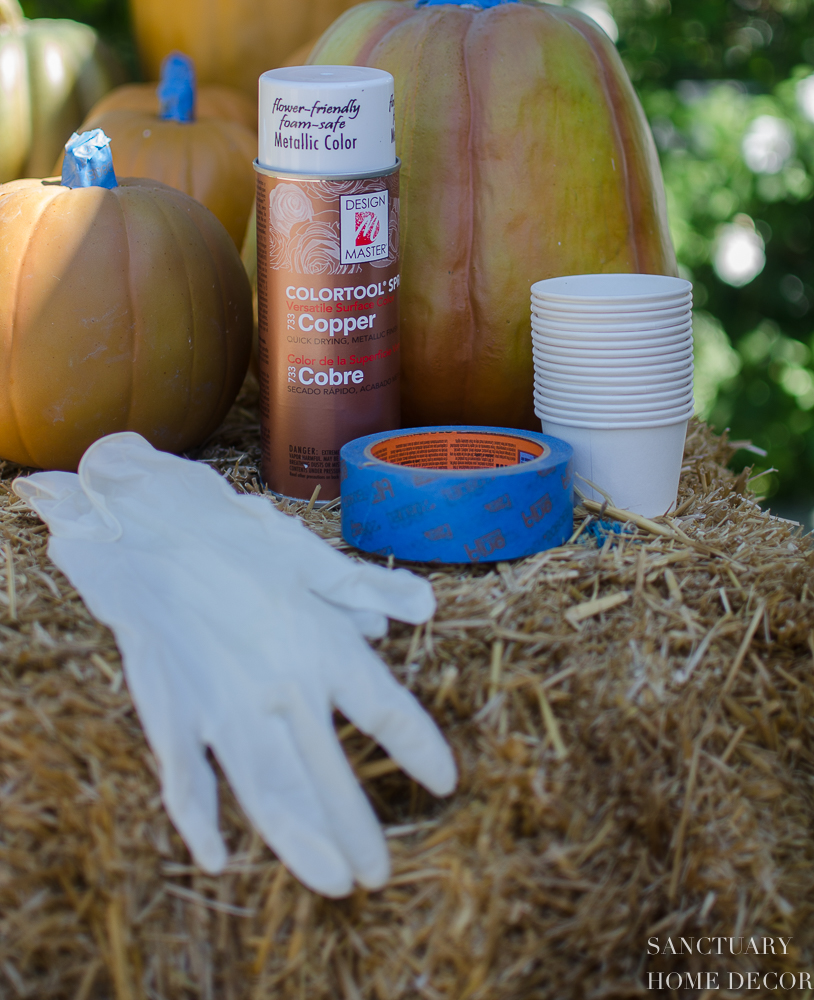
1) Faux pumpkins in any color or shape
Mine were a variety of materials from the craft store foam type to the harder plastic type.
2) Copper Spray Paint
I used a “foam safe” spray paint because I wasn’t sure how other paints would impact the faux pumpkin material. (I was imagining melting pumpkins as I painted!)
3) Disposable Gloves
This can be a bit messy and you WILL mess up your manicure without gloves!
4) Disposable Cups
These are to put the painted pumpkins on to dry
5) A Cardboard Box
NOTE: Spray paint fumes can be dangerous and have serious negative health impacts. Please read all warnings and be completely informed before using spray paint. 
For your convenience, I have linked the exact products I used, but you can easily find most of these items in your local craft or hardware store.
THIS POST CONTAINS AFFILIATE LINKS
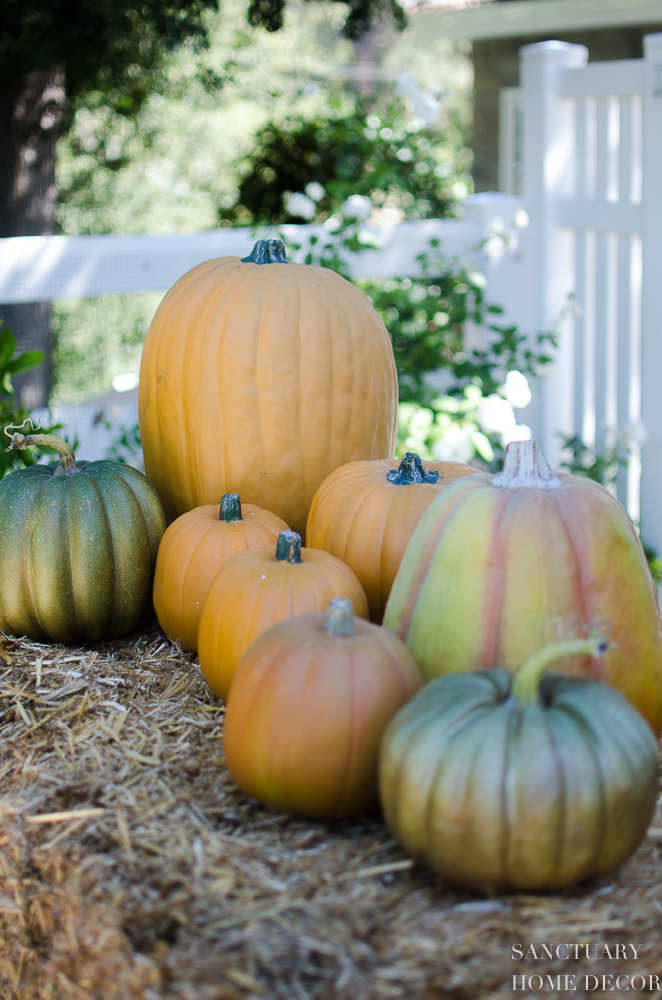
STEP 1
Dust off your Pumpkins
My pumpkins had been collecting dust in my garage for several years, so I used a damp cloth to give them a quick wipe down before I started painting. Once they were completely dry, I began prepping them to paint.
STEP TWO
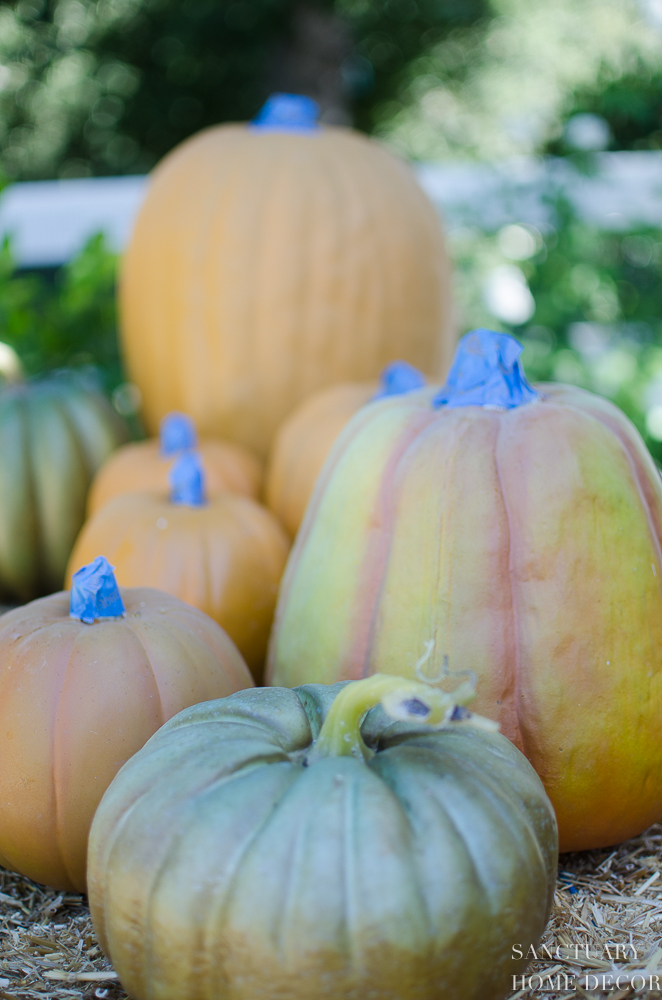
Tape the Stems
Once my pumpkins were dusted off, I began covering the stems with blue painters tape. I used small pieces to cover any area that I didn’t want painted and made sure it was firmly pressed down so no paint could sneak in.

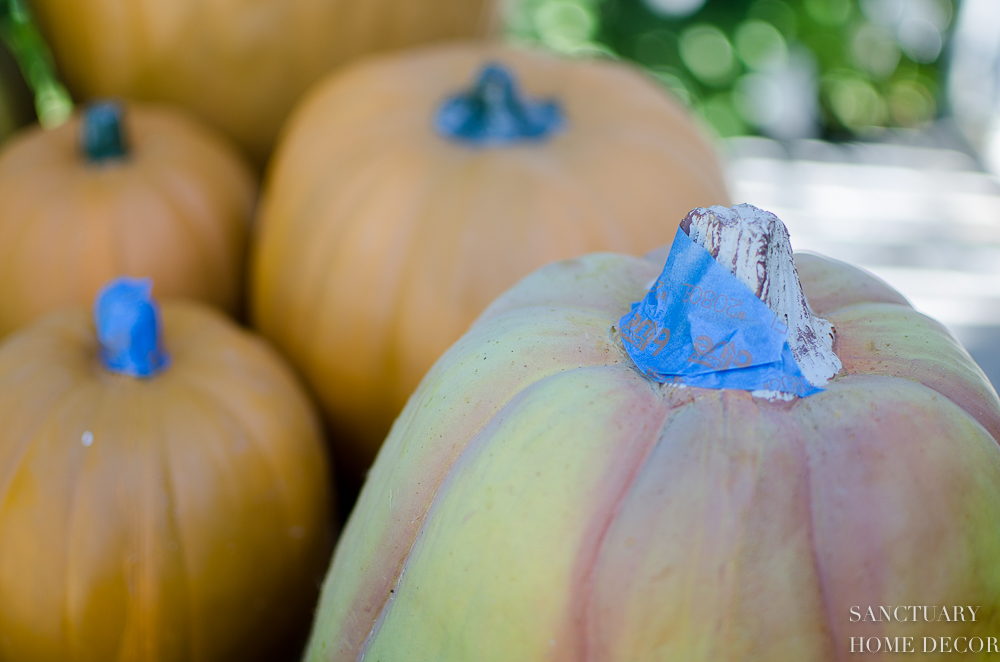
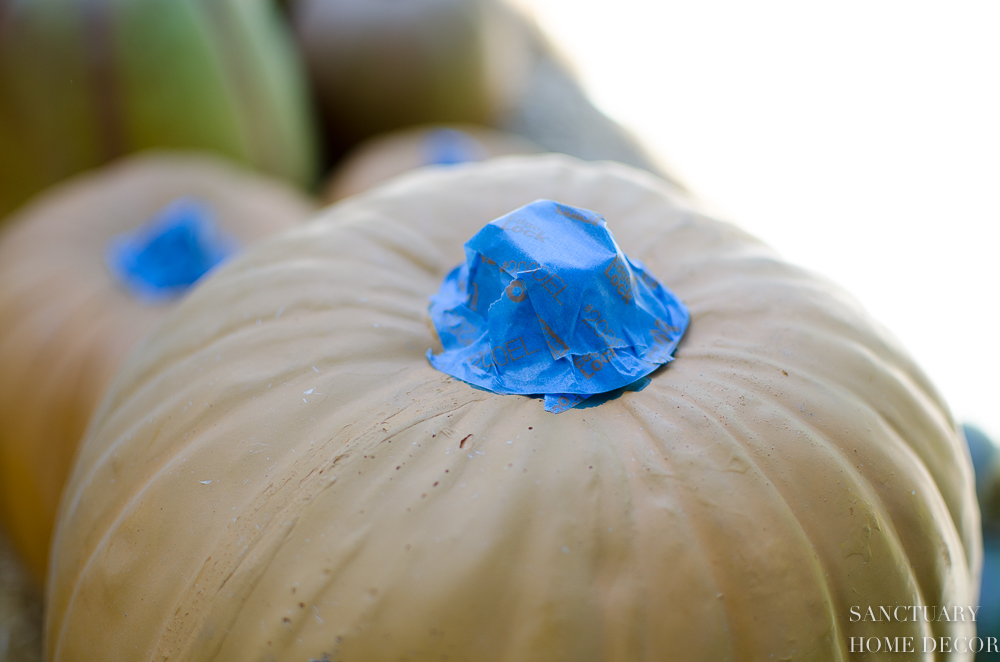
A couple of my pumpkins had a greenish toned stem, that I didn’t think would blend well with the copper, so I decided to paint those stems as well.

STEP 3
Paint
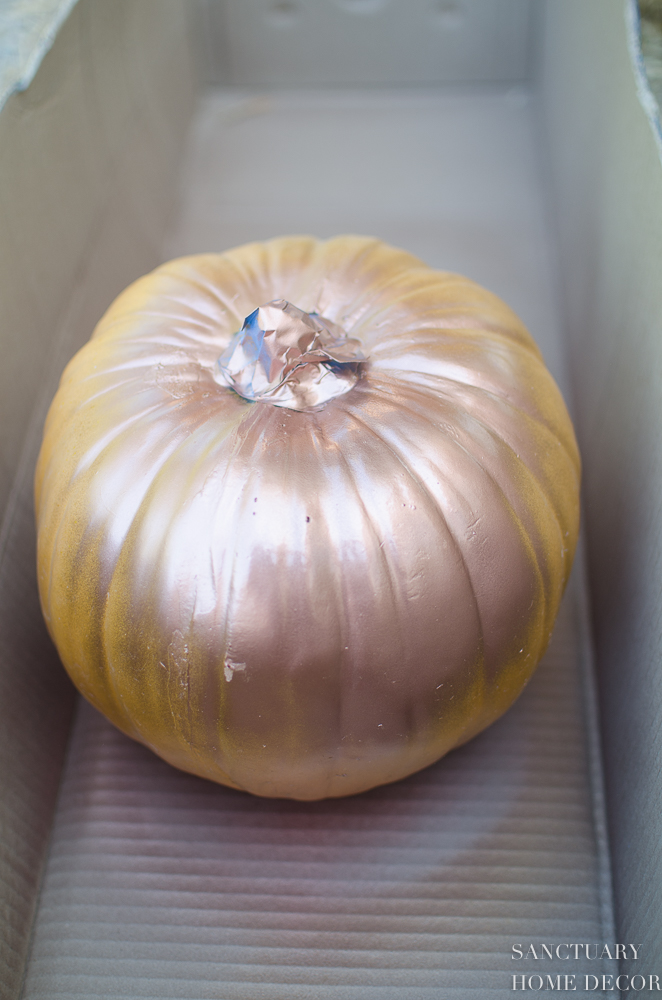
Once I had all of the stems taped, I placed each pumpkin in the cardboard box, one at a time, and began painting. I used the disposable gloves, which made it easy to keep my hands clean and turn the pumpkins as I painted.

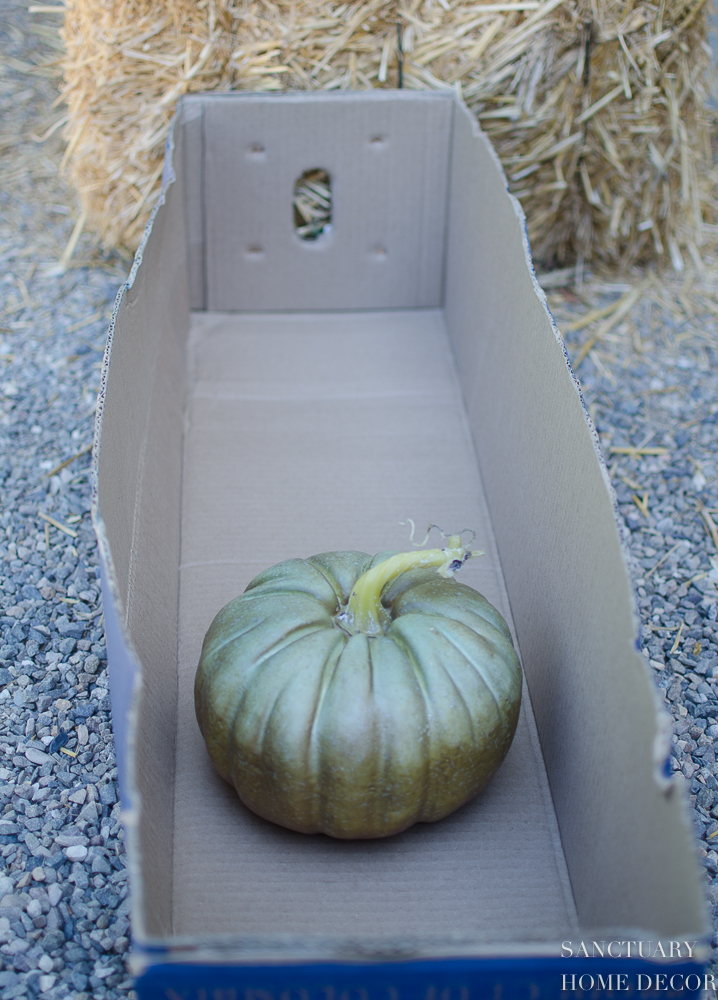
I kept the spray can about 8-10 inches away from the pumpkins as I painted and turned them to cover all sides.

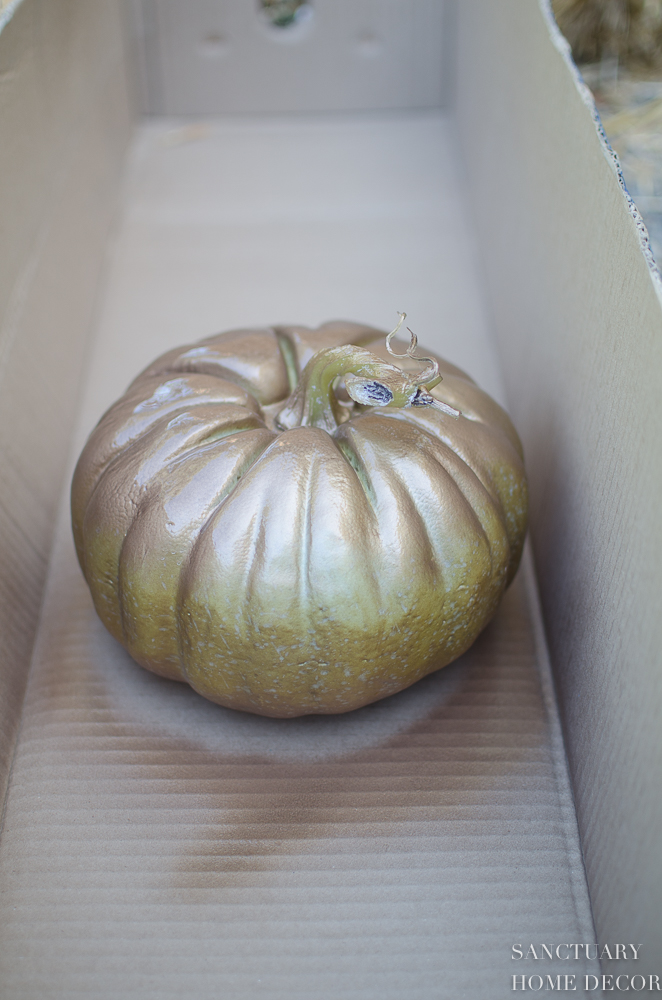
I only had to apply one coat to completely cover the pumpkins and get the desired effect.
On a side note, I did experiment with a brass colored paint as well, but ultimately liked the copper color better.

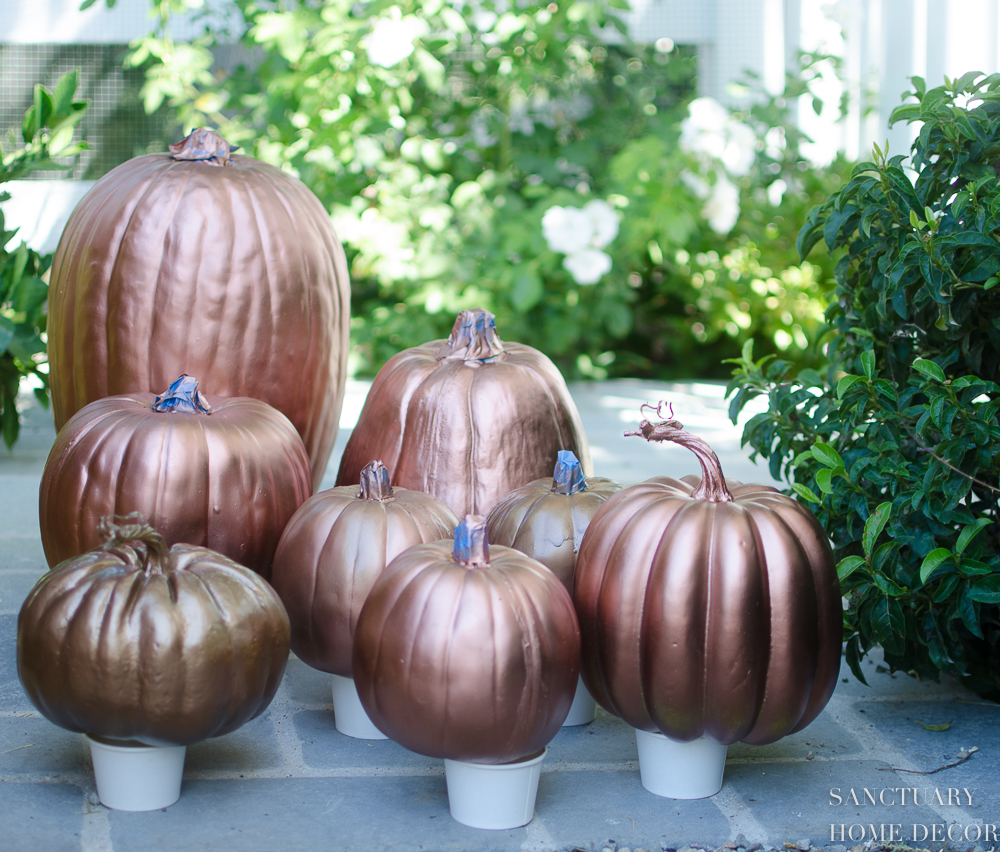
As I finished painting each pumpkin, I placed them on the cardboard cups to dry. It only took about 10 minutes for them to be completely dry to the point that I could pick them off. I popped the blue tape off of the stems and just like that I had transformed my orange pumpkins to copper beauties!

STEP 4
Decorate!
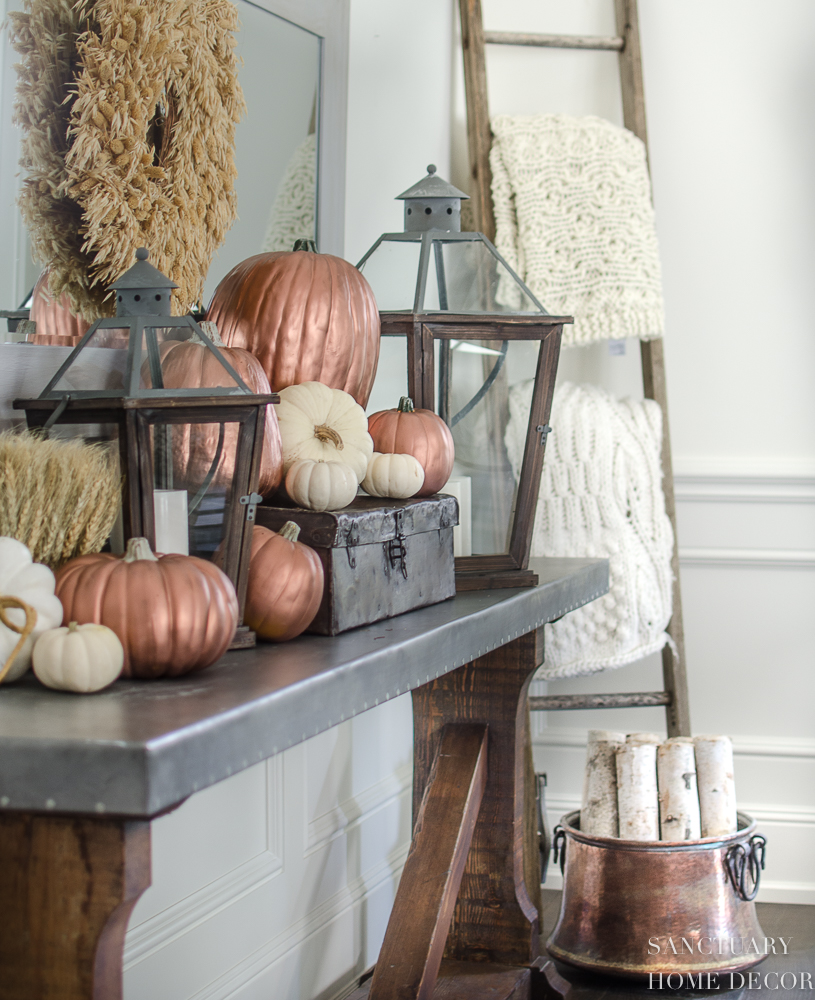
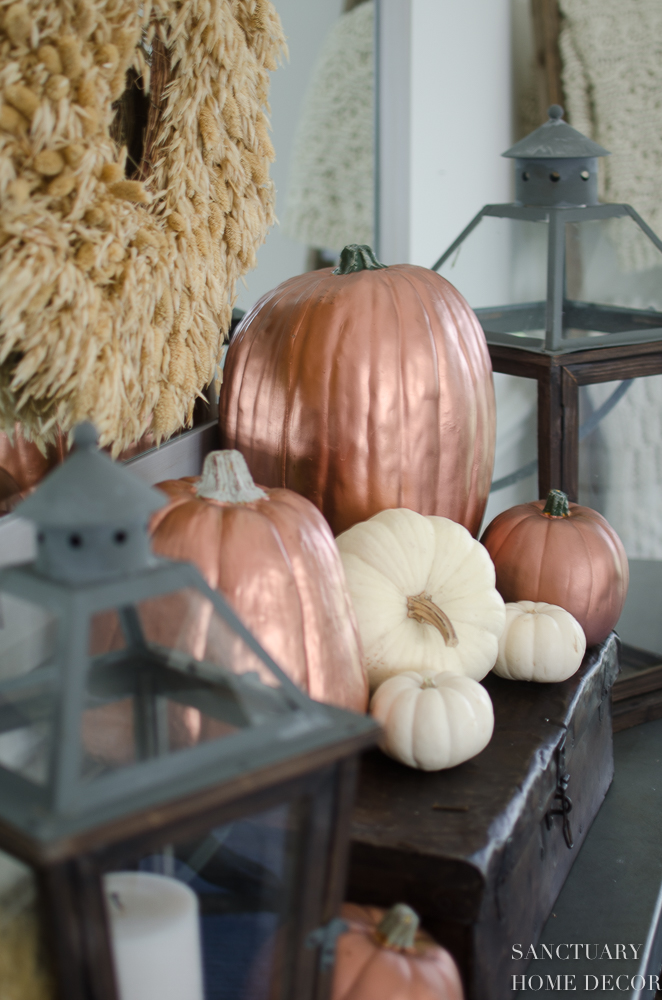
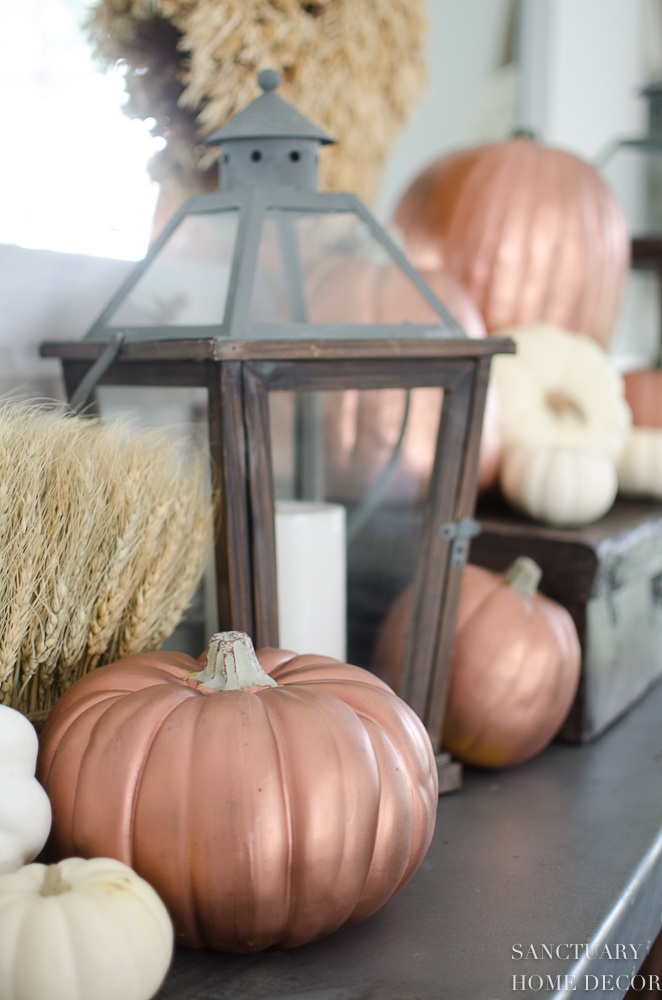
Once my pumpkins were all shiny and copper, I couldn’t wait to start decorating with them. I used them inside and outside in my vignettes and fall porch decor.
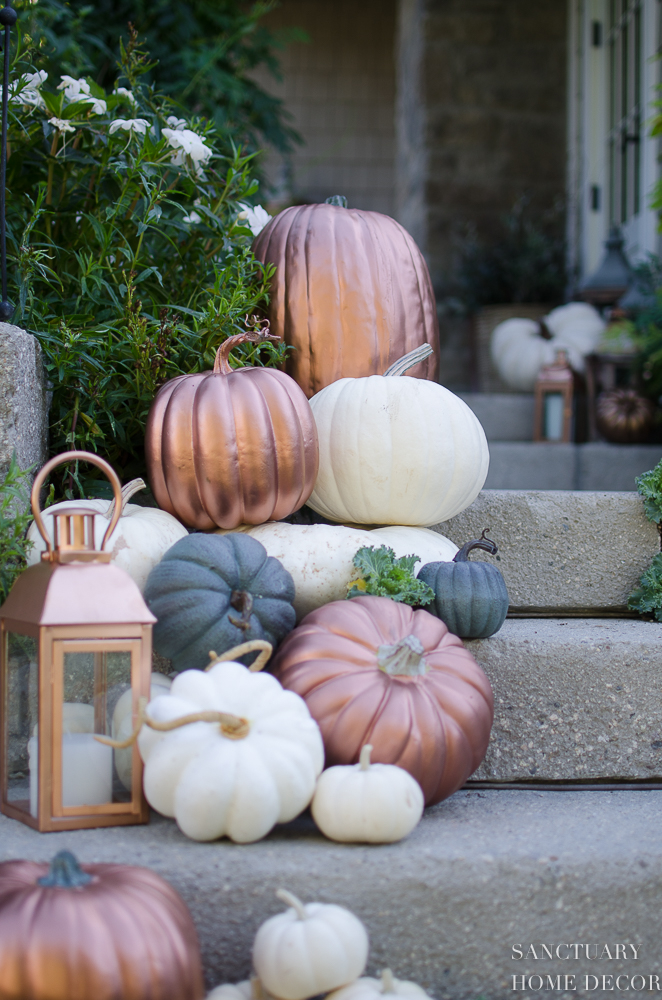

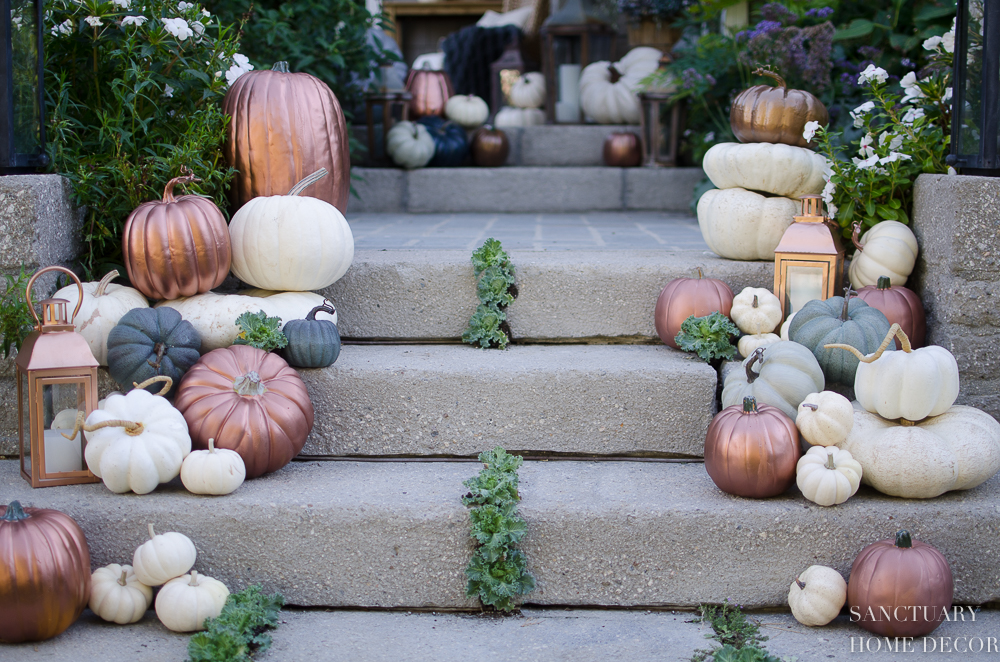
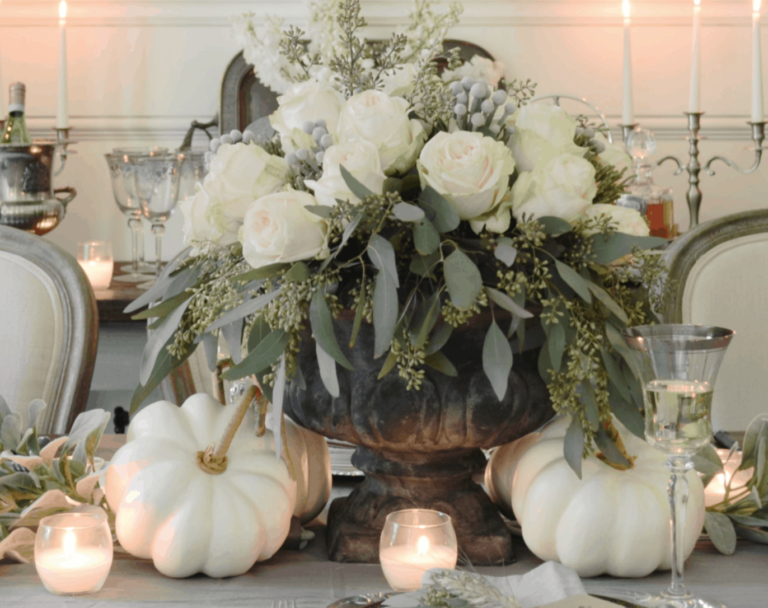
I love the way the copper adds a soft fall tone without being too orange and blends so well with the white and slate blue pumpkins.

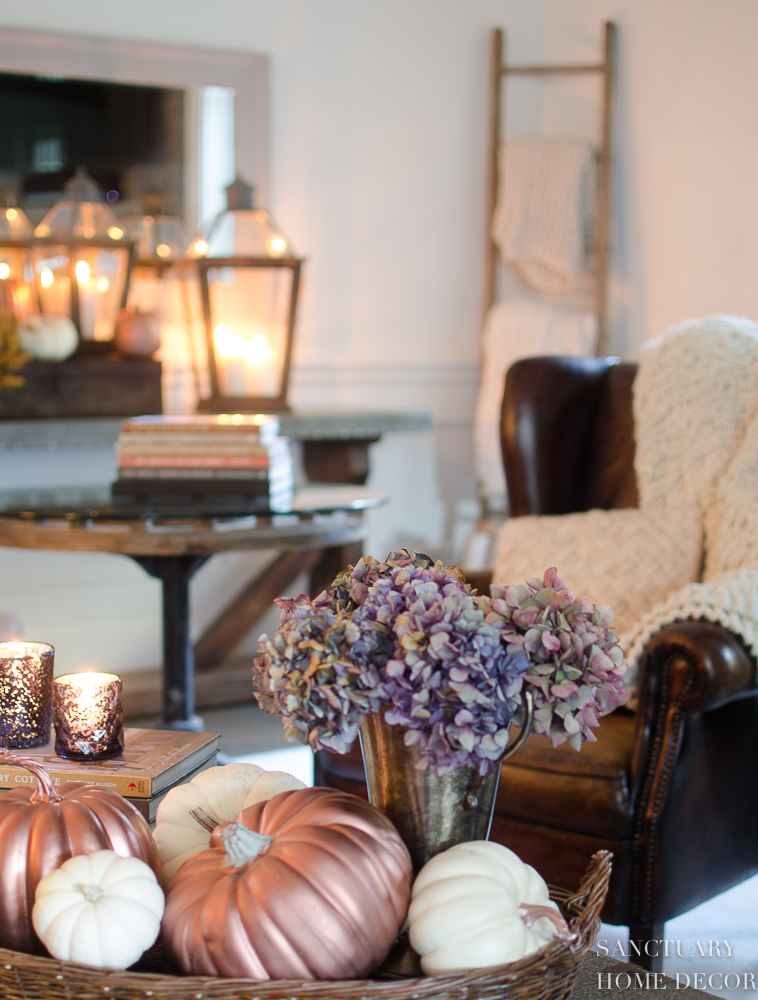
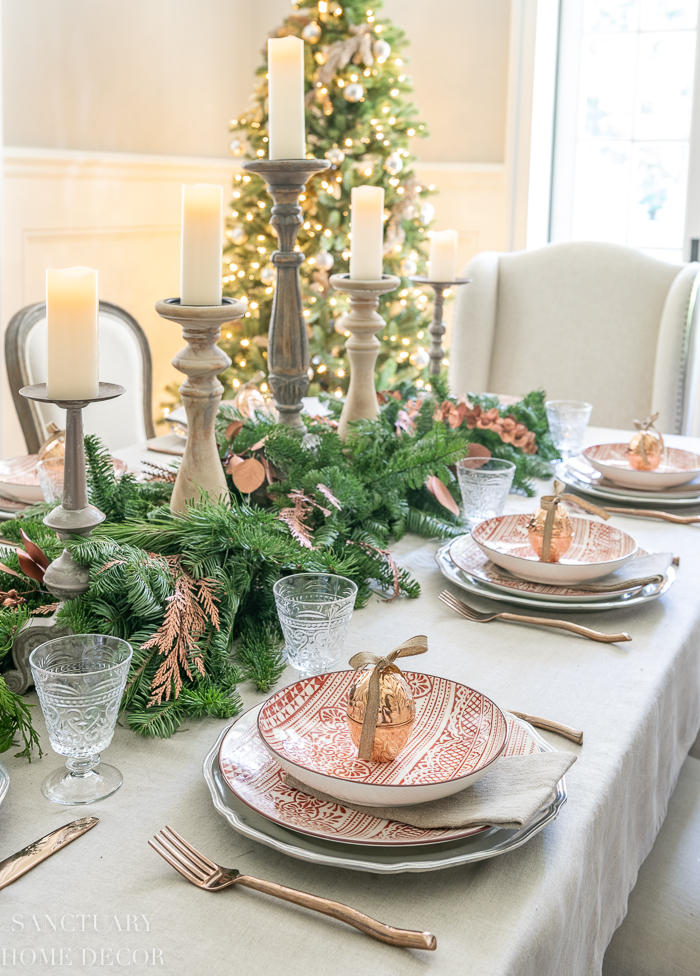
The cooper adds a pretty glow in candlelight.

In vignettes, you get that fall look without using bright orange.

I am so happy with my new copper pumpkins and hope this inspires you to recycle your fall decor!
Thanks for stopping by and have a great day!


Save this image to your Pinterest to come back to this post at any time!
4 Comments