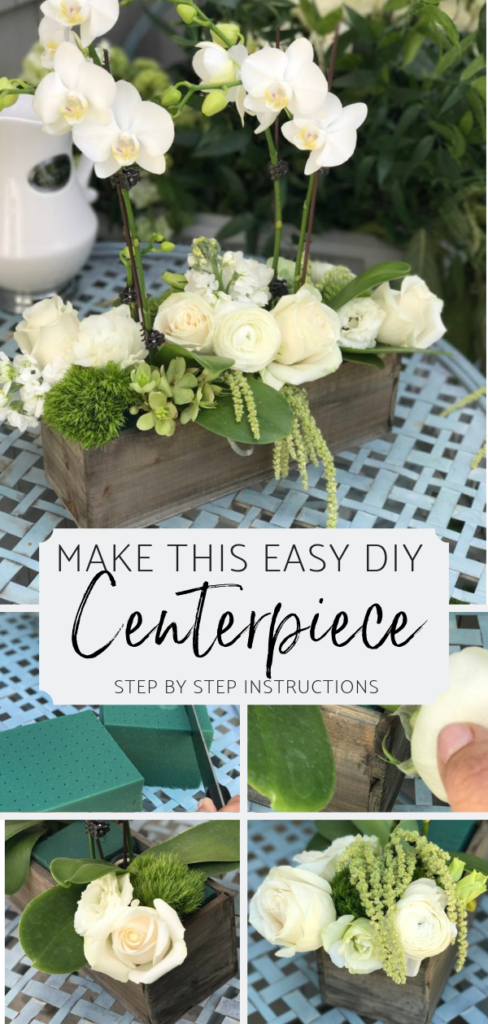
DIY Centerpiece with Step by Step Instructions
When my friend asked me to create floral centerpieces for an upcoming charity event, I was super excited! Even though I am not a professional florist, I love playing with flowers and creating beautiful floral designs. I decided to make a simple fresh orchid and succulent centerpiece with some fresh flowers tucked into the base. This is truly a DIY centerpiece and I’m sharing step by step instructions with you today.
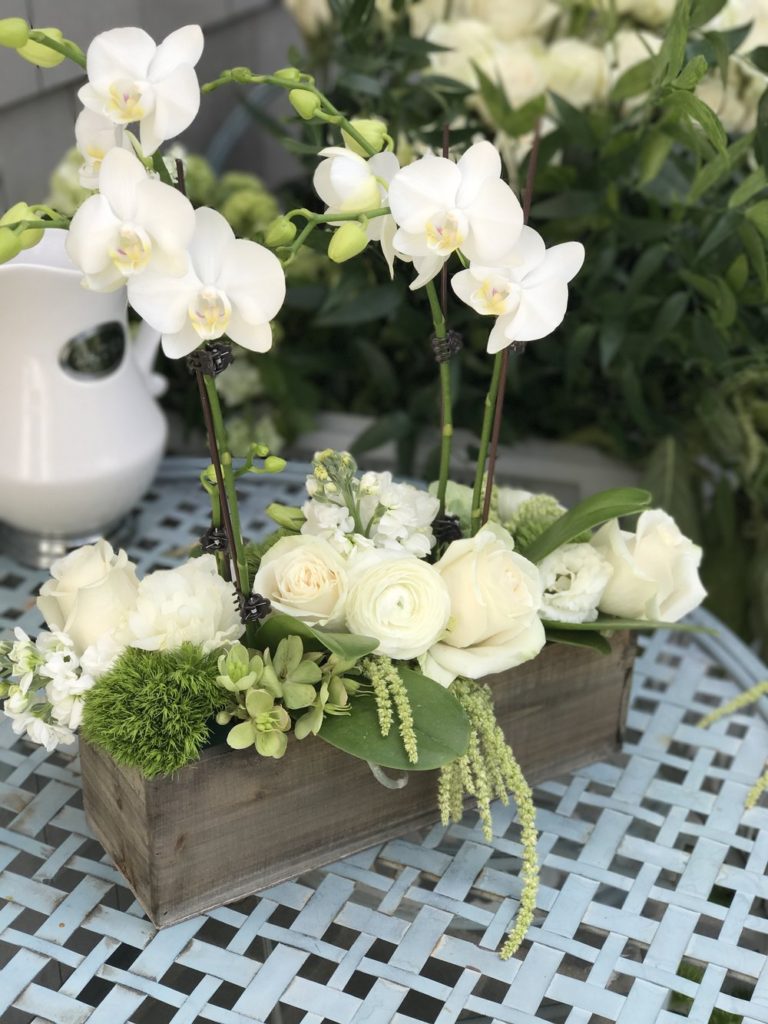
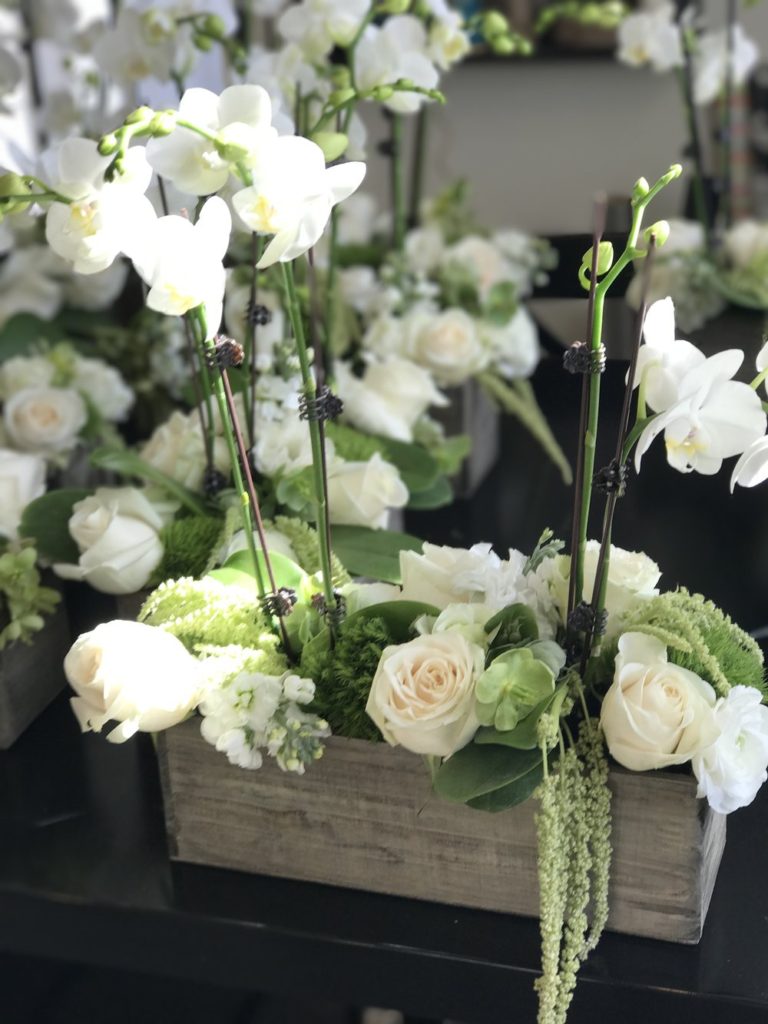
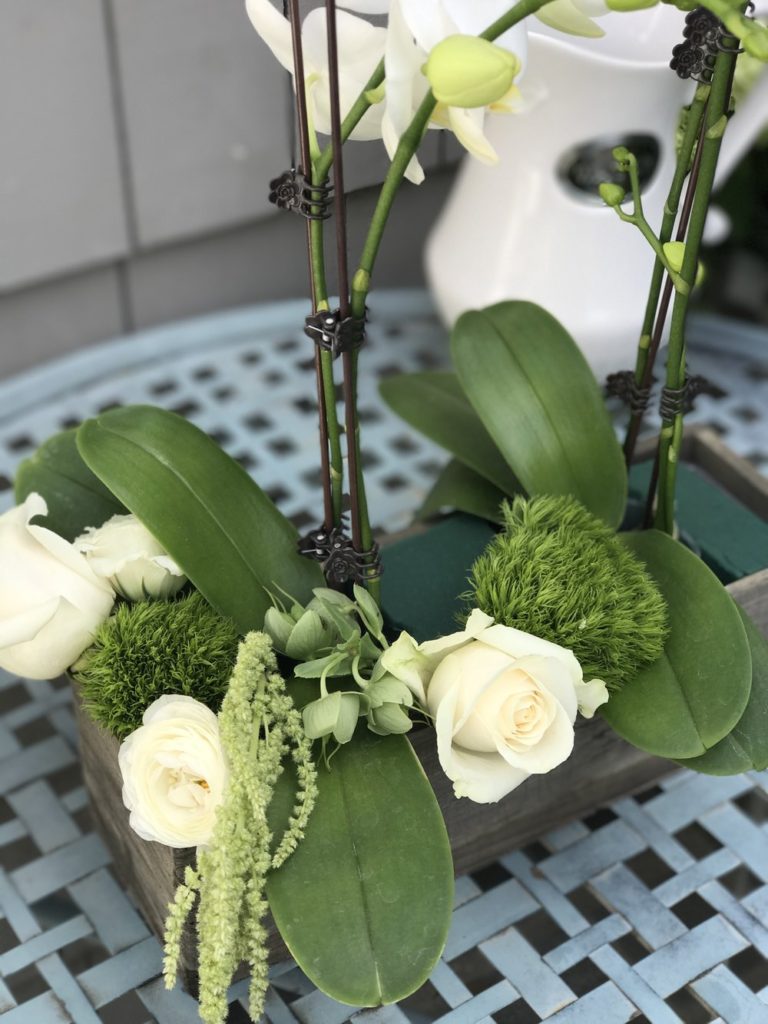
The final design is the arrangement you see here.
Here is what you will need:
1. A wood box with a plastic liner or a container of your choice. The one I used is 12″ x 4″ x 4″.
2. A brick of Oasis Floral Foam. (See more detailed information about this below)
3. A few water pick tubes. These are available at your local craft store or online.
4. Two mini orchids of your choice. I often see these at my local Trader Joe’s market.
5. A variety of flowers in white or in colors to compliment the orchids.
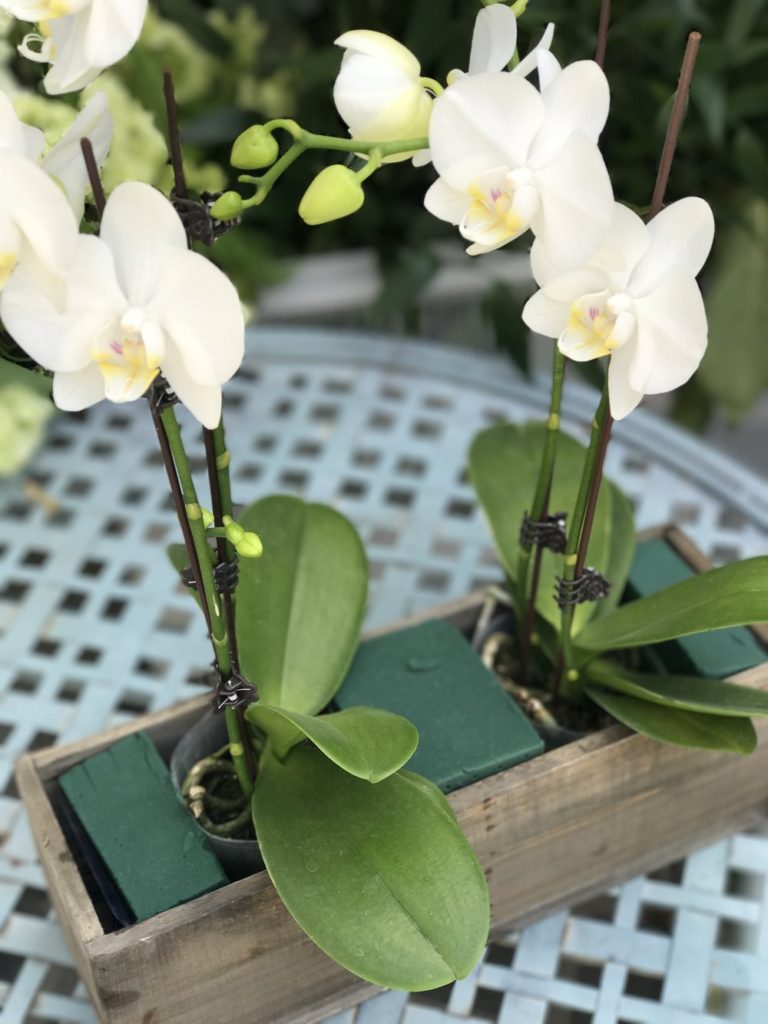
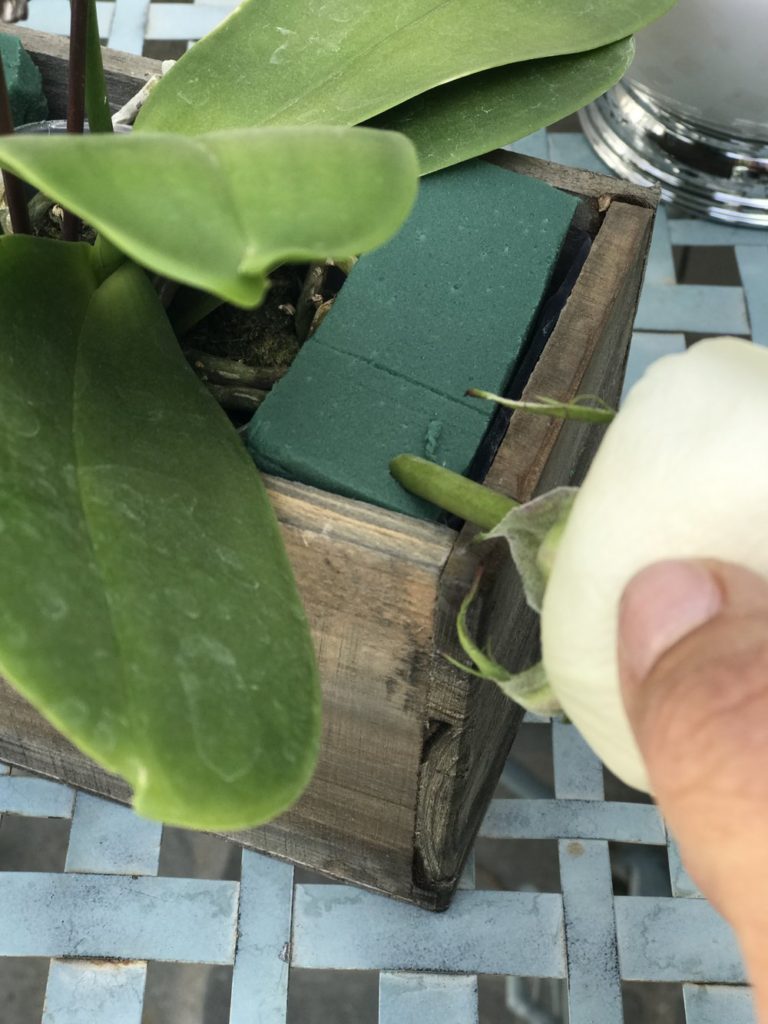
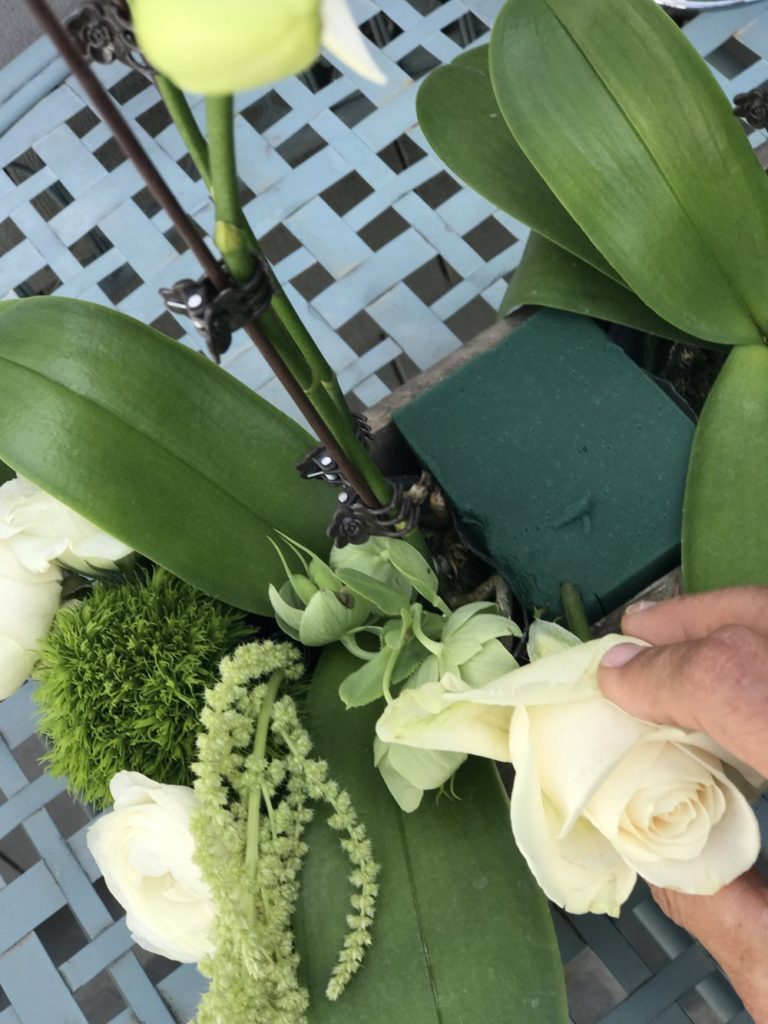
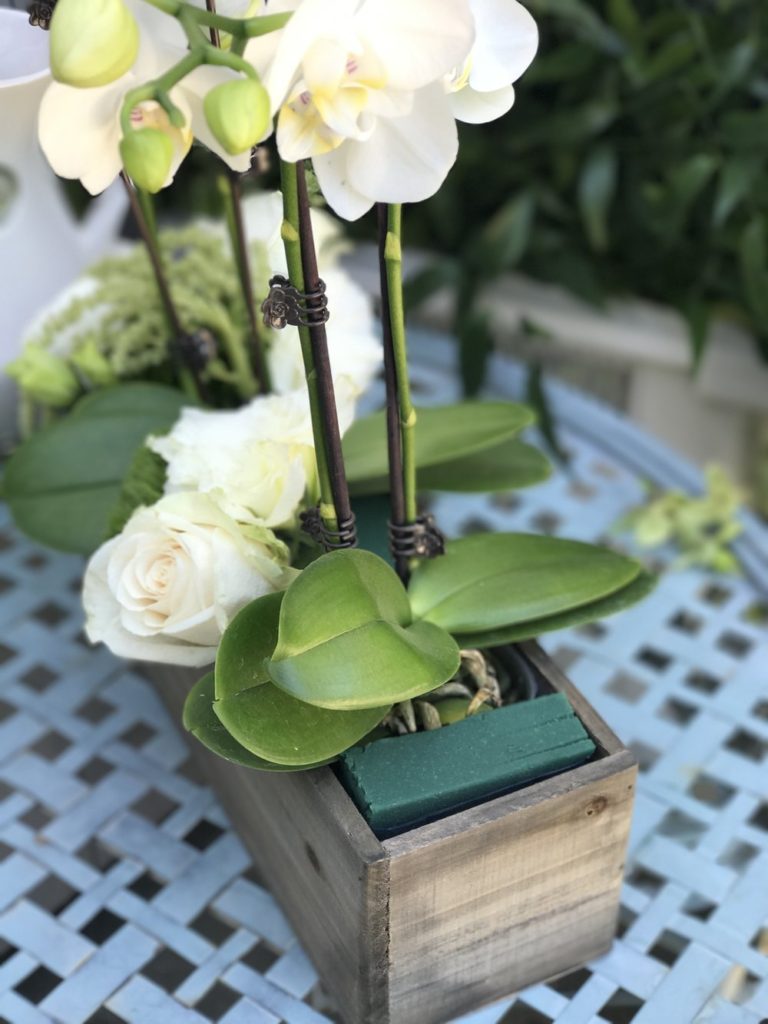
Place the water soaked floral foam between the potted orchids
The two most important words I can share with you are FLORAL FOAM!
You cannot construct an arrangement like this without it and once you start using it, you will wonder how you ever lived without it! I use Oasis Floral Foam bricks, which you can order online or find at most craft stores. All you have to do is soak the bricks in water, until they are completely saturated, and then you can cut them into whatever shape or size you need for your container.
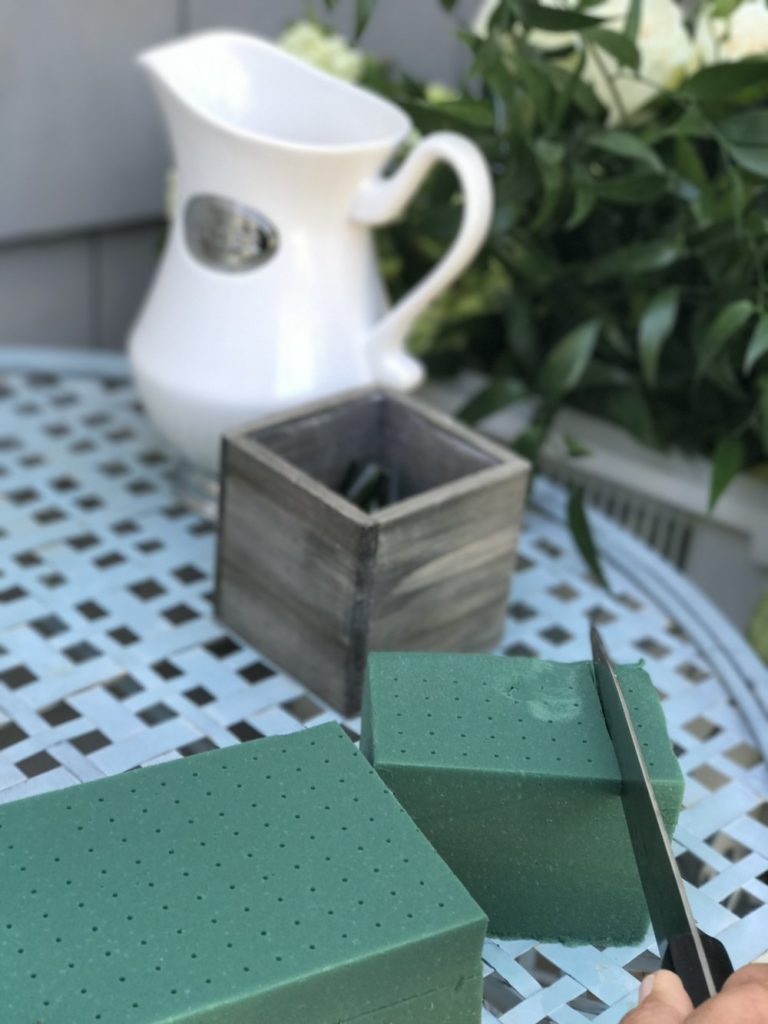
I use a kitchen knife to cut the foam.

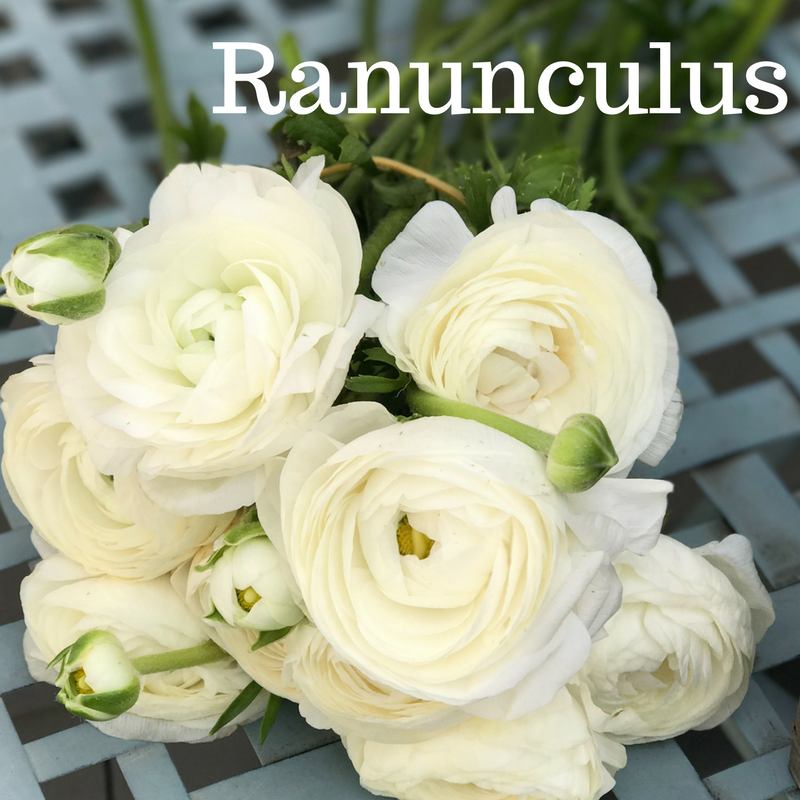
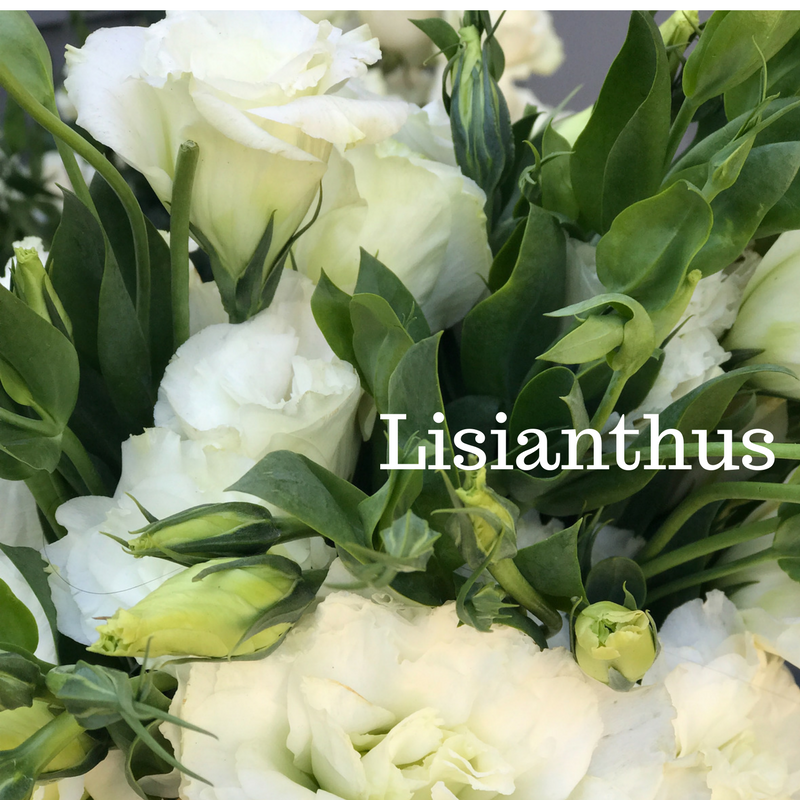


I chose a variety of flowers for this arrangement. Fortunately, we have a large flower market nearby, so I had many choices.
If you cannot get these types of flowers, you can simply use two or three varieties and still achieve a beautiful look.
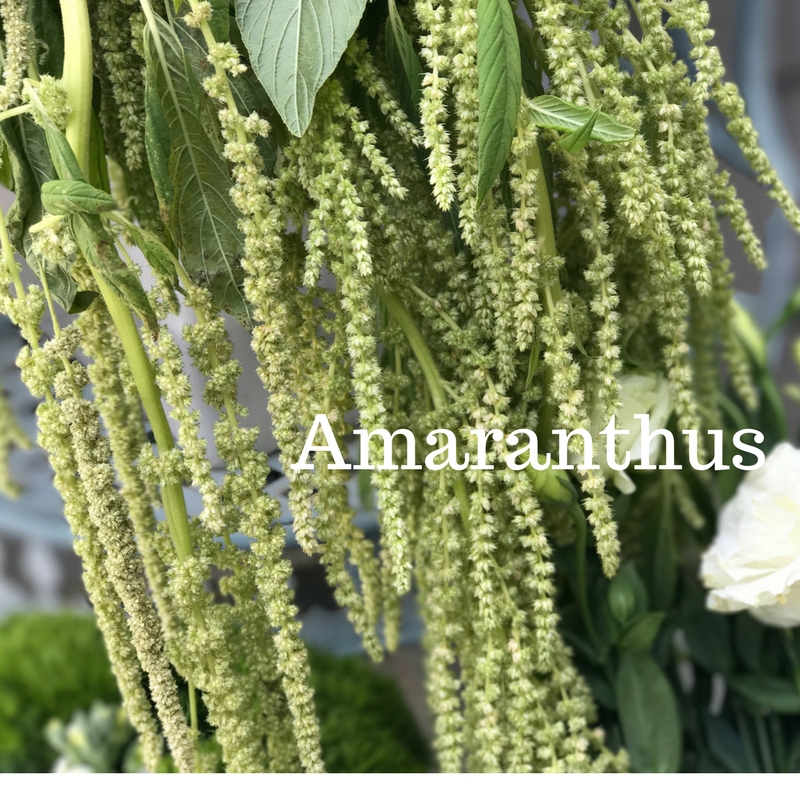
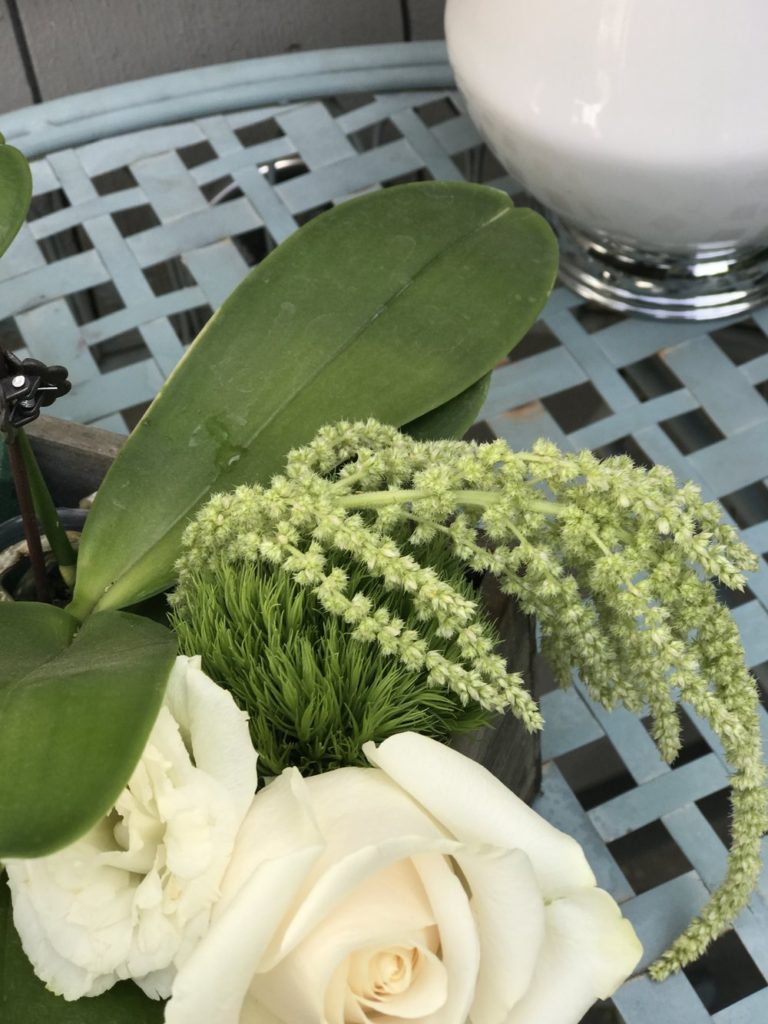
NOTE: If you can find a “hanging” flower, like amaranthus, it really helps to add dimension and softness to the arrangement. Also, you could use any type of preserved moss in place of the green trick dianthus…
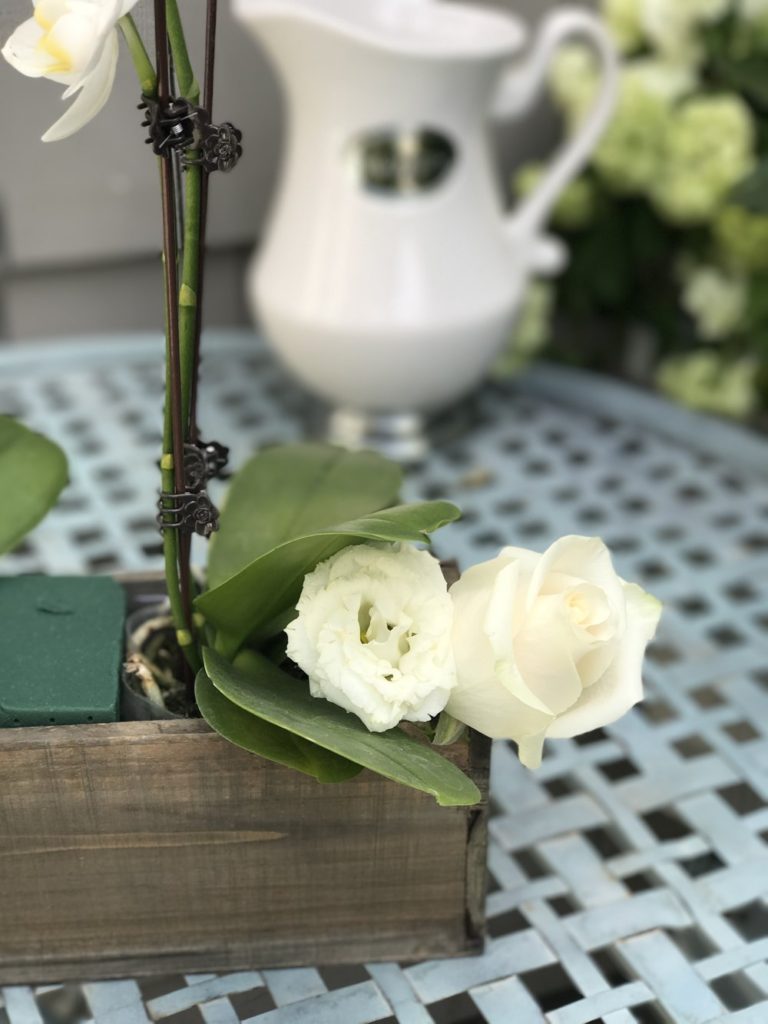
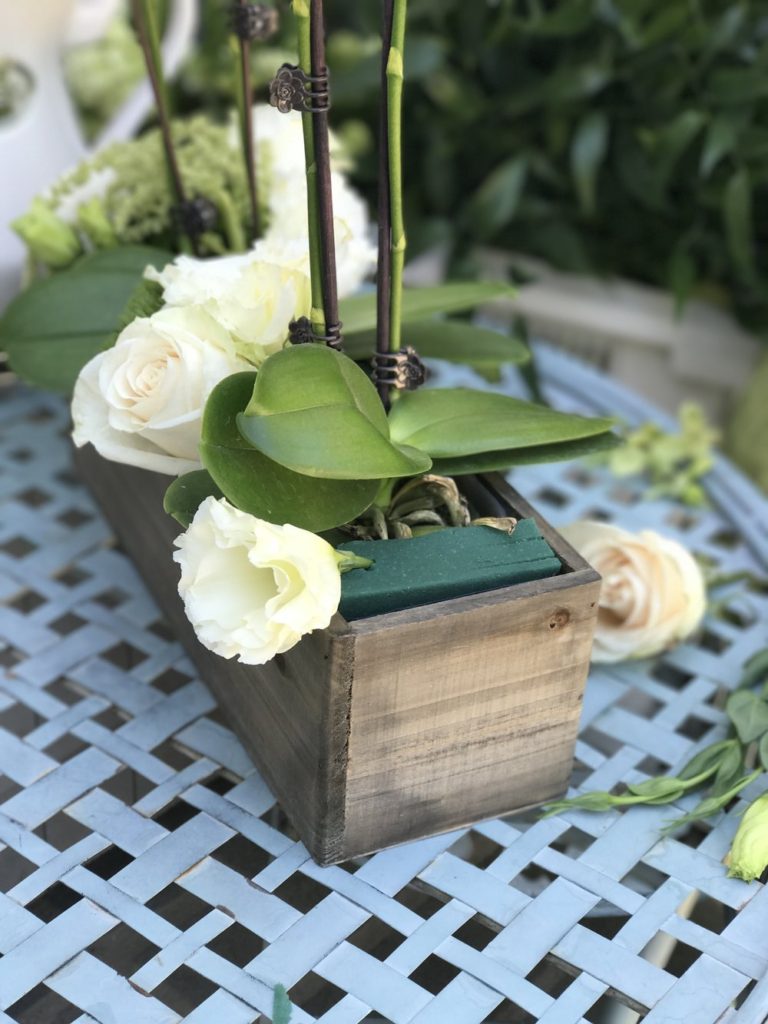
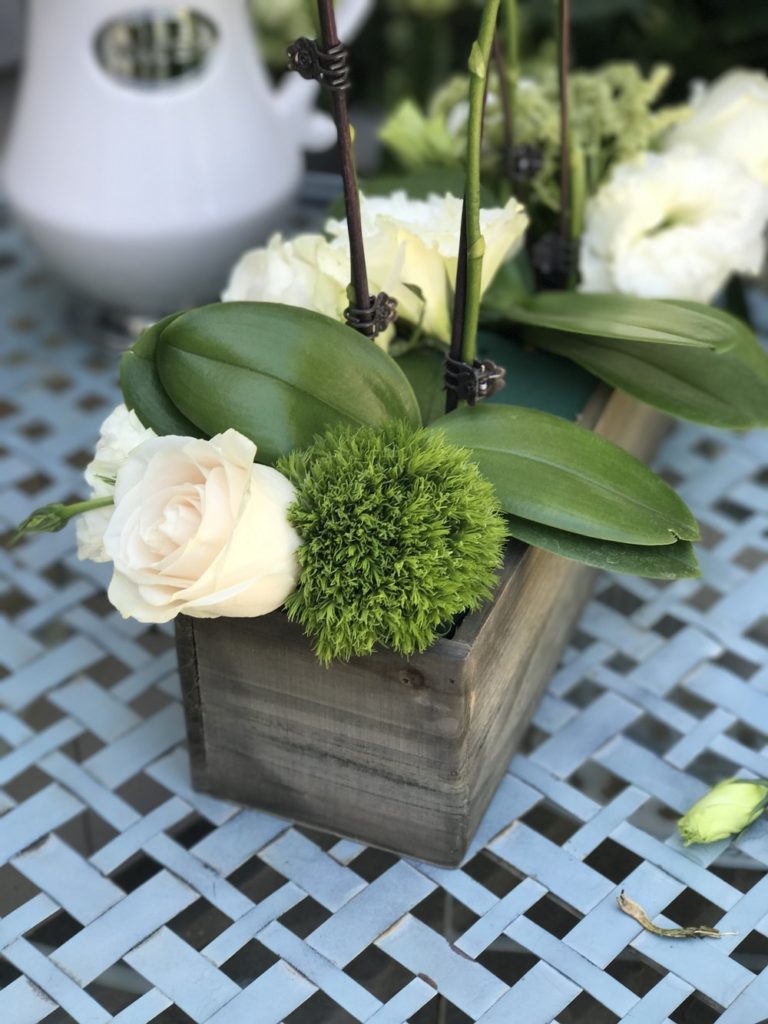
One of the tricks that I learned to get the shape of the arrangement right, is to begin by inserting the flower stems at an angle around the edges rather than straight into the foam. The goal is to have the arrangement extend beyond the edge of the container and also to keep the floral foam from showing, so I started with a rose in the corner and then began filling in from there.
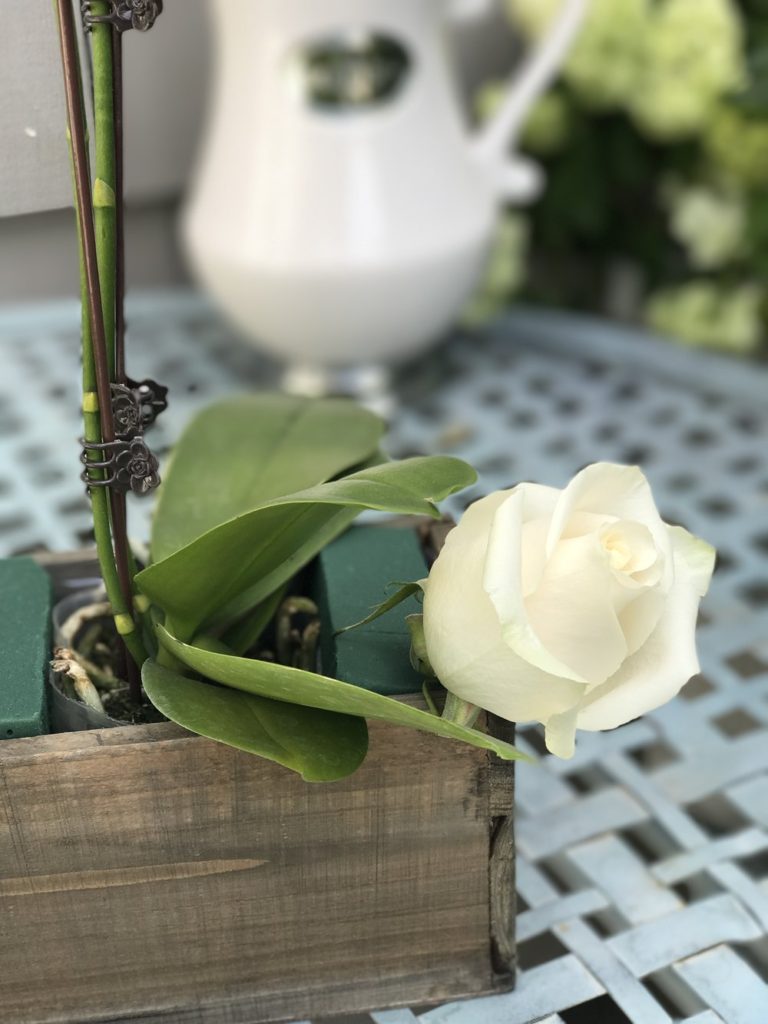
I cut the stems quite short, about 1-2″ in length, in order to make sure the flowers were solidly inserted into the foam.
Another important tip about floral foam is if you move the stems around too much, the holes will become too large and the flowers will not hold properly.
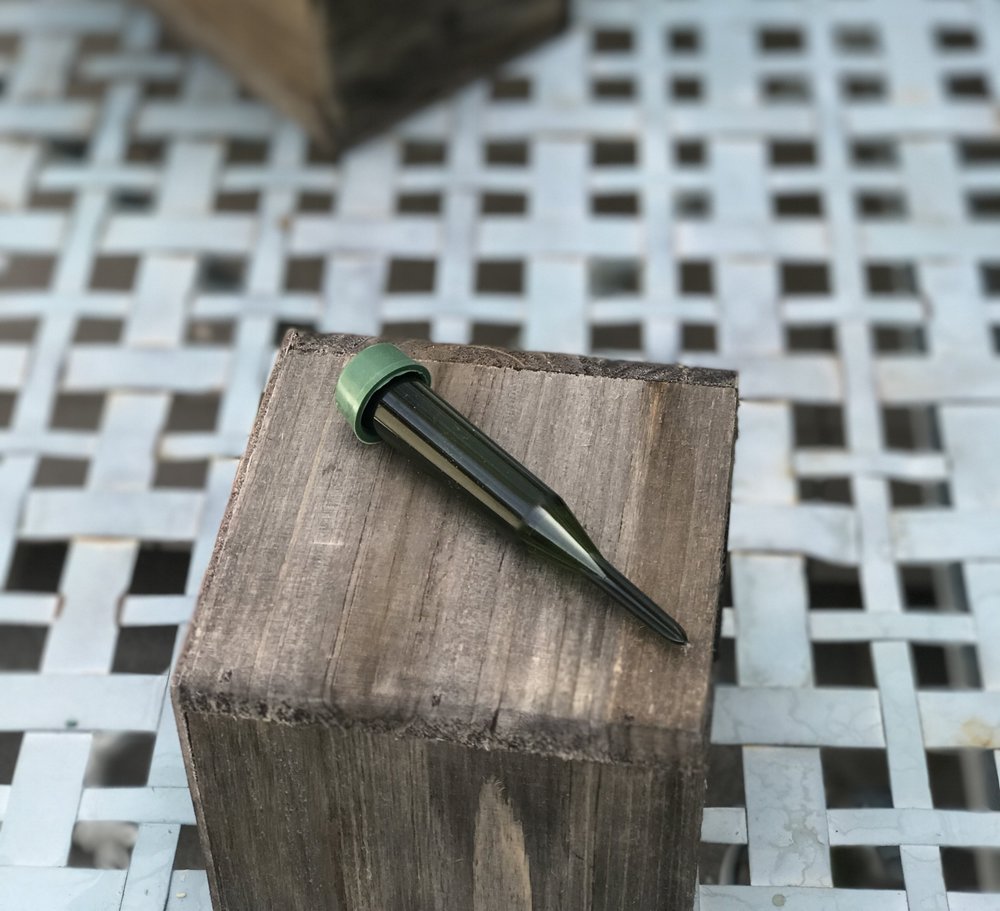
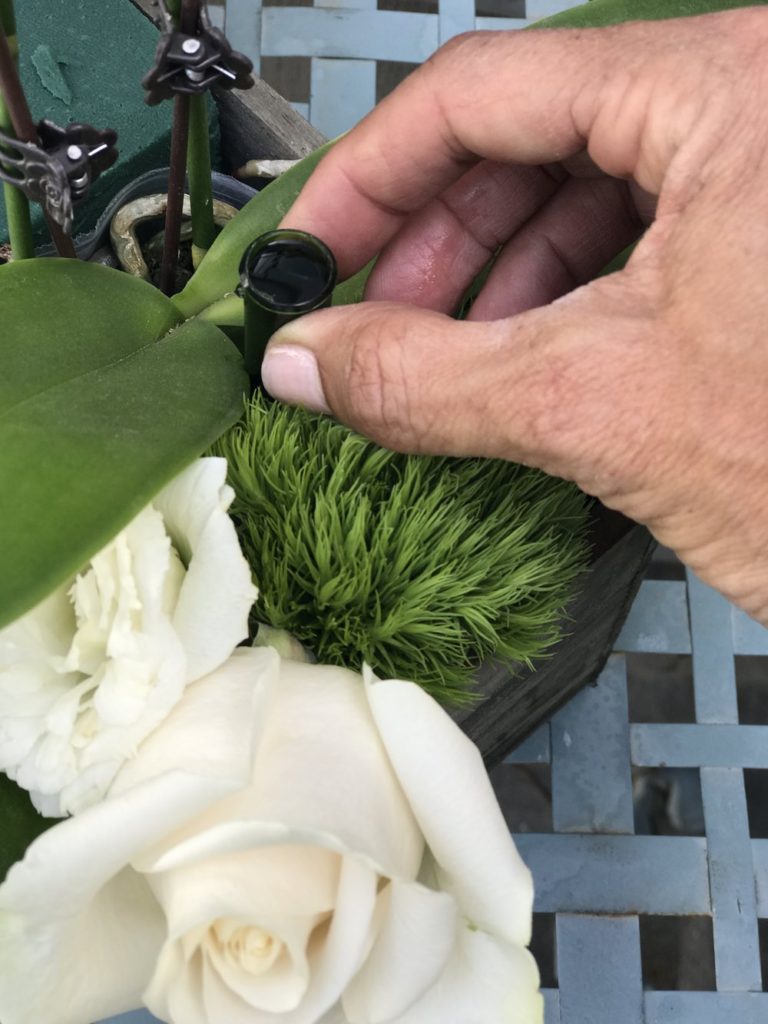
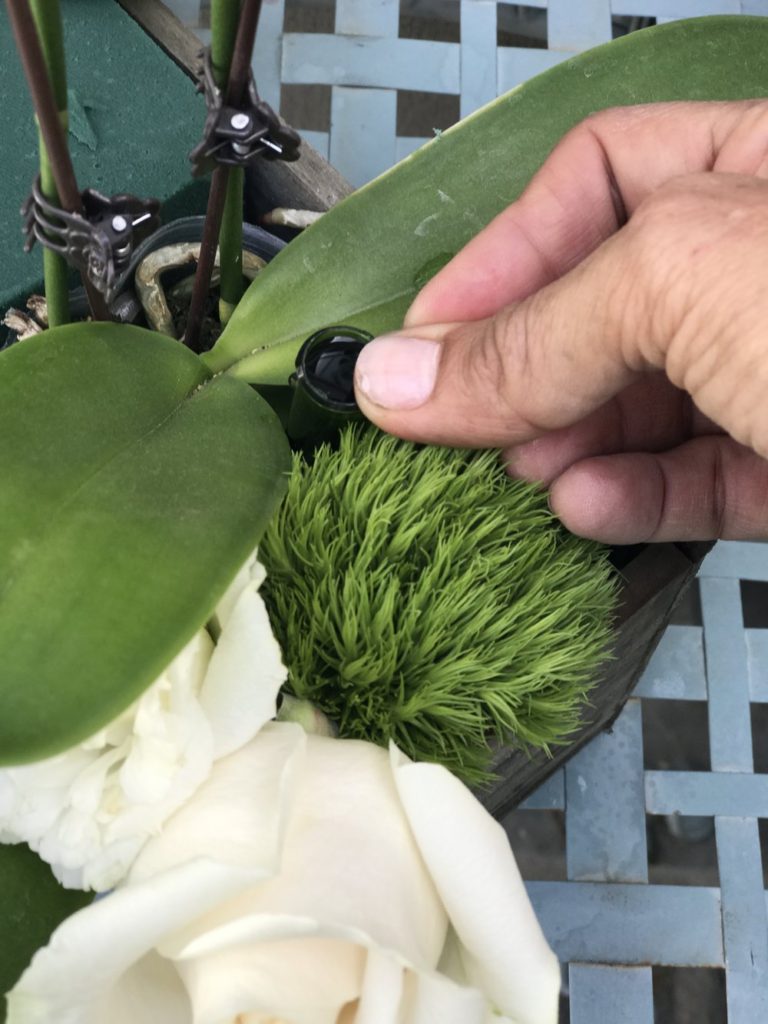
Because I used potted orchids, the dirt was visible in the center of the arrangement. One solution would have been to use a moss to cover the exposed plant, but I wanted to fill that area with a few flowers, so this is where the water pick tubes came in. I filled each tube with water and pressed it into the dirt area of the orchid. (I didn’t use the plastic tops) I was then able to insert a flower stem into the water and fill in that space.
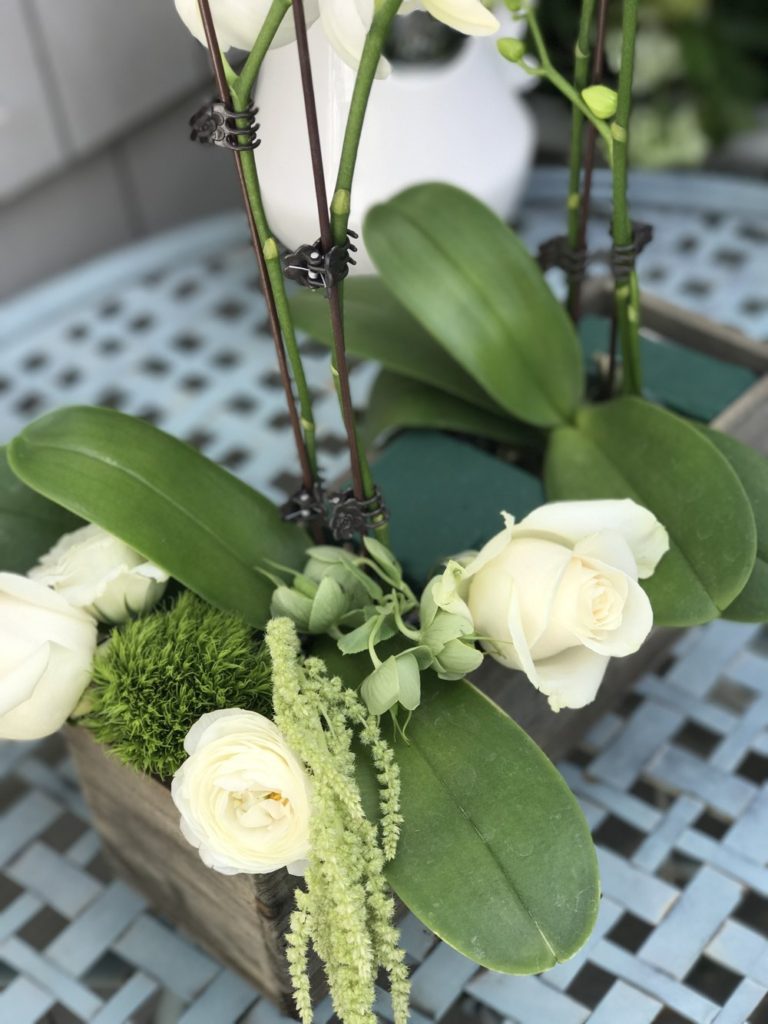
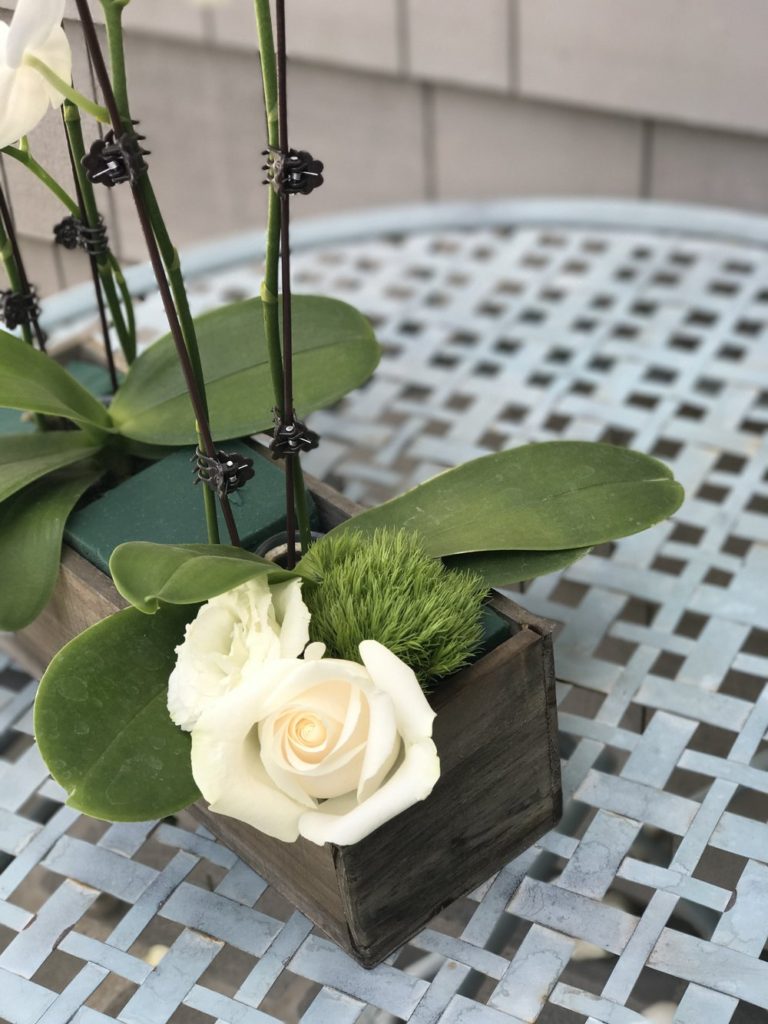
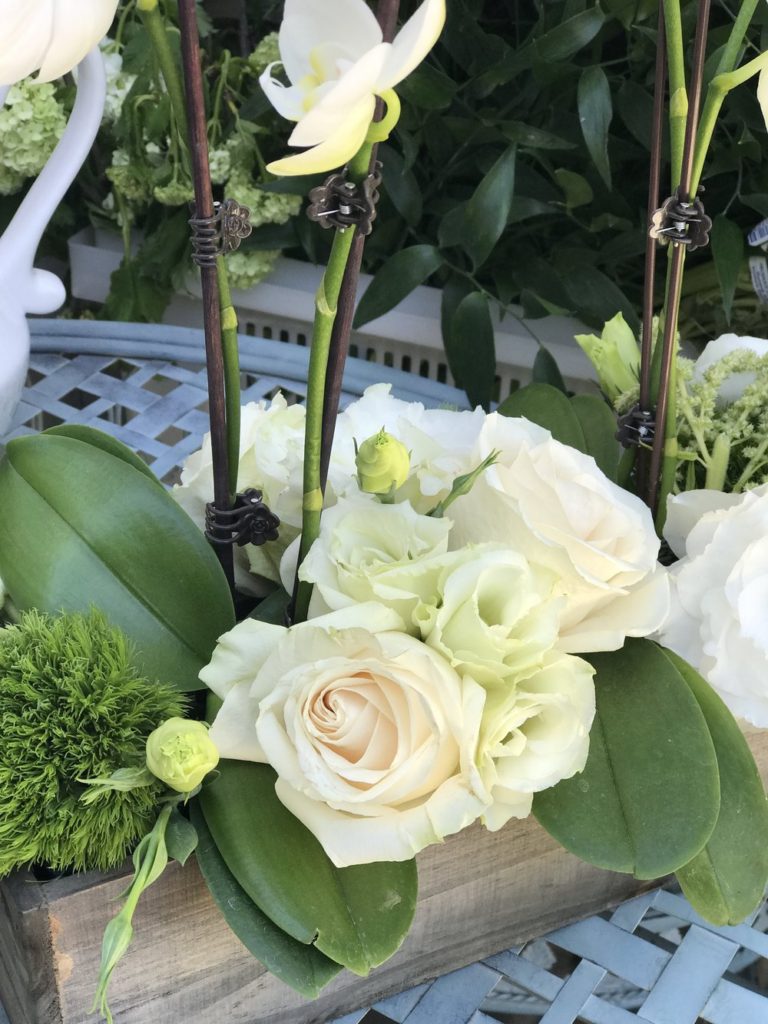
I duplicated the same process as I made my way around the box; adding the flowers at the edge first and then filling in the center sections.
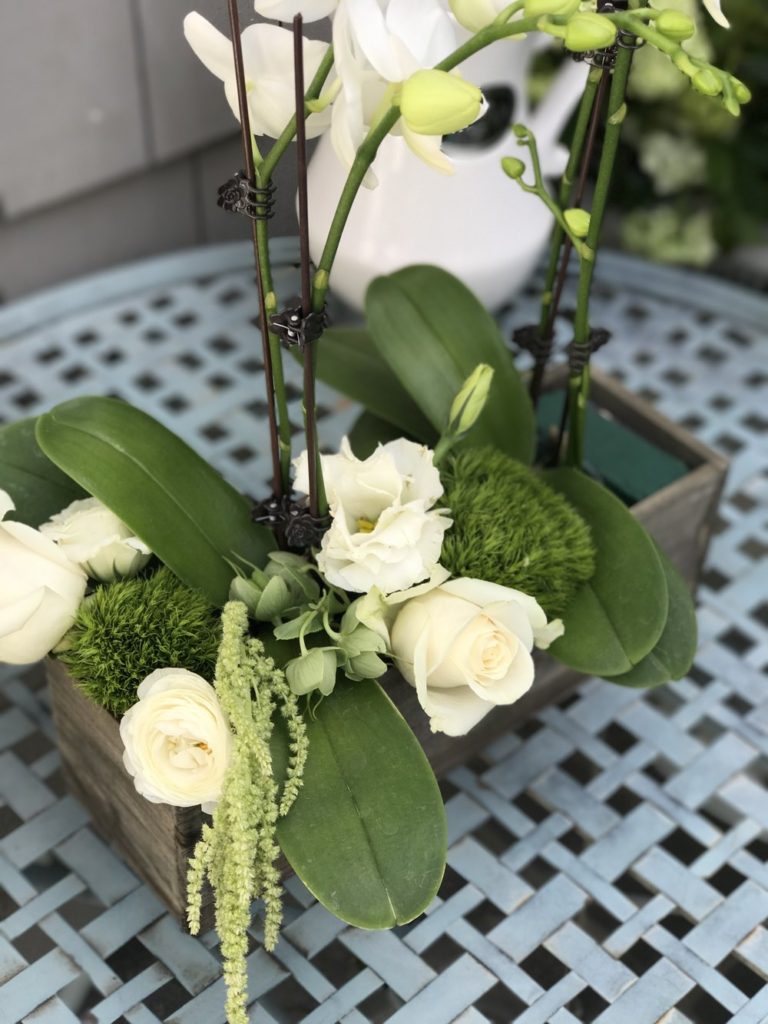
One important element for me was that I created symmetry in the overall shape of this arrangement, but still maintained a natural look. I found that by inserting the flowers in the center spaces at different angles it helped to give it that”garden” look I was going for…

I also wanted to add some interest through layers. By putting the amaranthus stem into a water pick and then draping it over the dianthus, I was able break up the solid look and create dimension and a soft, layered feel.
You could create this same feel by layering a hanging flower over some moss.

Once I completed all of the flower placement, I looked at the arrangement from all angles, including from a seated position, so I was sure there were no gaps or floral foam showing.
I tucked in a few small buds and stems to fill where needed.
I have to say, this was not an arrangement I would have ever attempted a few years back.
I was intimidated by “professional” supplies like floral foam and water picks and thought this was a centerpiece best left to a professional florist.
What I discovered during my event design days was, with some basic knowledge, a whole new world of floral design opened up for me. Mixing potted and fresh flowers become easy, and creating shapes and designs with some floral foam and different blooms was only limited by my imagination.
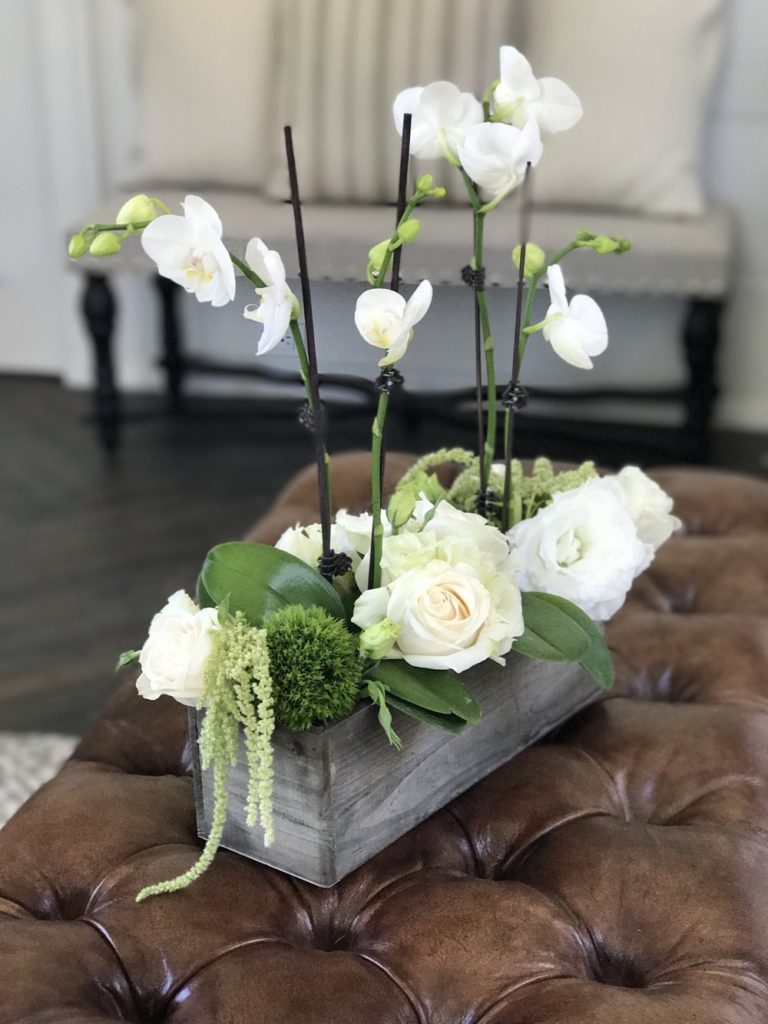
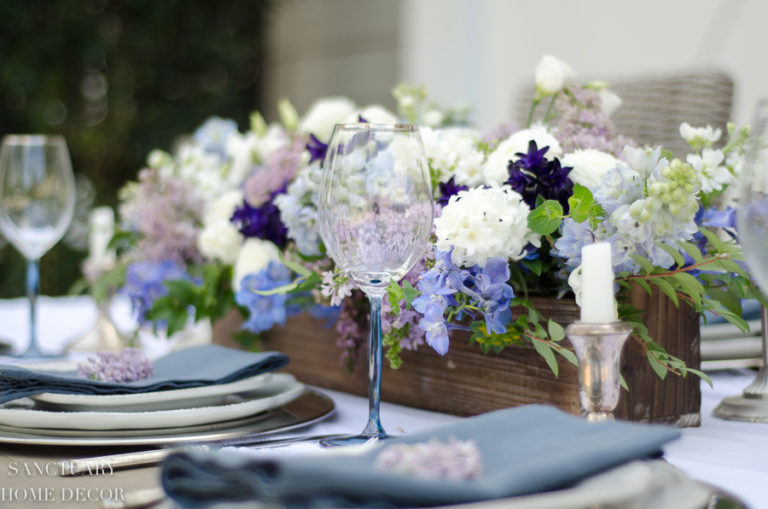
I made one extra arrangement for our house!
My hope is that this mini tutorial helps to take some of the mystery out of floral arranging for you and inspires you to find your “inner florist” and have some fun creating centerpieces of your own!